
Visual Studio Code is the code editor we use this for the course. Simply put, a code editor is a program to write code easily and efficiently.
Text Editor Tour
Activity Bar
The dark gray tool bar to the left of the VSC interface is the Activity Bar. The Activity Bar contains the main features of VSC.

The Activity Bar features:
1. Explorer
2. Search
3. Source Control
4. Debug and Run
5. Extensions
1. Explorer
Explorer, the option highlighted in the image above with the icon of two pages, is where you’ll spend the majority of your time. It’s how you navigate to all your projects.
The best way to see all your files for this class is to select File > Open, and browse to whichever folder you’re working on (usually production, or project-one, project-two, and so on). Next to the Activity Bar, you’ll be able to see all you files that live in that folder. It’s a quick and easy way to jump between all your files and see how they’re stored in relation to each other.
2. Search
The magnifying glass enables you to search and replace in your code.
3. Source Control
Source control, also called version control, is used by teams to keep track of changes to code. This is a little bit beyond the scope of this course, but if you’re curious, you can read more about source control.
If you’d like to hide Source Control, right click on the icon and uncheck it.
4. Debug and Run
The cute bug with the X is the debugging tool. Debugging tools help you find errors (bugs) in advanced programming languages such as JavaScript. Squish all the bugs!
5. Extensions
Last, but certainly not least, extensions are a way to add different tools and features to VSC. More on that later ?
Editor
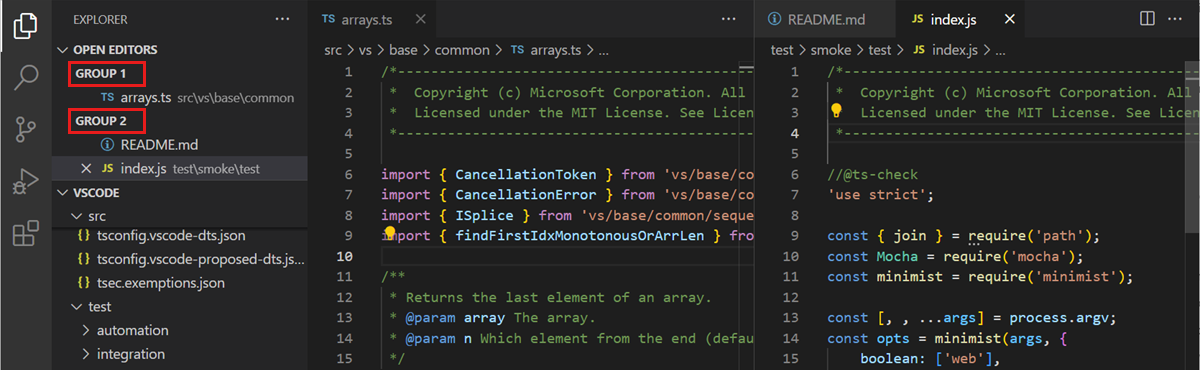
The editor refers to everything to the right of the explorer. It’s the workspace where you edit your code. Some might even call it, the visual studio we use to examine our code.
In the image above, you’re seeing editor Inception—editors on top of other editors! 1
While it’s unlikely you’ll need that many tabs open in the editor, you may want to open a few at a time. If you take a peek to the right of the tabs, next to the ellipsis, you’ll see an icon that looks like two columns. This is the split editor, used to open multiple tabs next to each other. Or, you toggle split editor with the shortcut: ⌘\ .

Zen Mode
Need some zen in your code? Want to focus on what matters?
Zen Mode hides the entire interface of VSC except the editor. Toggle it by the shortcut, ⌘K Z, or selecting View > Appearance > Zen Mode. Goodbye, distractions, hello, productivity!
Minimap

The minimap (the teeny, tiny map on the right) is a bird’s eye view of your file. When your file gets lengthy, the minimap can be helpful to jump to sections of your file. If it annoys you, you can uncheck the minimap box in settings. Speaking of settings…
Settings
If there’s a feature in VSC, there’s a setting for it as well.
1. Line wrapping
If you’ve ever tried to copy and paste say, a paragraph of dummy text into VSC (Visual Studio Code) 2 you may have noticed that by default, VSC does not wrap words. Meaning, you have to scroll over and over and over to the side. This is where word wrapping comes in.
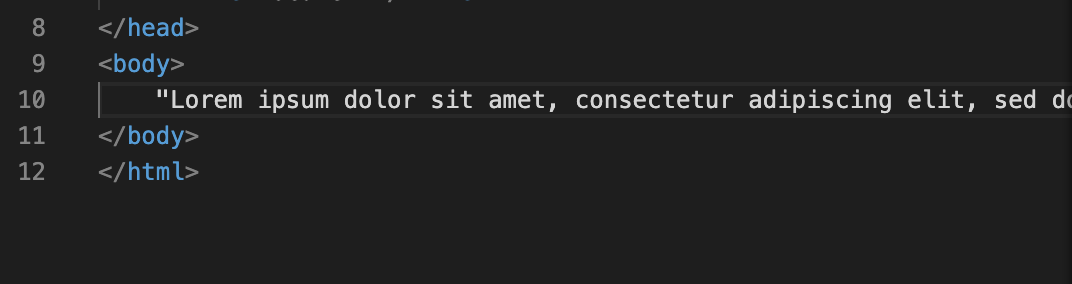
Paragraph without word wrapping.
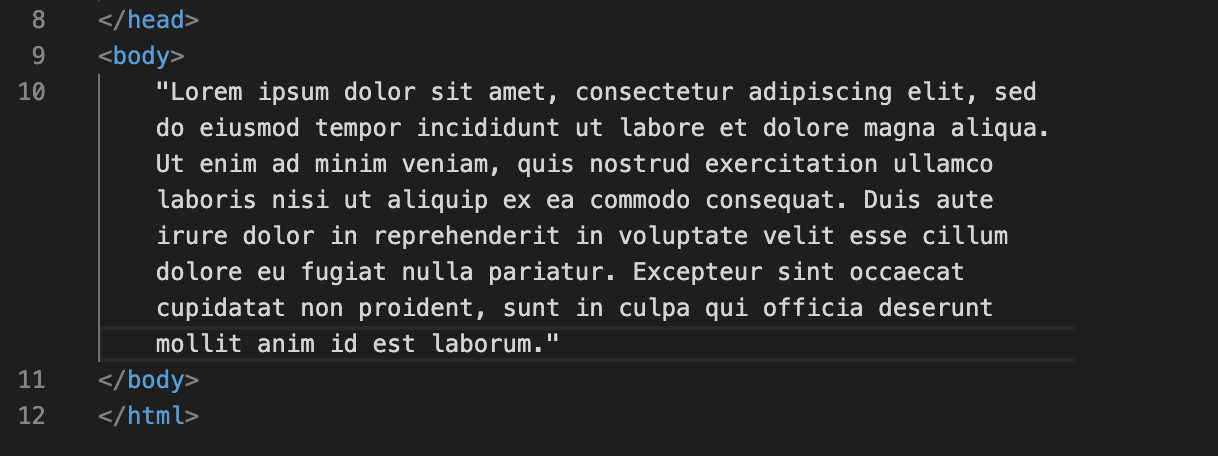
Paragraph with word wrapping.
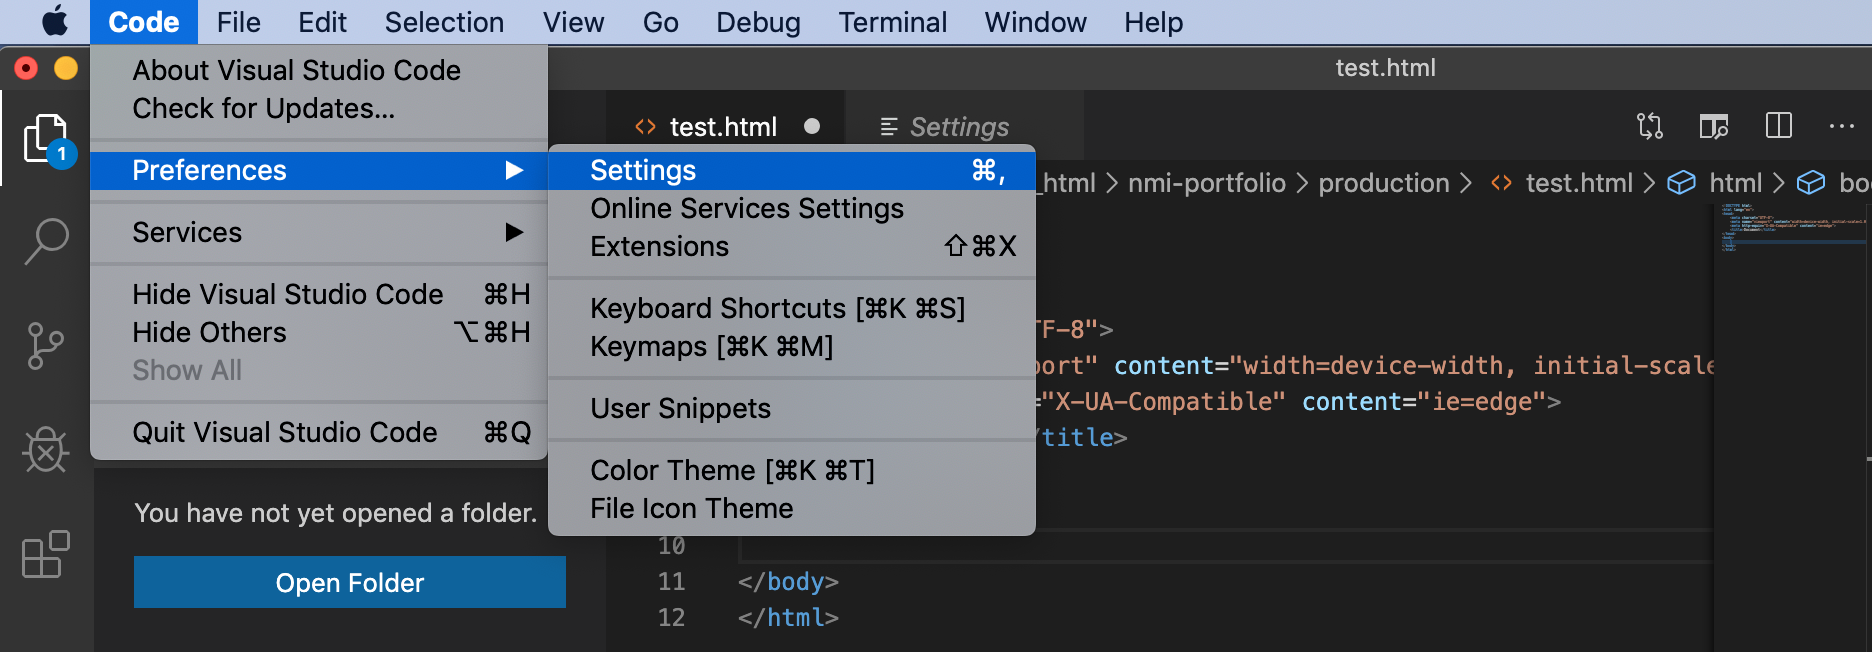
Let’s add that beautiful word wrapping. In the menu bar of VSC, select Code > Preferences > Settings.
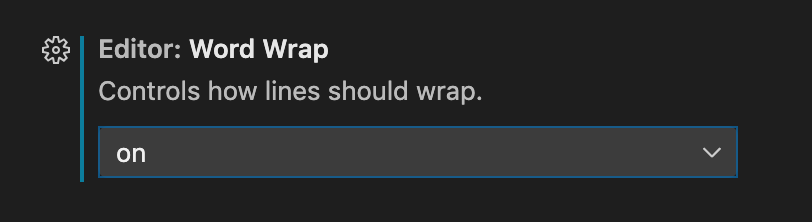
Scroll down on “Commonly Used” settings until you come to Editor: Word Wrap. By default, this setting is turned off. Turn it on, as shown below.
There’s no need to save—Visual Studio Code will save your new setting automatically.
Note: This setting is specific to VSC. It only applies to what you see in VSC. It will not appear like this in the browser. To format your code as the user will see it, refer to CSS.
2. Appearance
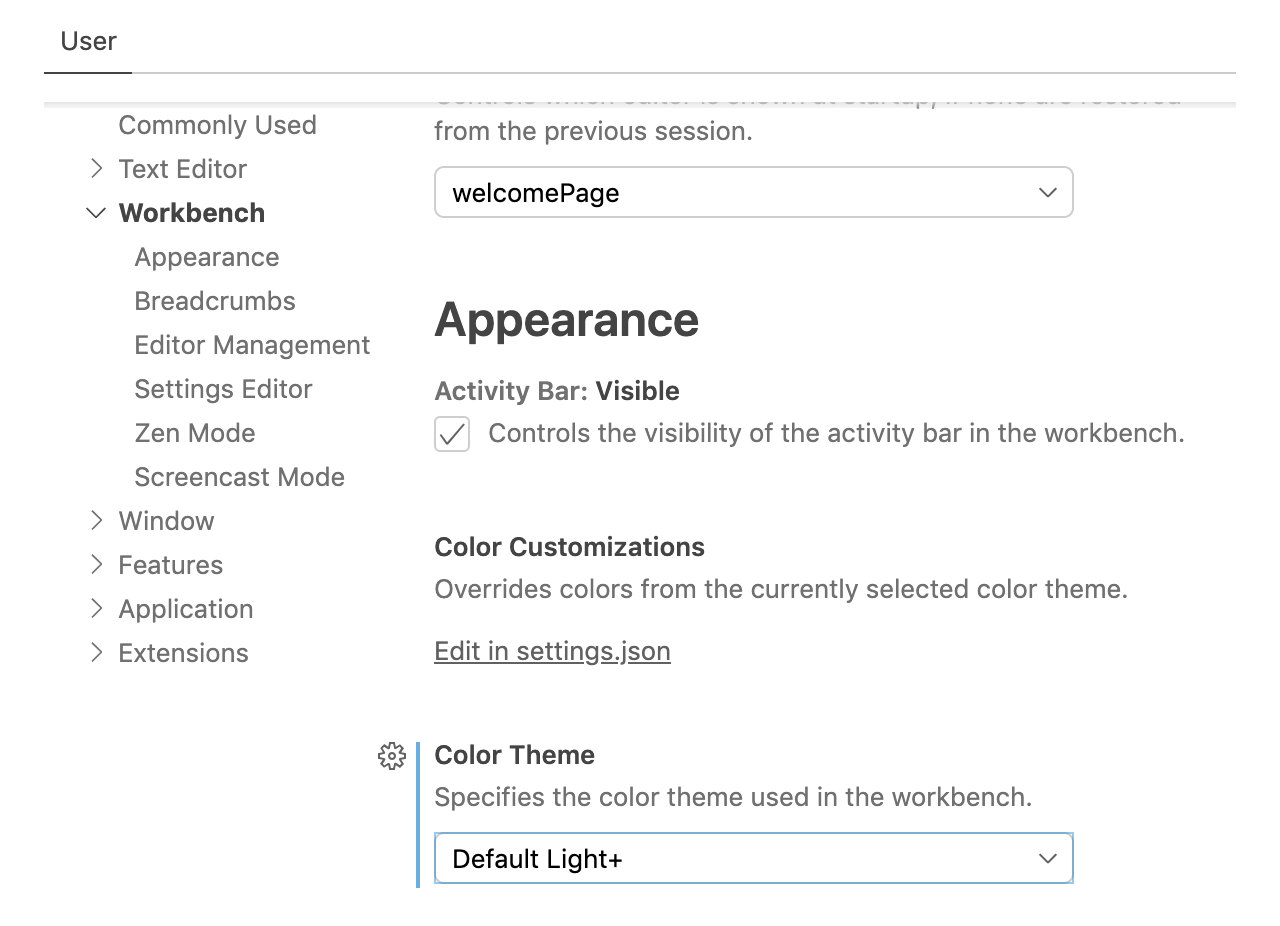
VSC has a variety of options to change the appearance of the editor. You can adjust colors, fonts, and type size as you prefer.
In the example below, under Settings, the Color Theme has been changed to Default Light+. Feel free to change the appearance to whatever color choice is easiest on your eyes.
3. Image preview
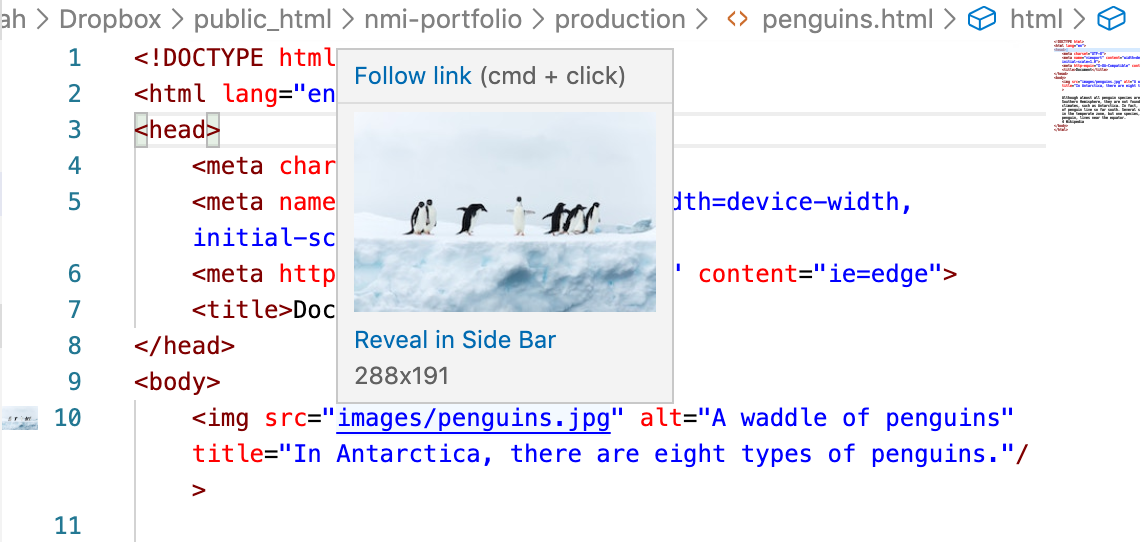
This setting is already turned on for you, but it’s worth expressing gratitude towards it. When you hover over an image source’s file path, a preview of the image will be displayed. This is a good way to check your image file paths.
If you hover over an image file path, and do not see a small preview of your image appear, you may have taken the file path less travelled. Double-check your image name and file path, and fix your file path.
4. File path autocomplete
When you start to type in a link to a file, or start to insert an image, Visual Studio Code will autocomplete your file paths if you have a folder open.
Once you have opened a folder (most likely your production folder) type in <img src=" or <a href=", and then hit control and space bar to be greeted by a list of all of your files and folders. You’ll be able to select the files of your choice.
Extensions
The extension marketplace can take VSC to infinity and beyond.
1. File icons
Material Icon Theme is one of many free extensions you can use to change the default shapes of your files. With this extension, your explorer will change your files and folders to look like intuitive icons.
Once you’ve installed Material Icon Theme, navigate to Settings. Type in >file icon in the search bar. You’ll see this option:
⚙︎ Workbench: Icon Theme
Specifies the icon theme used in the workbench or ‘null’ to not show any file icons.
Change the option in the dropdown to material-icon-theme.
Collaboration makes the dream work
Come across a cool trick, keyboard shortcut, or another tip you want to share? Post them in your class channel on Slack and you might see them appear on this page.