People process images more quickly and easily than words. In the era of short attention spans, and users bouncing from page to page, (the average Internet user spends less than 30 seconds on each webpage), images are invaluable.
Images:
- Grab the user’s attention
- Illustrate stories
- Add credibility
- If done correctly, can improve the user’s experience on your website
Have you ever navigated to a website that didn’t have images? With the exception of Craiglist or Reddit, you probably didn’t stay long.
By the end of this lesson, you will learn how to add images to your websites—something you may have already learned in Free Code Camp.
By now, you’re probably pretty solid on creating a new HTML file in Visual Studio Code, so:
- Create a folder called
imagesin your webdev folder in Dropbox. It’s standard practice to keep your images in a separate folder. - Create a file called penguins.html and save it in in your webdev folder.
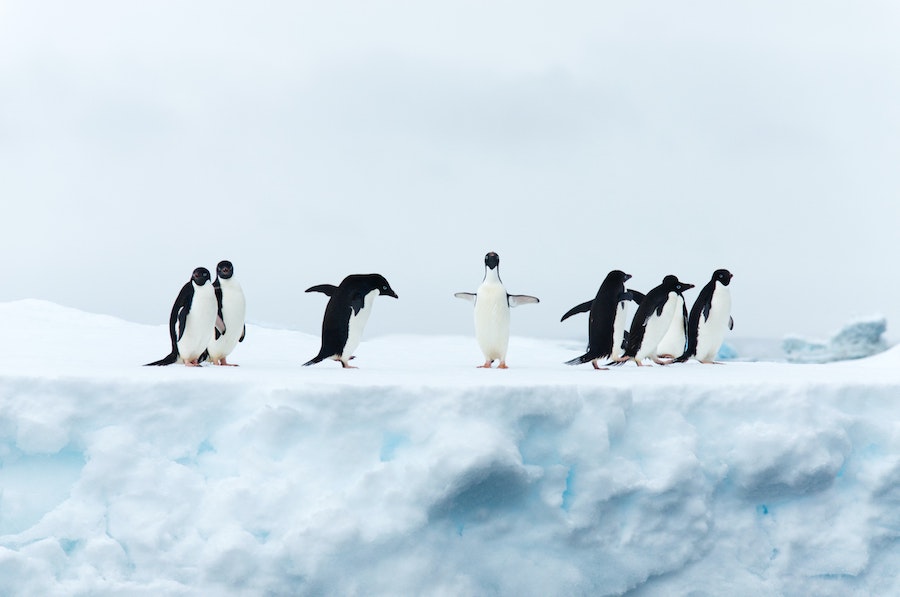
- Download an image. Click the big green “download free” button on this image, courtesy of Unsplash. Chances are, your computer downloaded a file titled “derek-oyen-3Xd5j9-drDA-unsplash.jpg.”
- Rename the image. Right click > Rename; or click on the name to rename the file to penguins.jpg.
- Move penguins.jpg to the images folder we created earlier in Dropbox.
- Add the image to penguins.html:
<img src="images/penguins.jpg">
Img src (image source) is an empty element, also called a “void” element, meaning there is no closing tag to follow.
Alt text
For accessibility purposes, if someone cannot see your image, alt text describes the image. When people use screen readers, this text is read aloud. If your image is purely decorative and doesn’t add any meaning, you don’t have to include alt text, but in most cases your images will be serving a specific purpose and will need alt text.
Go ahead and add alt text that describes the image:
<img src="images/penguins.jpg" alt="A waddle of penguins">1
Title text
The title attribute displays content in a tooltip when someone hovers over the image. This is a good place to add more, but perhaps slightly less important, information.
Don’t fact check me on this title text:
<img src="images/penguins.jpg" alt="A waddle of penguins" title="In Antarctica, there are eight types of penguins.">
In preview, you can see the image. Mouse over it until you see the title text.
Resizing Images
That image we downloaded was extremely high-quality and frankly, ginormous! Let’s make it a little smaller.
Double-click penguins.jpg in your Dropbox so it opens in Preview (default photo app on Mac).2
Go to “Tools” in the top navbar, select “Adjust Size.” Change the width to 288 pixels. Select “Ok.” Hit Cmd+s to save the file.
Images should be saved at the right size. If you save a small image and then specify a larger width than height in your HTML, such as if we forced our 288 px width image to display at 800 px:
<img src="images/penguins.jpg"
alt="A waddle of penguins"
title="In Antarctica, there are eight types of penguins."
width="800" height="500"
>
The image would appear stretched, distorted and pixelated. Take my word on this. Do not force images to be larger.
If you do the opposite—take a huge image and specify it to be a smaller size—it will take a very long time to load.
You should resize your images to be the same size you want them to appear on the webpage. Webpages use tiny squares known as pixels as a unit of measurement.
Since we already resized our image to a size that will not take eons to load, let’s add some text under it:
Although almost all penguin species are native to the Southern Hemisphere, they are not found only in cold climates, such as Antarctica. In fact, only a few species of penguin live so far south. Several species are found in the temperate zone, but one species, the Galápagos penguin, lives near the equator.
— Wikipedia
A word of caution about images:
Too often, students will save a file with a .jpeg extension, and try to insert it by writing .jpg. While the two file types are virtually identical, your browser doesn’t know that.
For example, <img src=”images/penguins.jpg”> is NOT going to work if your image is actually named penguins.jpeg. Same with if your image is a .png, or .gif, or something else. File extensions matter.
Your turn!
A) Add the paragraph about penguins under the image, in it’s own <p> tags. Where does that place the image in relation to the text?
B) Place both the image and the paragraph in the same <p> tags. Where does that place the image in relation to the text?
C) Place the image after the first sentence in the same paragraph tag as the paragraph. Where does that place the image in relation to the text?
When you’re done, leave the text where you like it best.
Exercise 1
Get some good practice and grab some easy points by making sure to upload both penguins.html and the images folder to the server.
Then, link penguins.html to your webdev index.html. Remember, since both files are in the same folder, your file path should just include the file name.
Don’t forget to re-upload your webdev index after you add the link so that your instructor can view it. If you get stuck, make sure to check out the previous lessons from this unit.
Fun, irrelevant fact: if these penguins were in water, they would be called a raft of penguins. Some people also prefer to call groups of on-land penguins colony, but waddle is way more fun.↩
If you’re on a Windows machine/PC you can use Microsoft Paint to quickly resize images.↩