
As we’ve discussed before, WordPress is different from the other approaches to building websites we’ve learned this semester. So, not surprisingly, moving a WordPress site is different, too.
Read on to learn how to move a WordPress installation from one server to another server AND how to move an install around on your own server!
On serve(r)
First, it’s super important to remember that everything for a WordPress site resides only on your server. That means that you need to be very cautious when doing anything having to do with moving or renaming WordPress.
If you make a mistake with any of the below, typically the only recovery possible is the automatic backup (if any) that’s on your server and that will likely be out of date.1
Moving to another server
What if you want to move your WordPress site to a different server?2
There are many ways to do this, but the following has worked reliably for us.
All-in-One WP Migration
On your source install (likely on your own server), install and activate the All-in-One WP Migration plugin.
Once activated, click on “All-in-One WP Migration” in the WordPress sidebar. Then, choose Export To > “File”
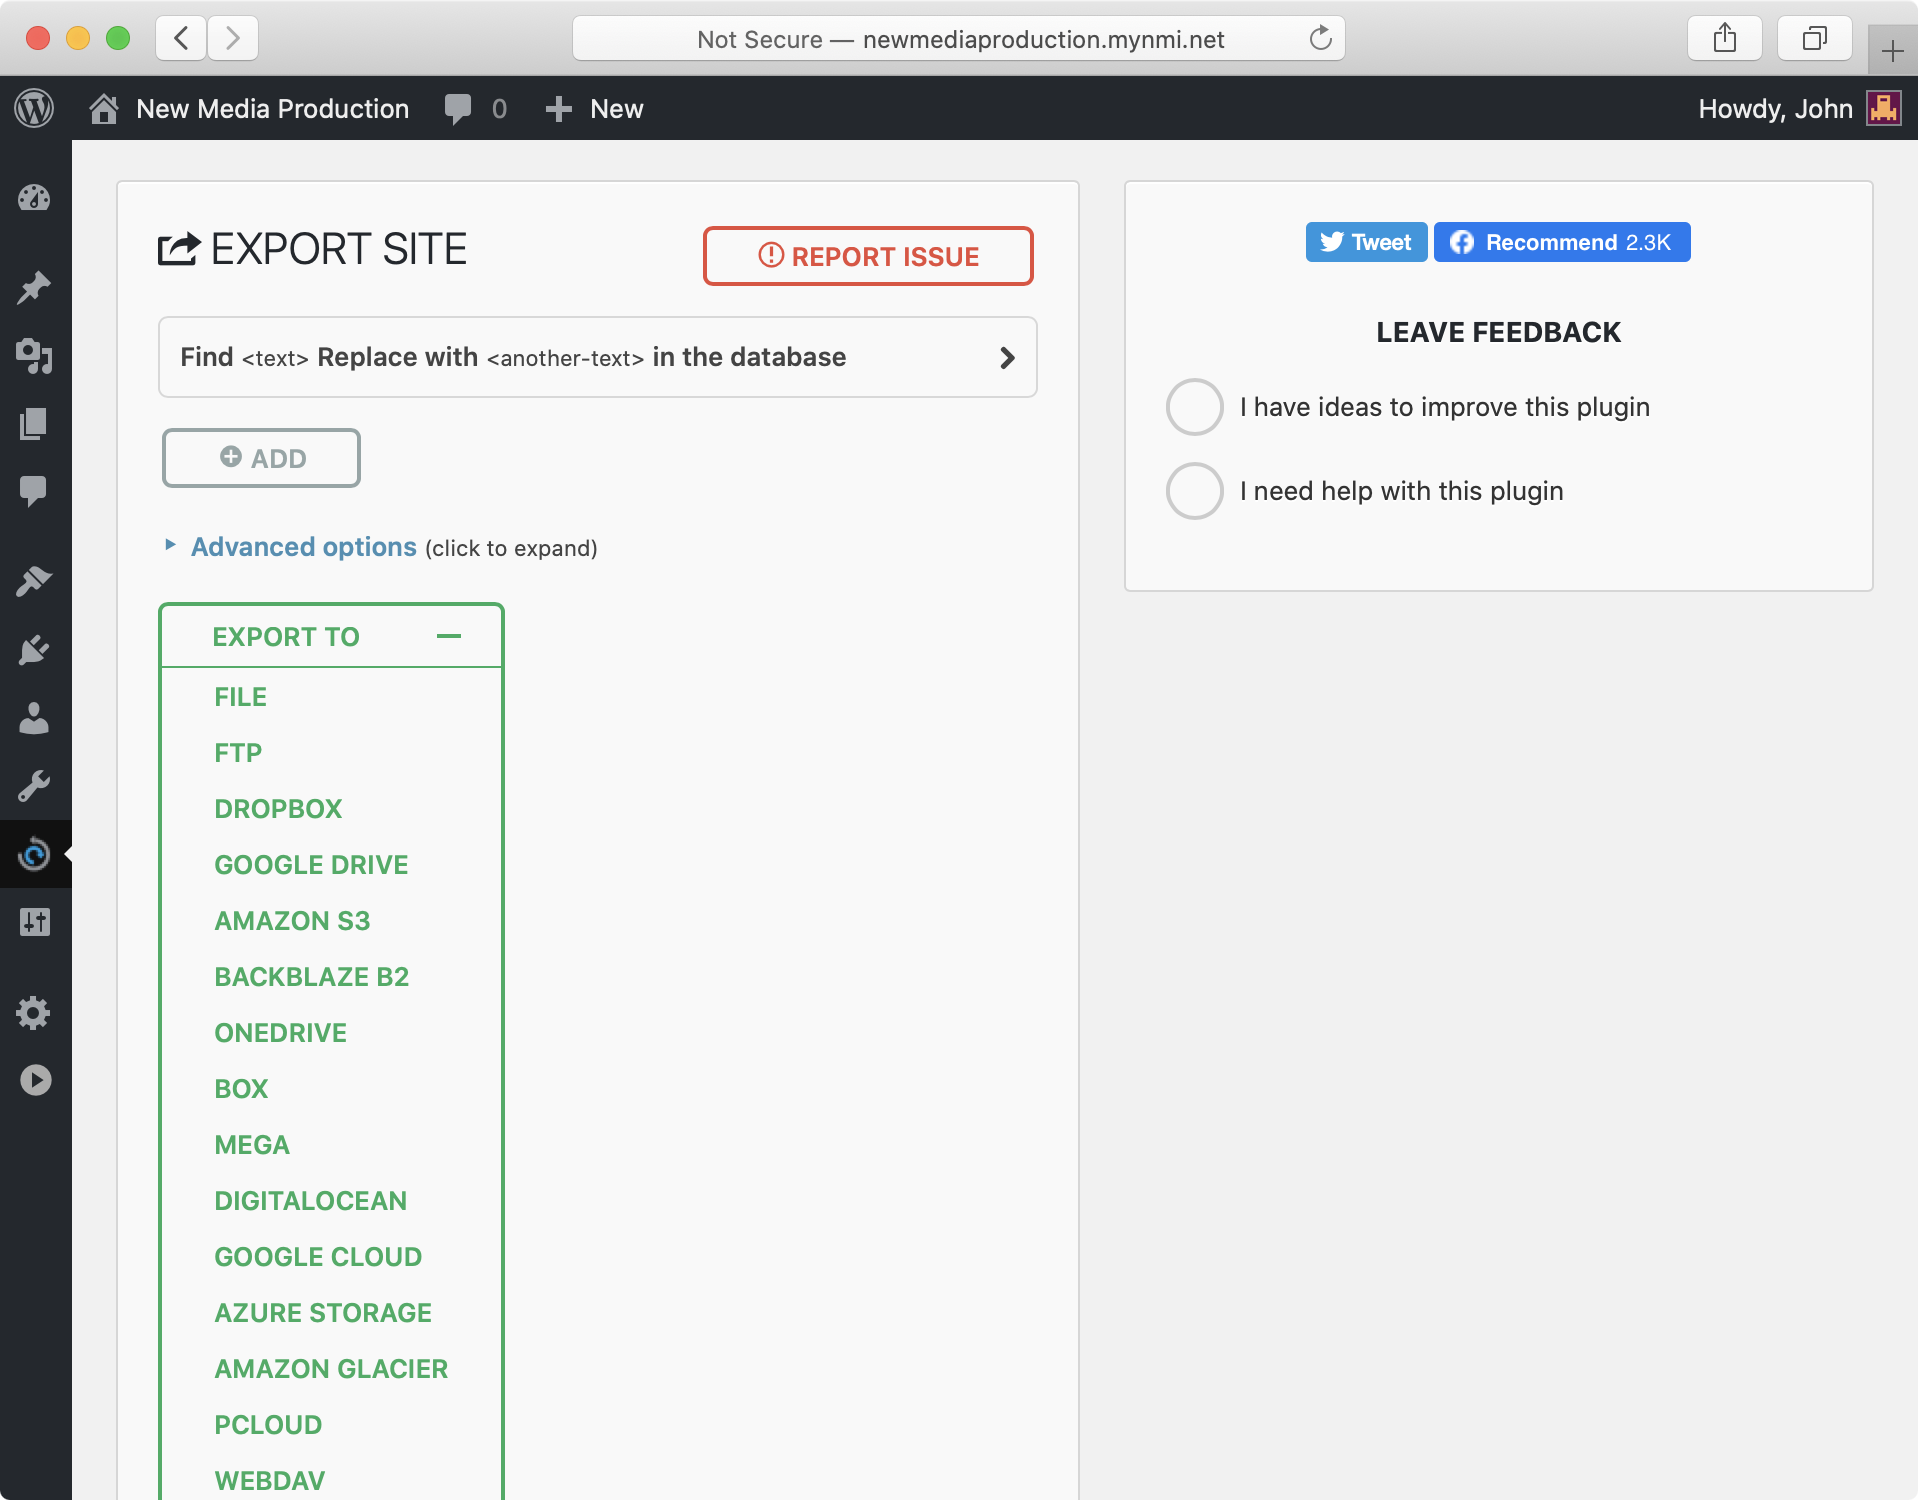
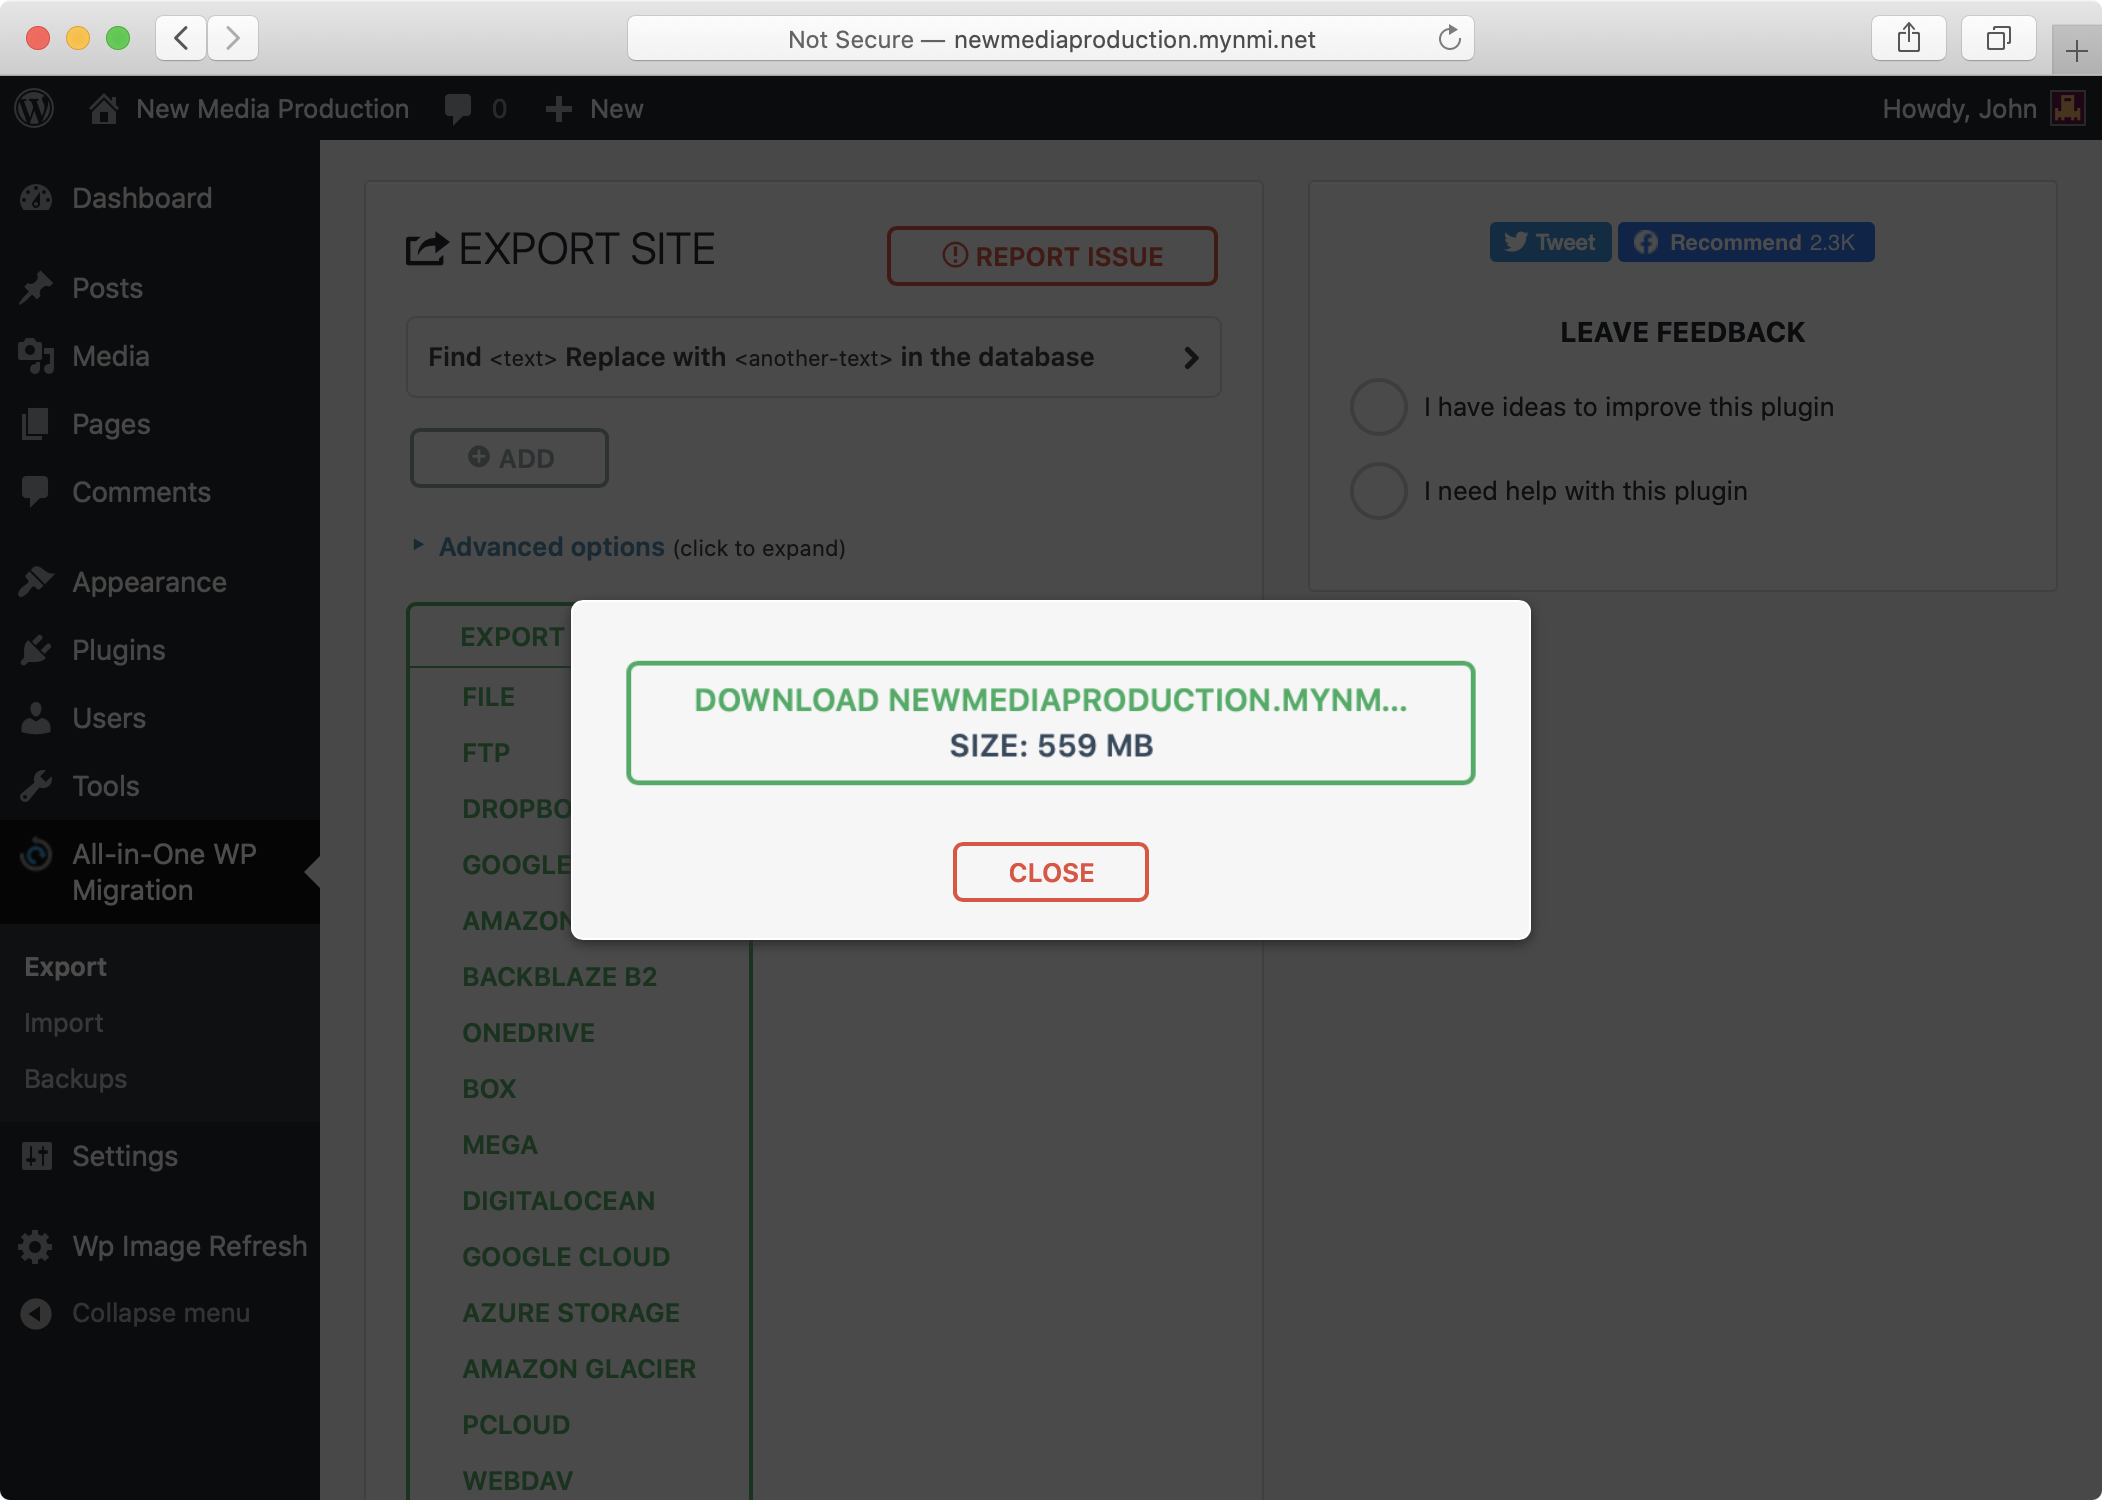
Depending on the size of your site, you’ll likely have to wait a bit. Then, click the annoying bouncing download button:
Next, on your destination server (your client’s new site), create a new WordPress install. Don’t worry too much about its configuration, as that will shortly be overwritten.
Still on your destination server, install the All-in-One WP Migration plugin again, and then also install and activate this companion plugin (direct download link). Next, click on “All-in-One WP Migration” in the WordPress sidebar. Choose Import From > “File”:
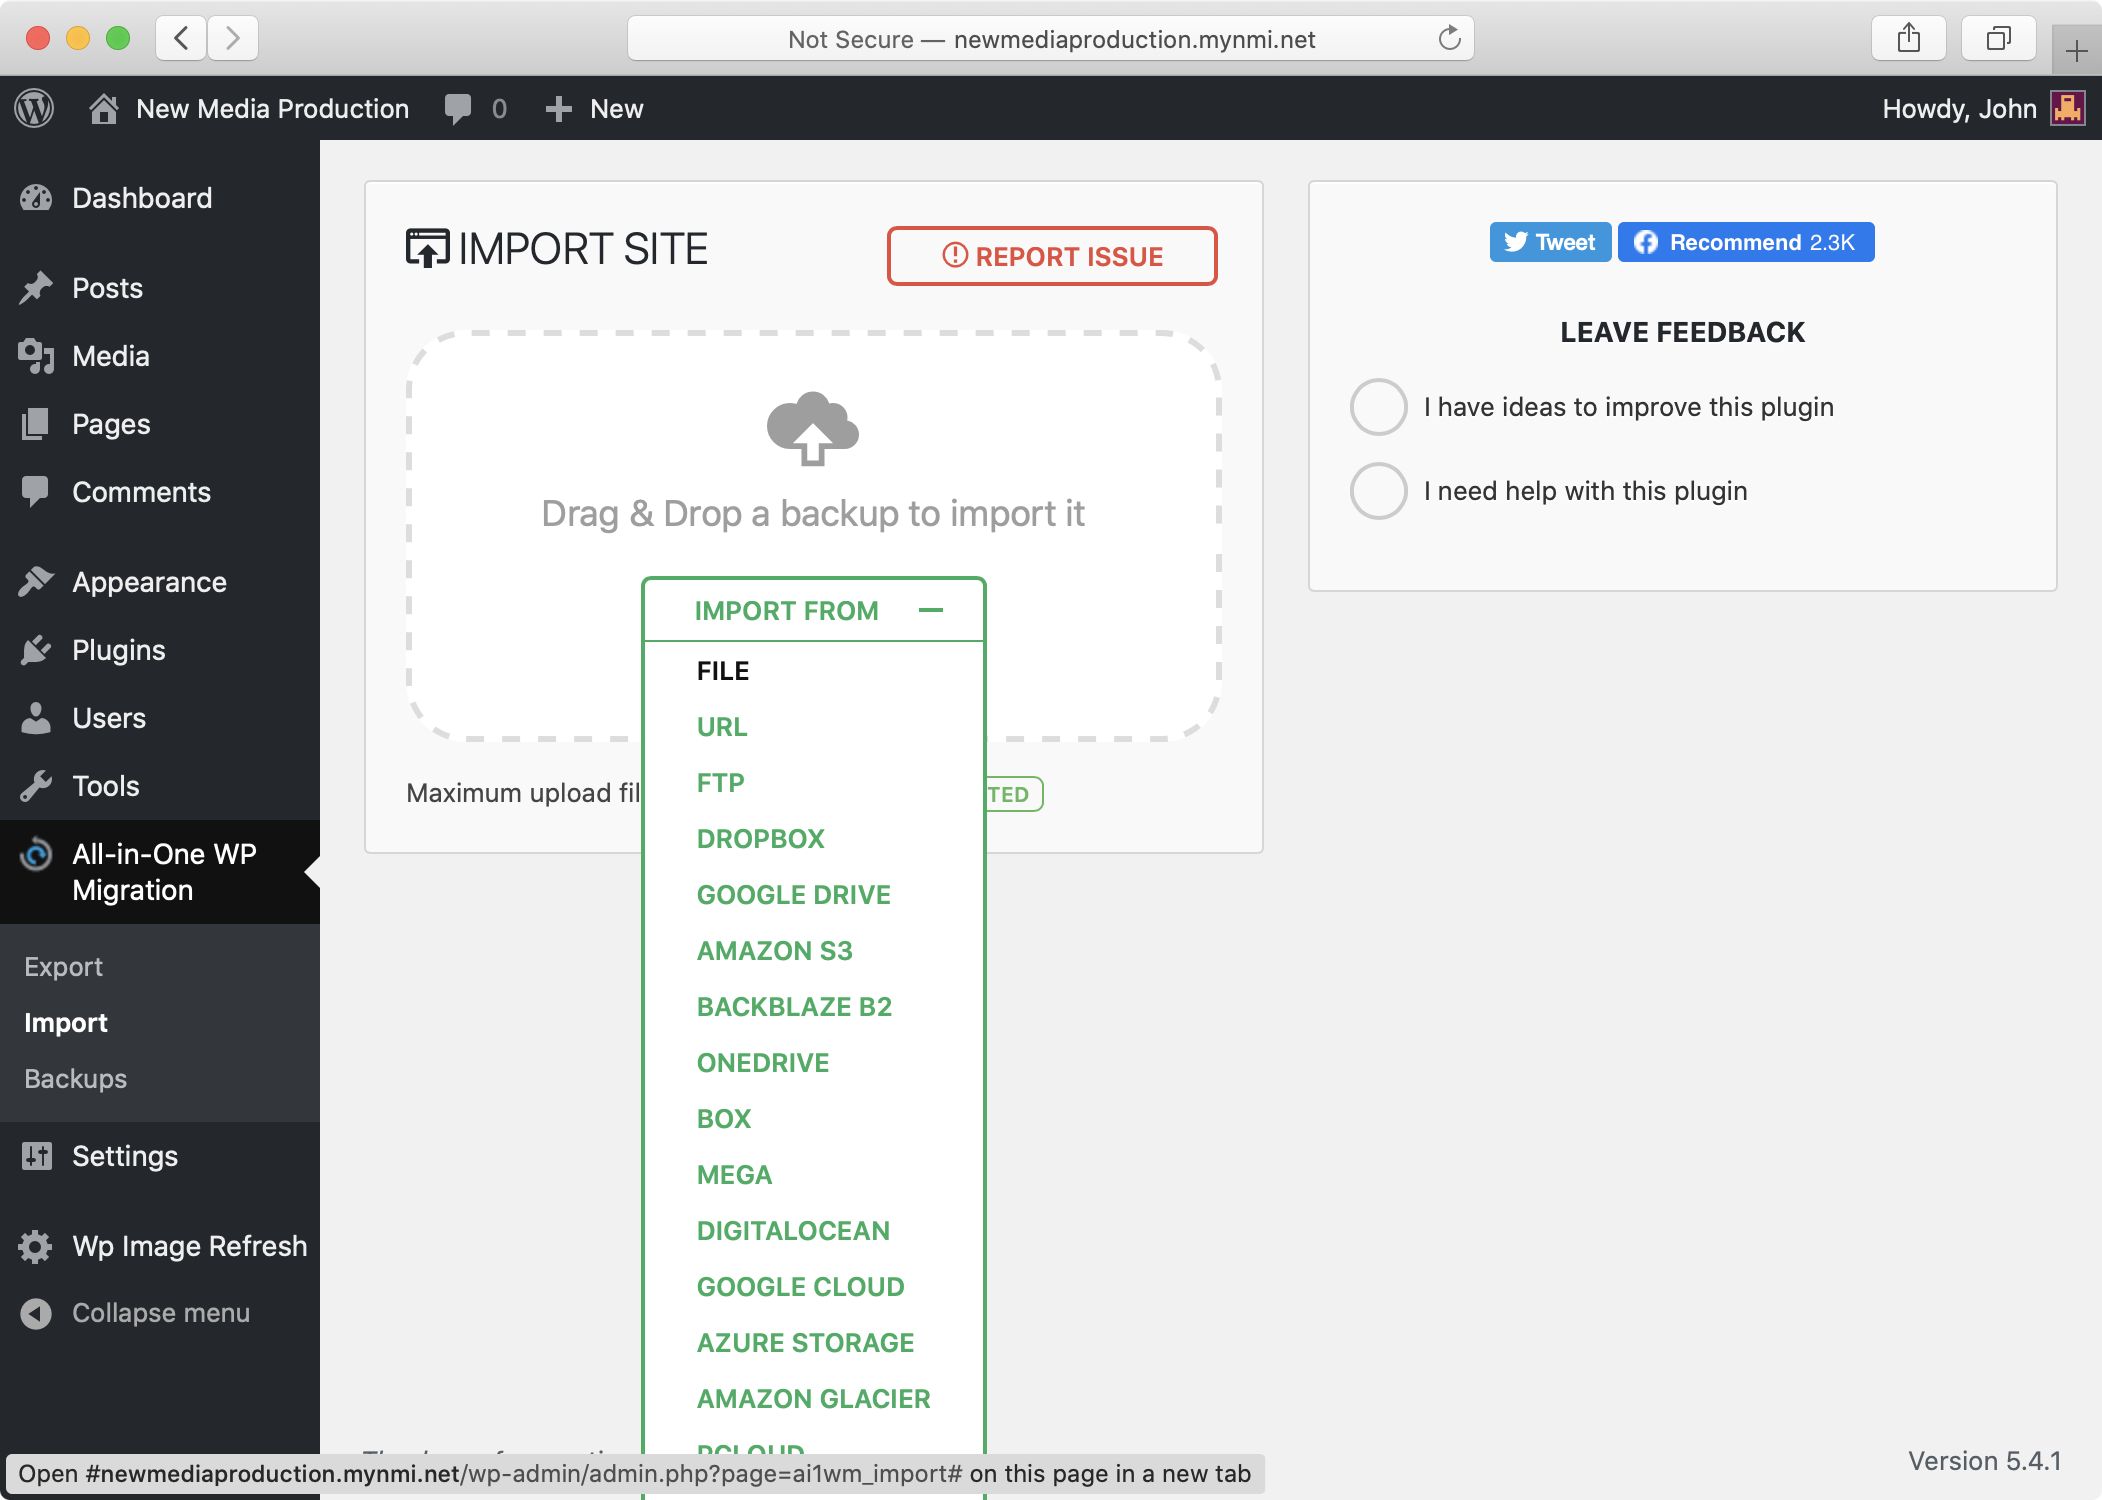
Select the file you just downloaded from your source install, and follow the on-screen steps. To log in to your newly-migrated install on your destination server, you’ll need to use the same WordPress username and password as on your source server.
In a few isolated cases, there are other paths to recovery, but don’t count on them.[footnote]
Moving on your own server
Don’t just drag and drop!
With Project 1 and Project 2 (and really, any site made only of static files), you could just move project folders around at will. With WordPress, which depends on a precisely structured set of files linked to a database, not so much.
So, rule number one: if you want to move (or rename) your WordPress install on your own server, don’t just drag and drop. What should you do instead?
Clone yourself
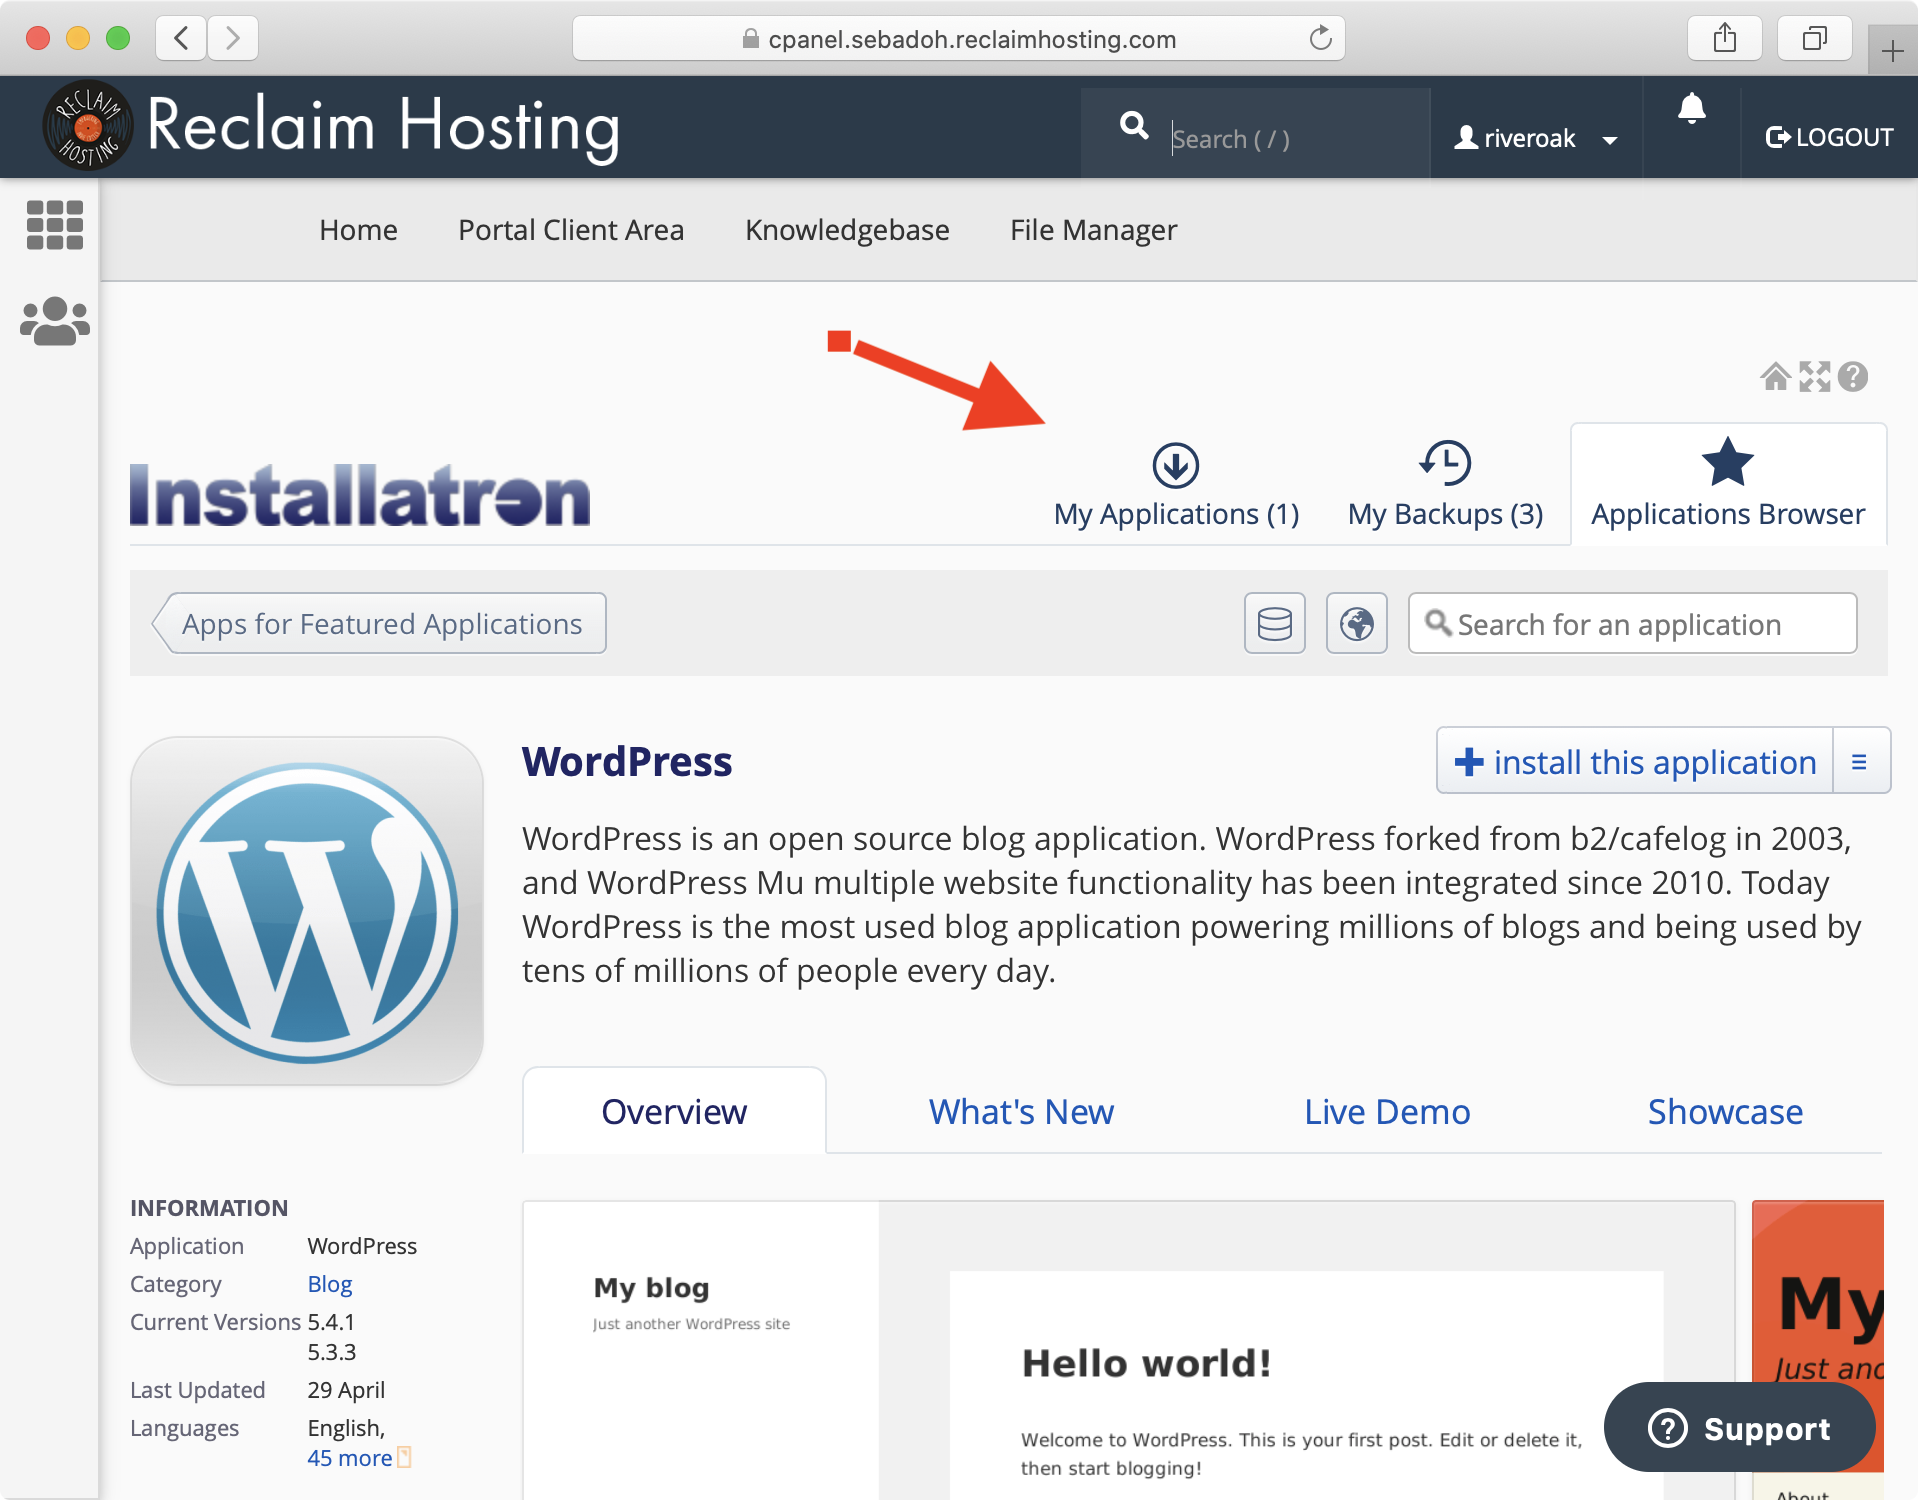
Log into cPanel, and click on the WordPress icon
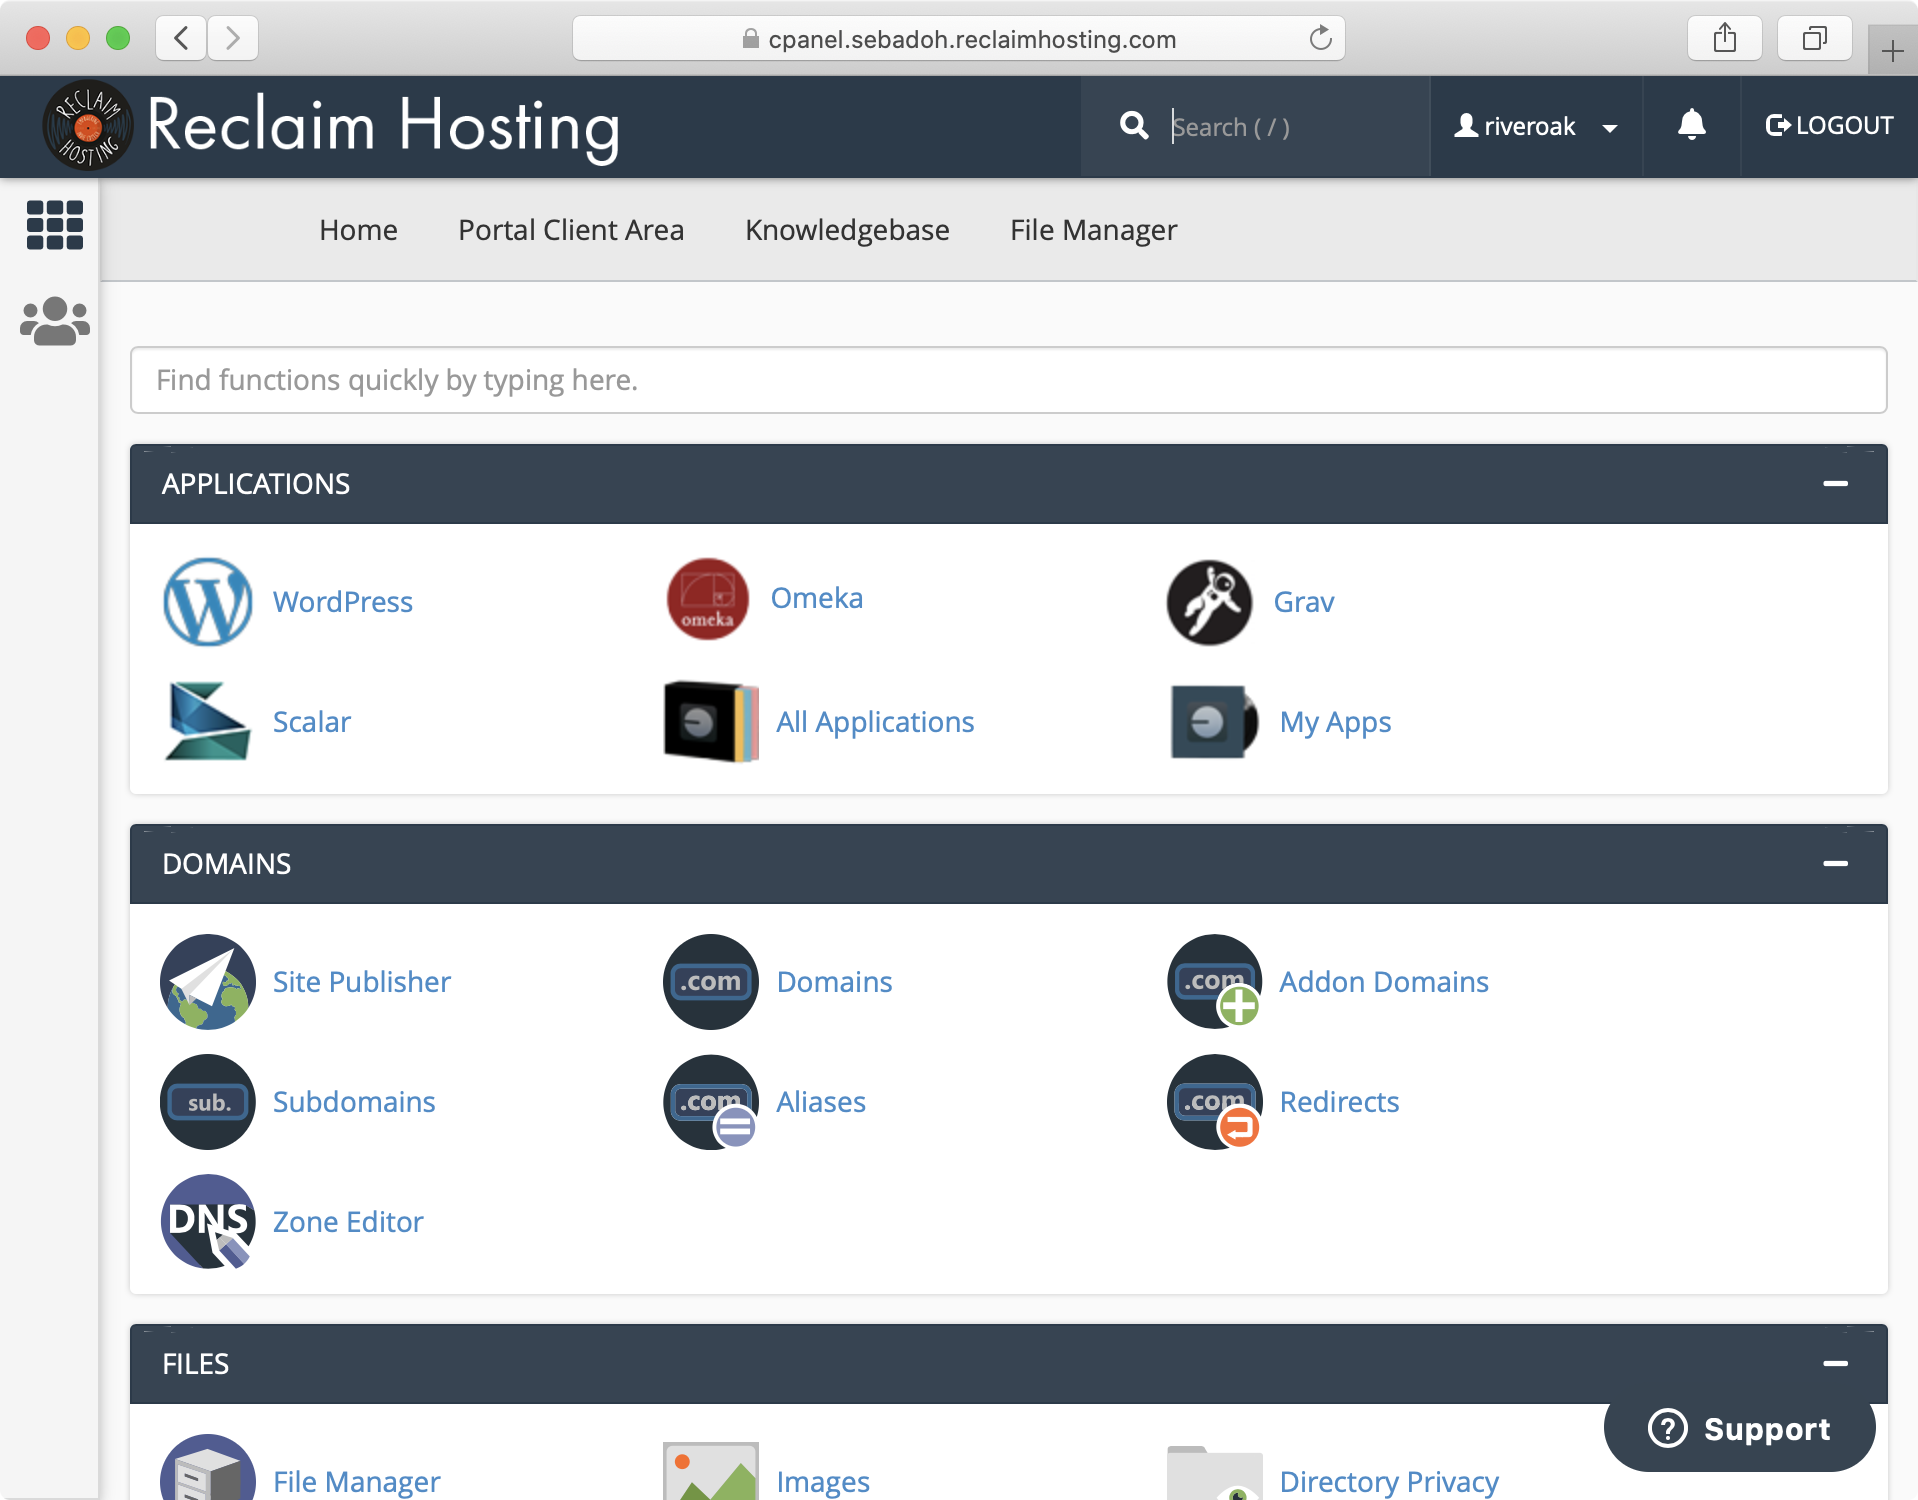
Then, click “My Applications”:
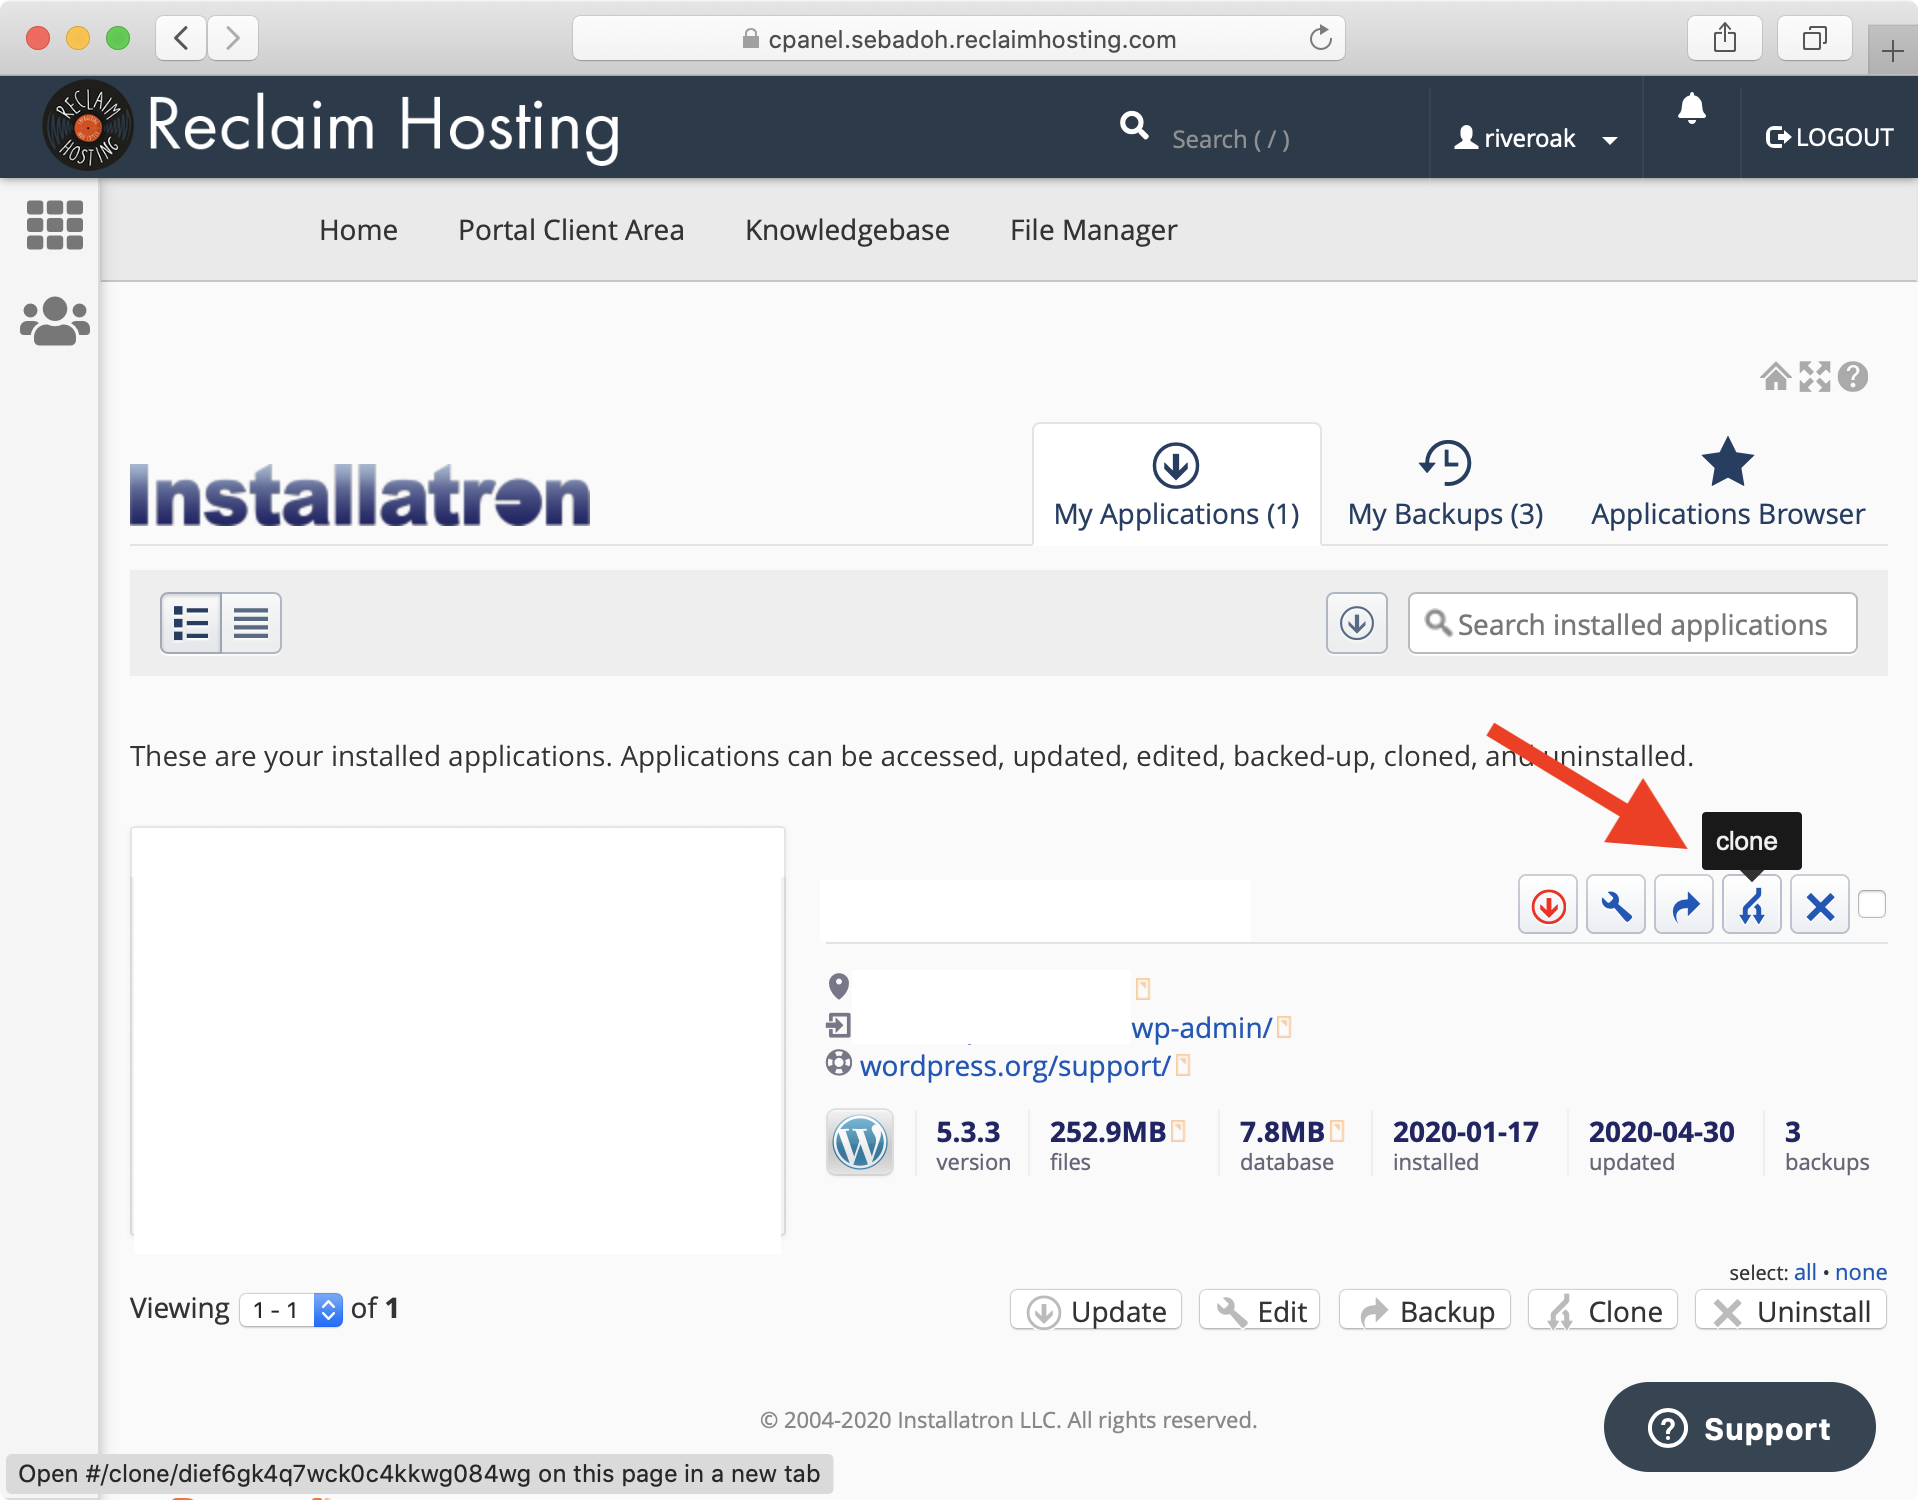
Then, click Clone, being sure to use the set of icons on the same horizontal line as the install you want to clone:
On the next screen, you’ll see a bunch of options, but the only one you’ll want or need to change is the directory to which you plan to clone your install:
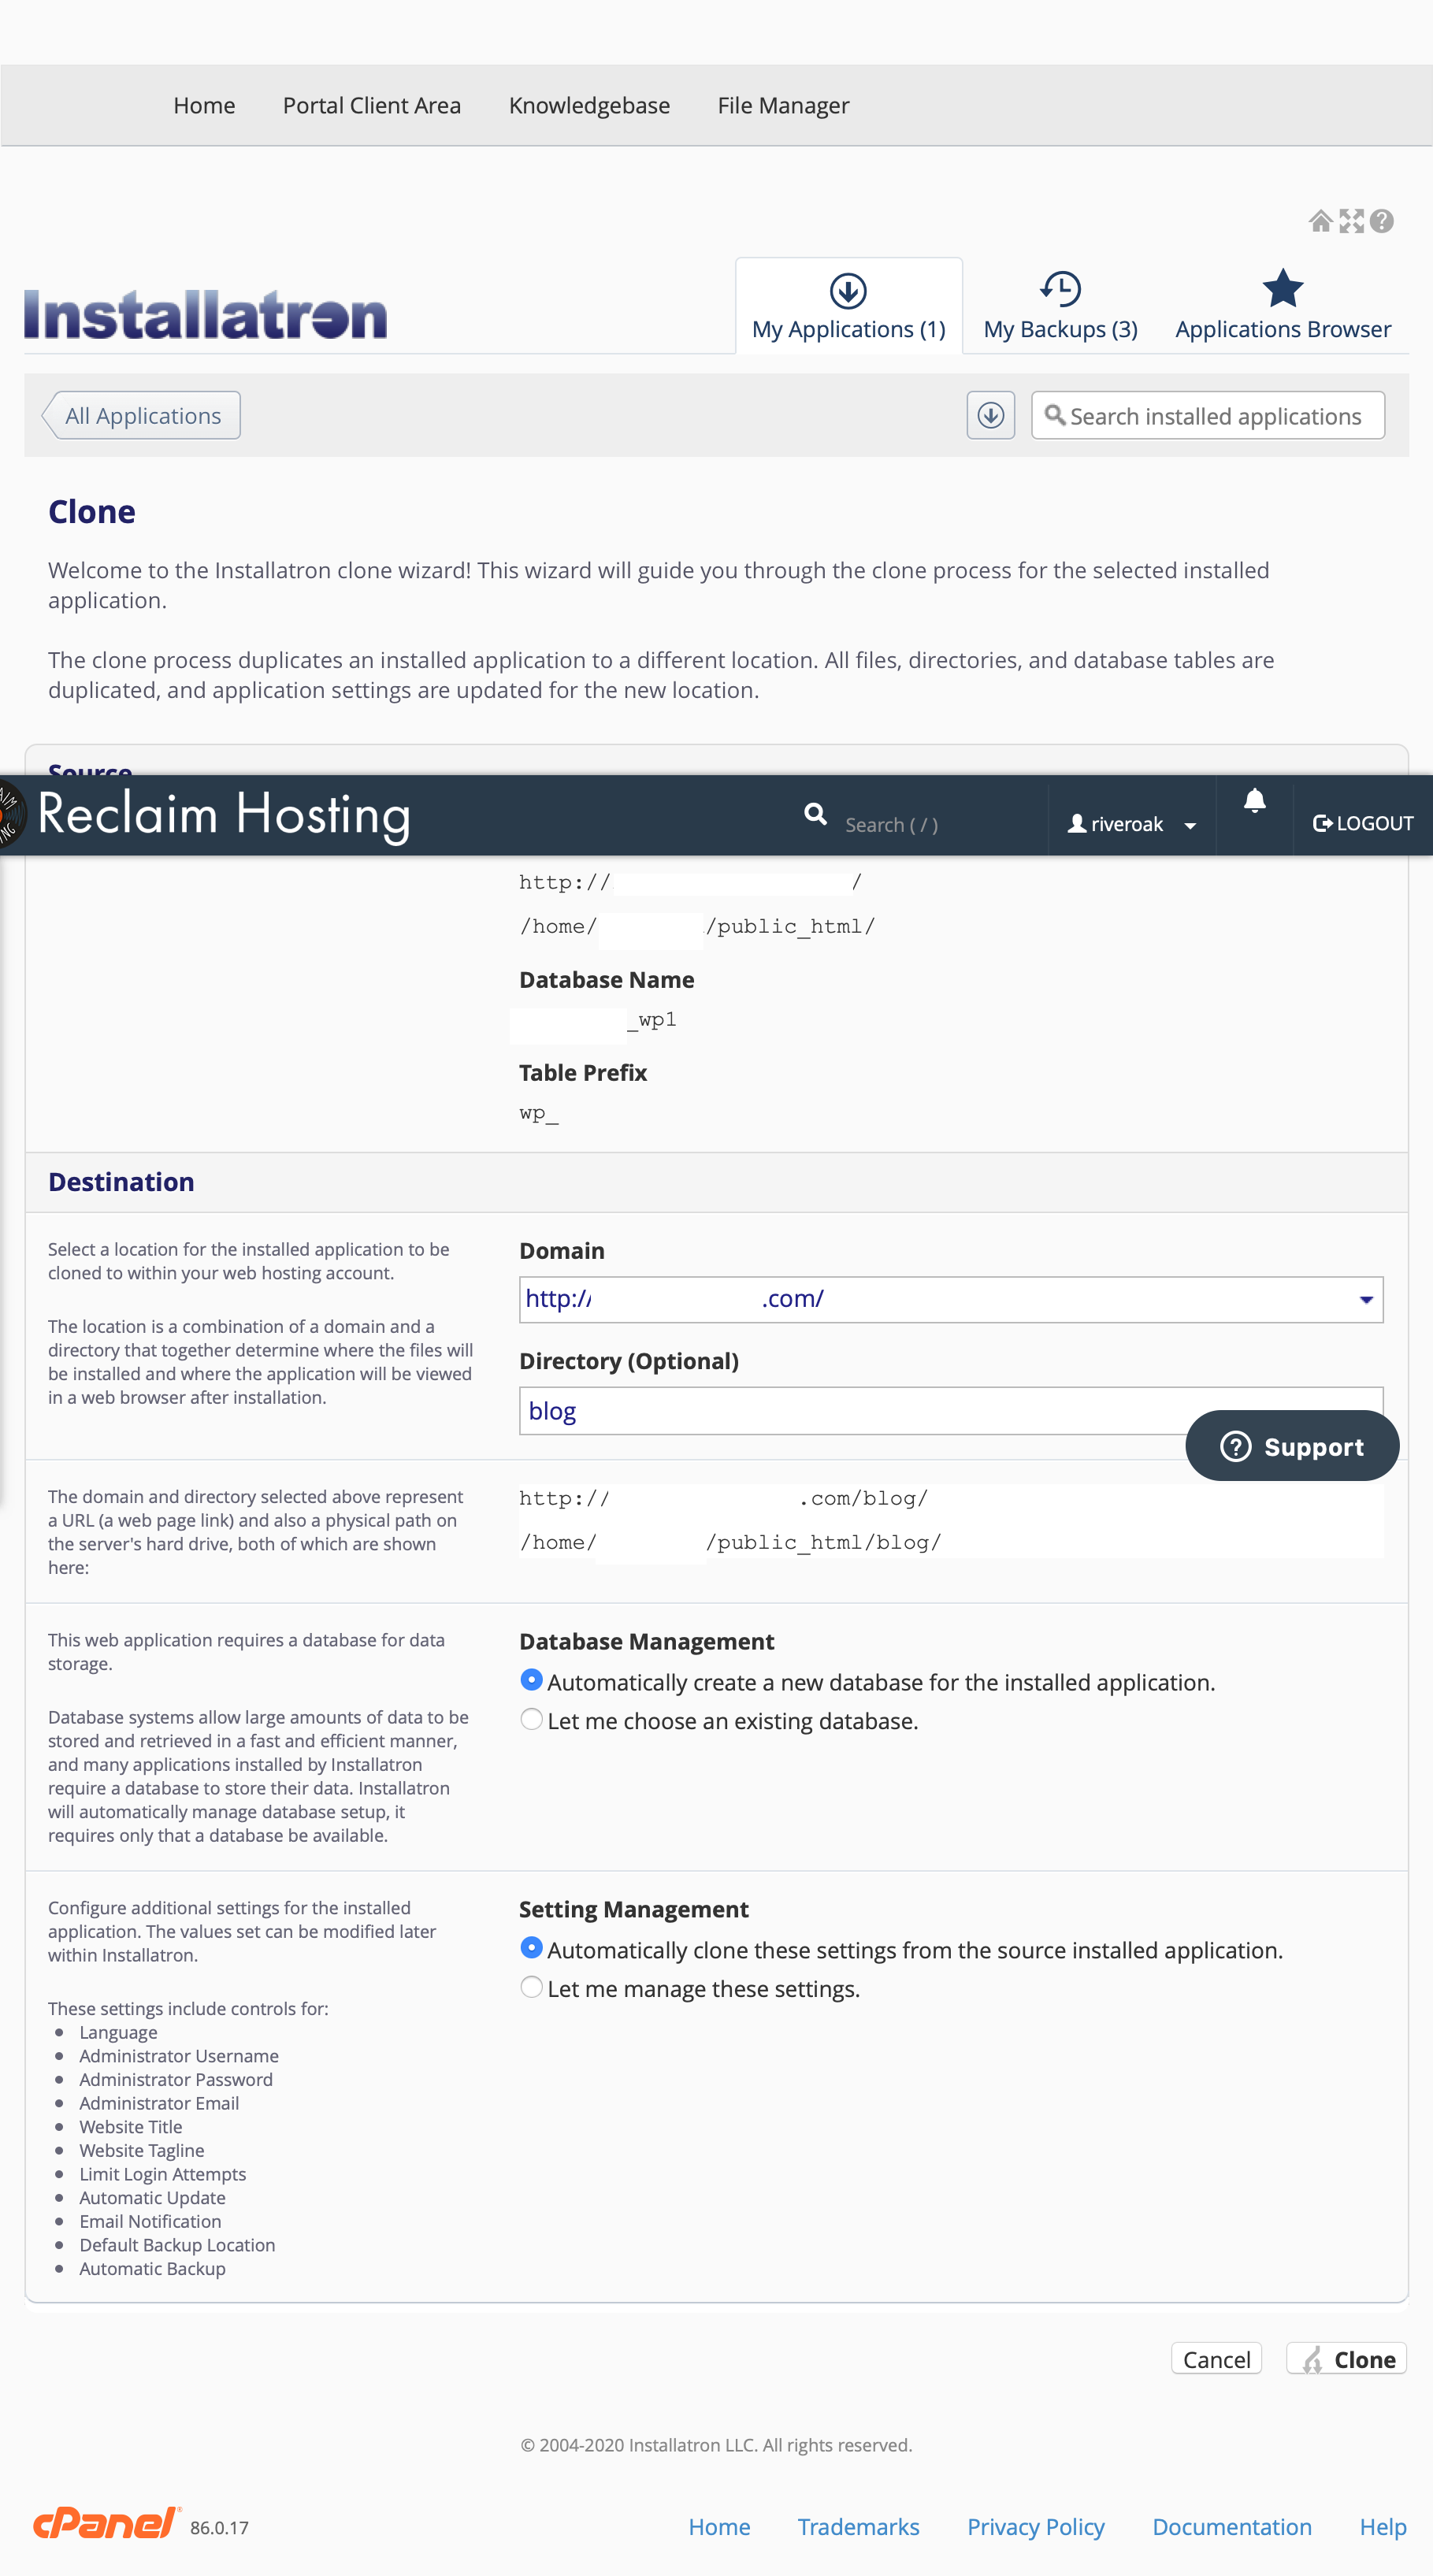
Then, click “Clone”, wait a minute, and you’ll be off to the races. Your login credentials for your cloned install will be the same as your original installation, except you’ll now login at
yoursite.com/new-location/wp-admininstead ofyour site.com/original-location/wp-admin.After logging into the new install and verifying that everything is as it should be (and it should, unless you have some complex plugins that require you to specify specific URLs), you can delete your original install. If you choose to do so, however, be extremely careful—the UI for doing this can be a bit confusing, so quadruple-check everything before clicking delete.[footnote]The main source of confusion? The “Delete” button, as with the “Clone” button, maps to the install that’s on the same horizontal line as the install name, but if you have multiple installs, it can look like the button to delete something is beneath that install’s details, and you can easily accidentally delete a different install.↩
This most often happens in this course if you’re building a site for a friend or family member for your final project, but they haven’t yet purchased a domain (and so you go ahead and start building on your own server.↩