We’ll use the following tools, all of them free and cross-platform, in this course. These are all already installed on the classroom iMacs for residential sections. Students in both residential and online classes must install and configure all of them on their personal computers, as well.
Browser – Google Chrome
Google Chrome– For web development, Chrome is tops. Make sure to download it, and set it as your default on your computer. To do that, click into the “Settings.”
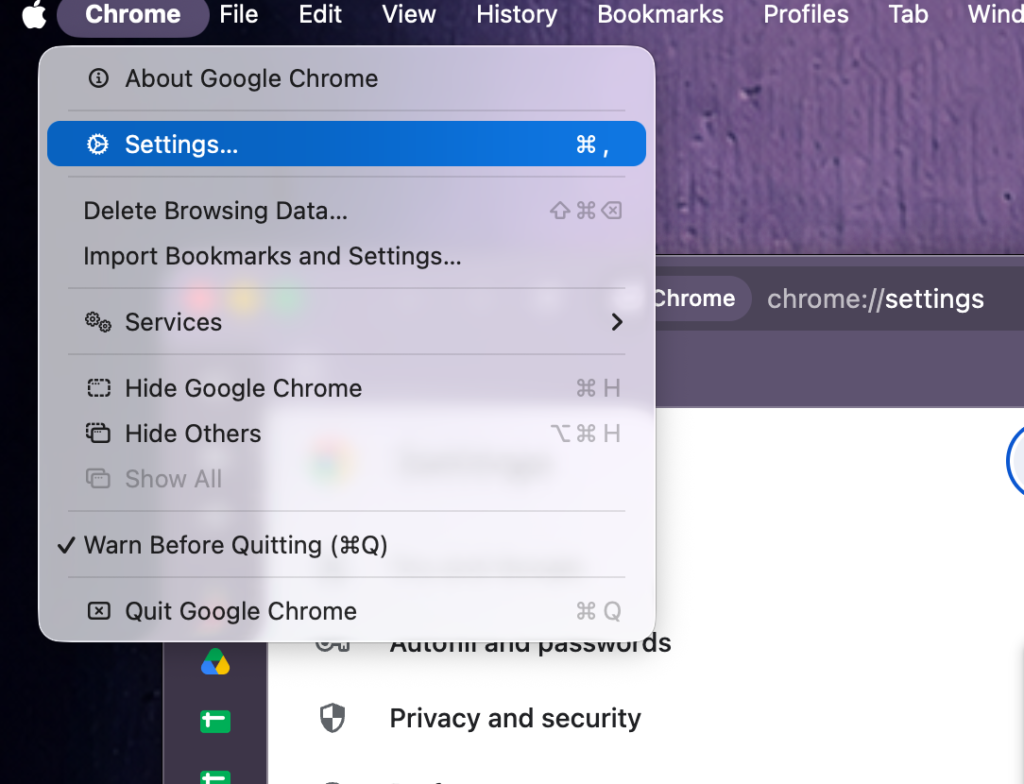
Locate “Default browser” in the menu and make sure Chrome is selected as your default.
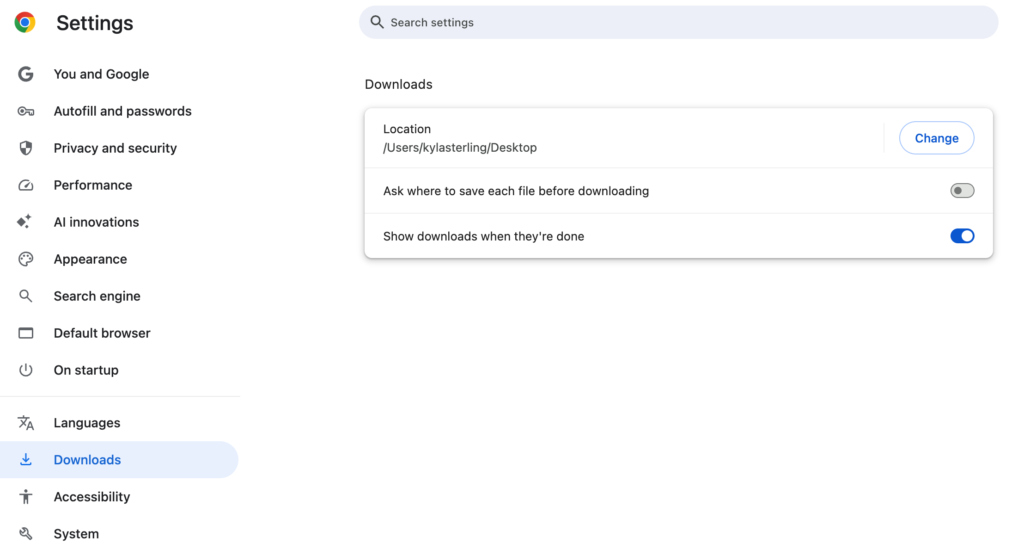
While you’re there, we strongly recommend you to configure Chrome to download files directly to your desktop 1. To do that, find Downloads in that same settings list and change the location to Desktop. See below!
Code Editor – Visual Stuido Code
Visual Studio Code – Quickly becoming the industry standard for code editing, we’ll use this to create and edit HTML, CSS, and JavaScript files. Also, on a Mac, you’ll need to follow these steps to install in after clicking download and then double-clicking on the .dmg file.
Drag the Visual Studio Code to your Applications folder:
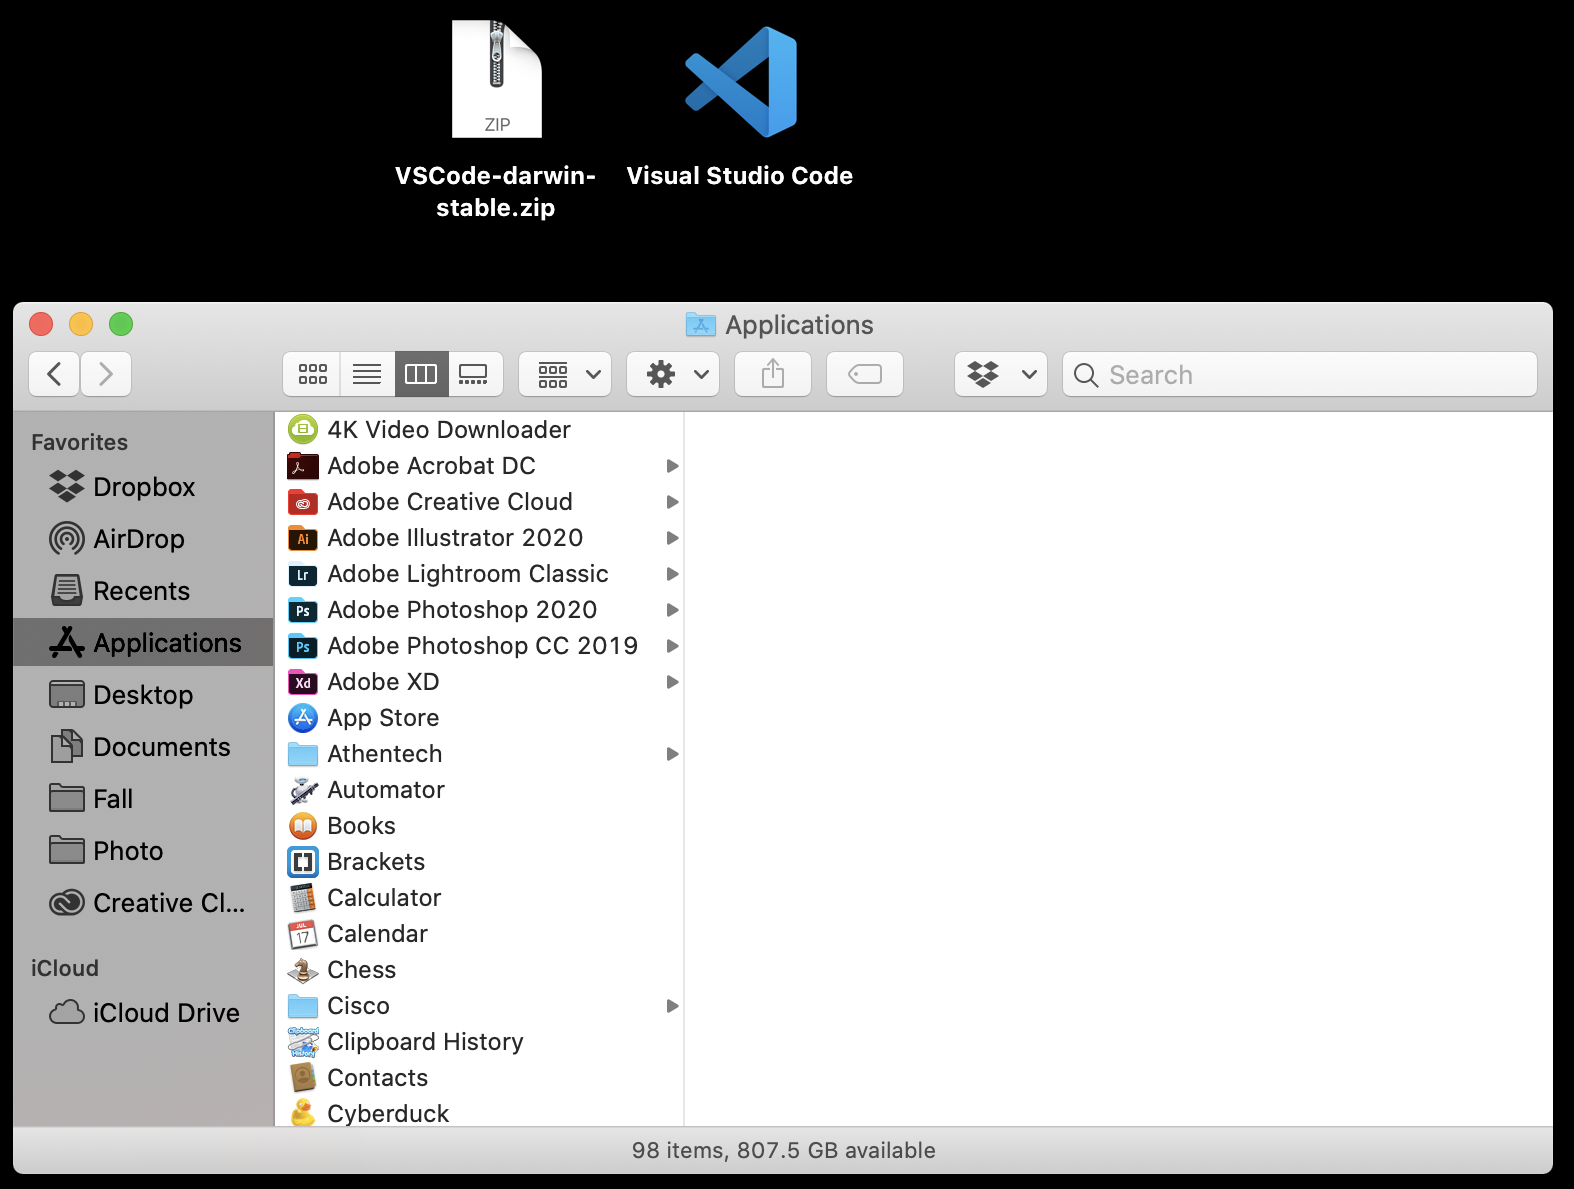
Double-click on the icon to open it, getting this warning:
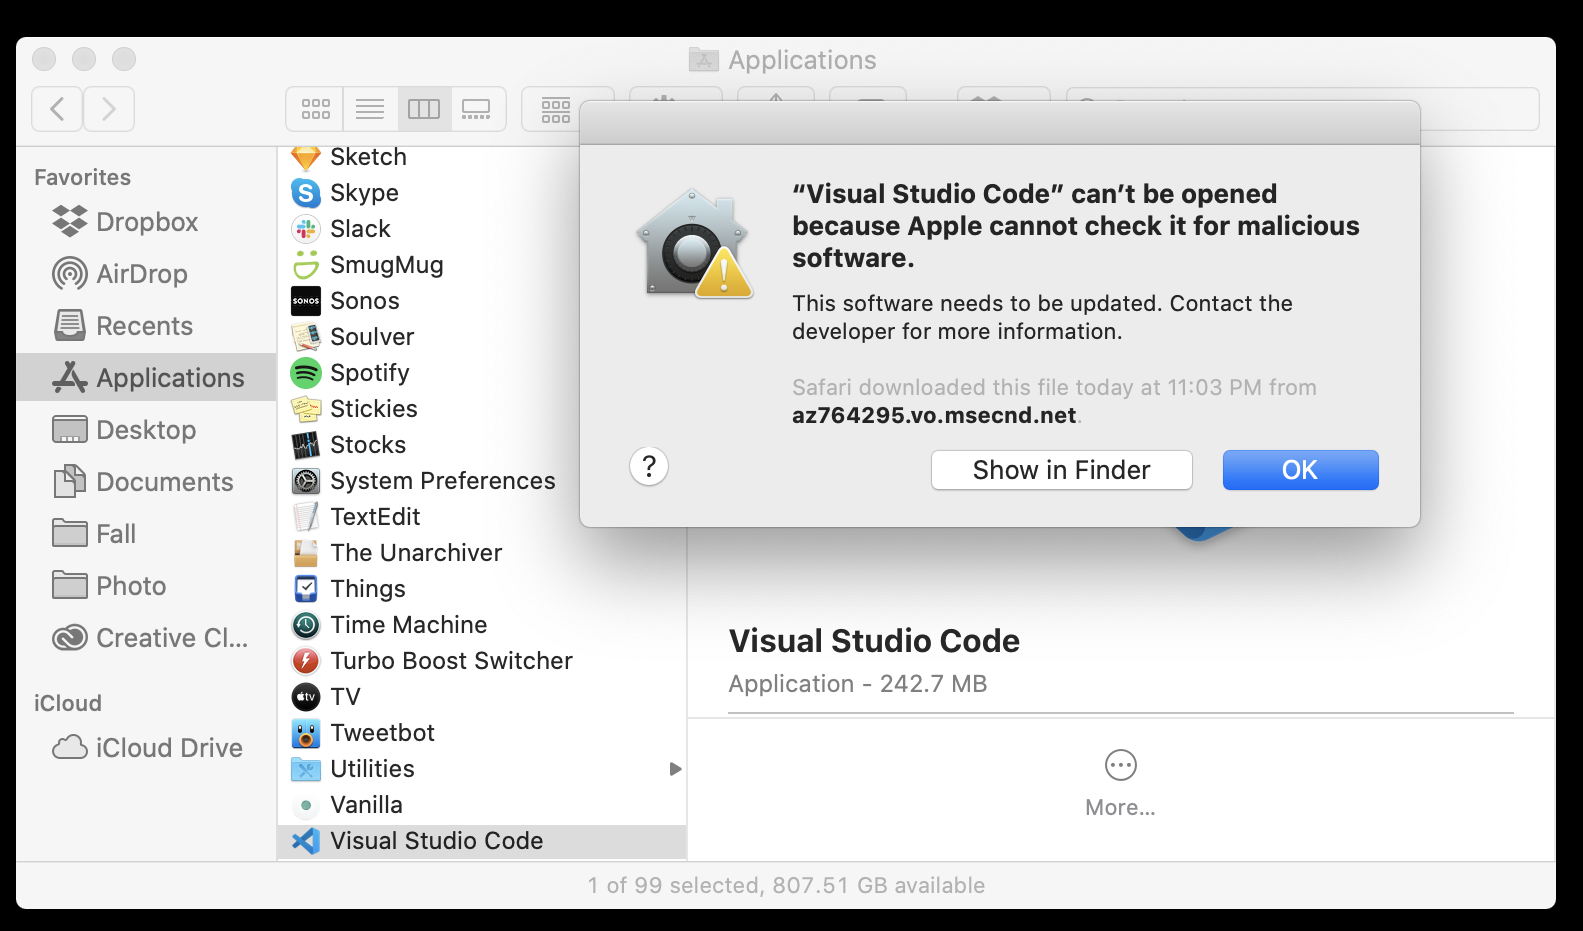
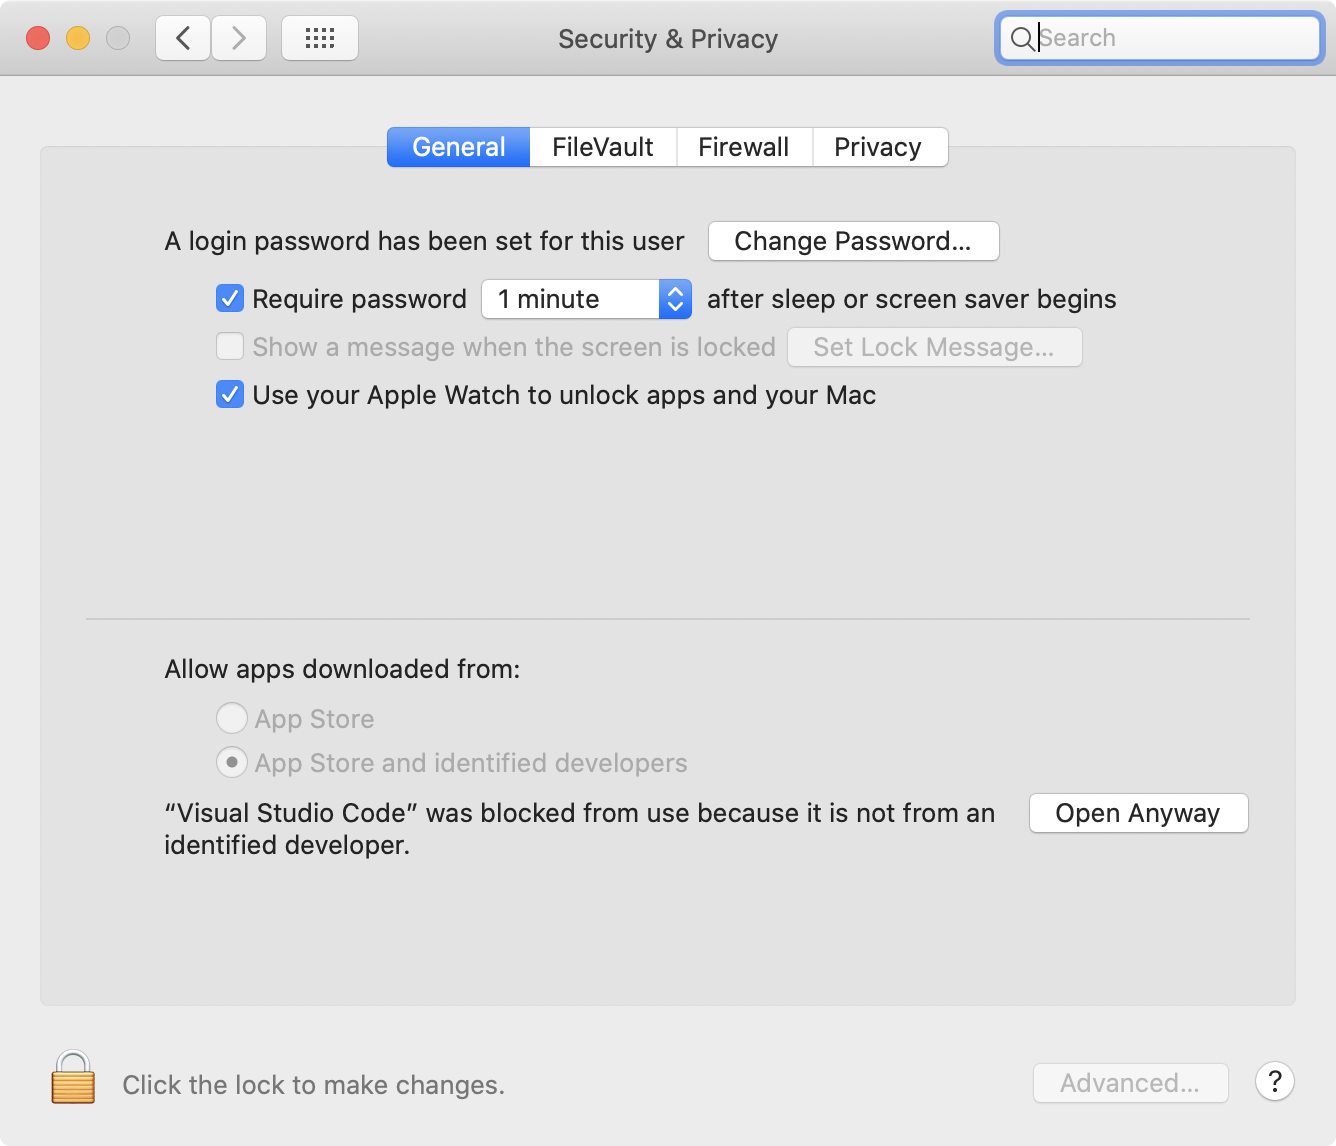
Then open System Preferences, navigate to Security and Privacy, then General, then click “Open Anyway”2
FTP – Cyberduck
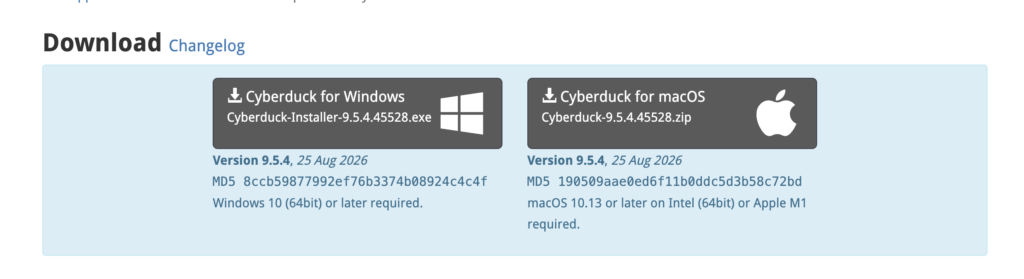
Cyberduck – Weirdly, you pay for this tool in the Mac App Store, but you can still download it for free straight from their website. Your FTP client will allow you to connect to and manage your server (once you have one).
File Sync
- Flash Drive – This will be your primary file storage system. A good ol’ flash drive works great for our needs, especially if you’re taking Web Dev residentially and need to get your files from one machine (lab computer) to another (your computer) and vice versa. The following can be used as back-up on your personal computer (highly recommended)!
- Syncing Software – There are several great file syncing services out there, and if you’re comfortable / already invested in one of them, go for it. However, if you’re looking for a good option, check out OneDrive. It’s easily accessed through your email, or you can download it to your desktop. The beauty of OneDrive is that you get 1TB of storage for FREE as a UGA student which should be more than enough for this course. However, there are many other options such as Dropbox, Google Drive, etc.
IMPORTANT: If you do go with OneDrive, you’ll want to make sure that you right click your class folder(s) and choose the option, “Always Keep On This Device.” This same requirement applies to any syncing tool you use though the process may vary a bit.