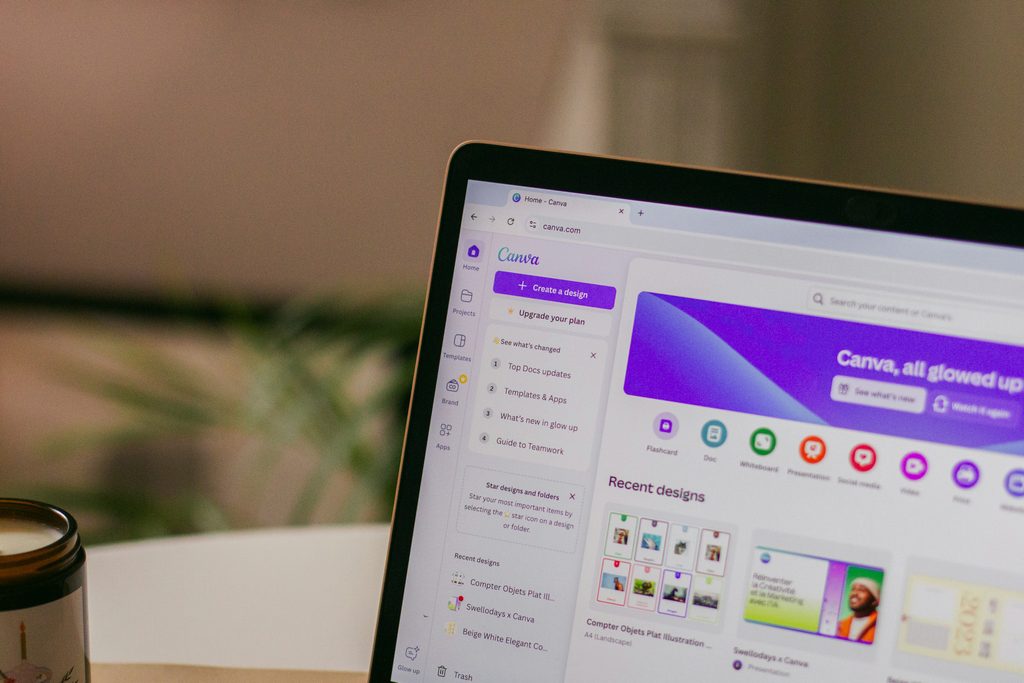
What Problem are we Solving?
Imagine you’re building a website with a gallery of images. You want everything to look polished and cohesive, but your photos are all different shapes and sizes. Some are tall, some are wide, and others are square. The result? An uneven layout that can feel a little chaotic.
You could crop and resize each image individually using Preview or another image editor, but that gets tedious when you’re working with a lot of photos. Canva offers a quick way to crop multiple images to consistent dimensions without having to edit each file separately.
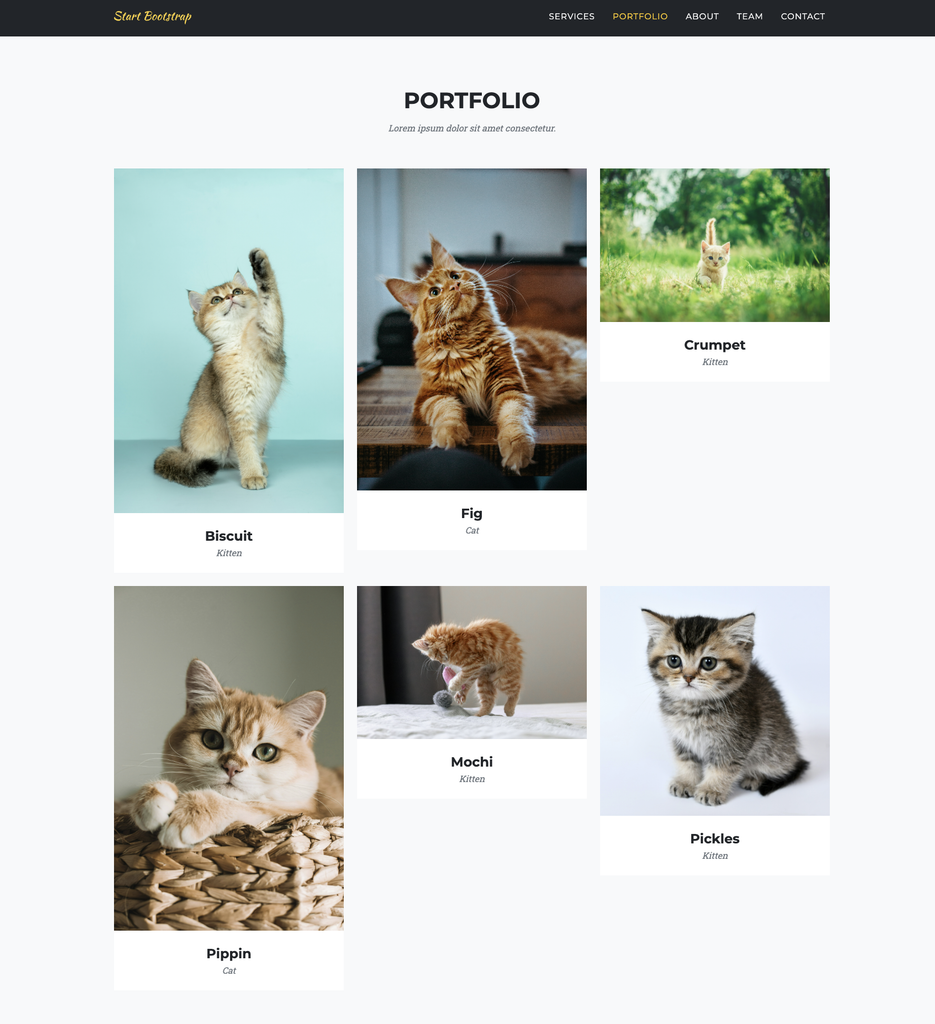
Before: Different Aspect Ratios
When images have different aspect ratios, they can create uneven rows, inconsistent spacing, and misaligned content. Even great photos can look a little messy when they’re displayed together.
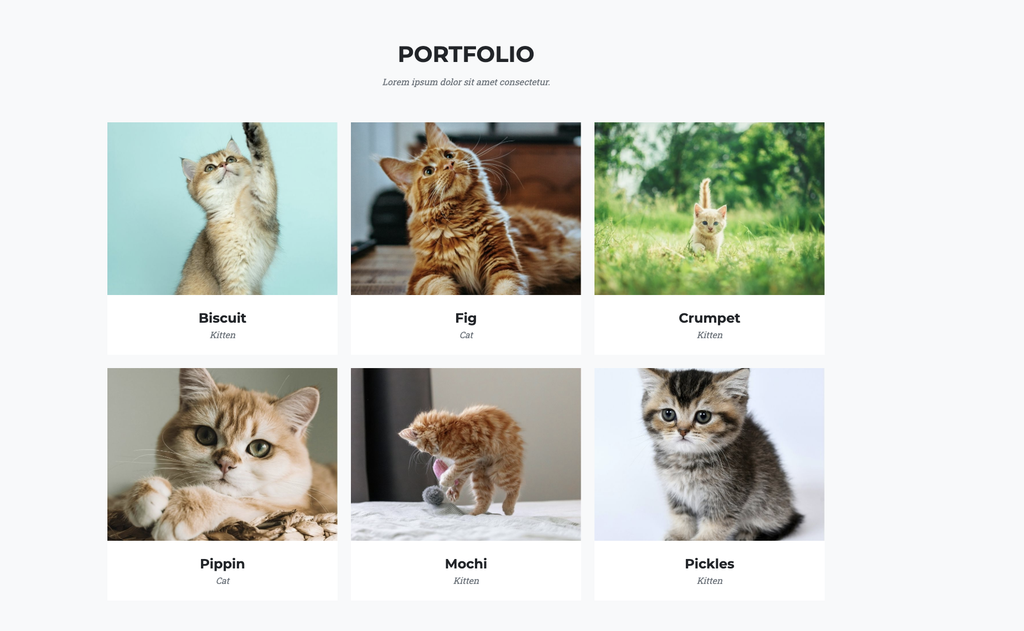
After: Consistent Aspect Ratios
By cropping all the images to the same aspect ratio, we can create a cleaner, more cohesive gallery. The images align neatly, and the overall design feels more intentional.
Ready to give it a try? Let’s use Canva to crop a batch of images to the same dimensions in just a few steps!
Step 1: Create a Custom-Size Design
- Open Canva.
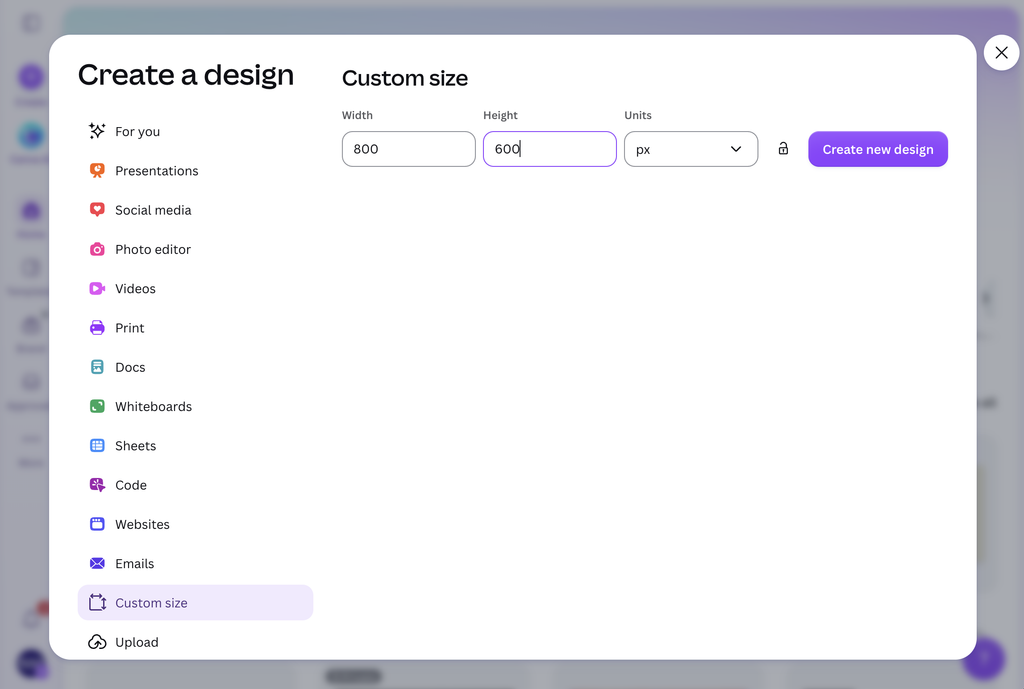
- Click Create a design → Custom size.
- Set the units to px (pixels).
- Enter 800 (width) × 600 (height).
- Click Create new design.
You now have a blank canvas with a 4:3 aspect ratio!
What’s an Aspect Ratio Again?
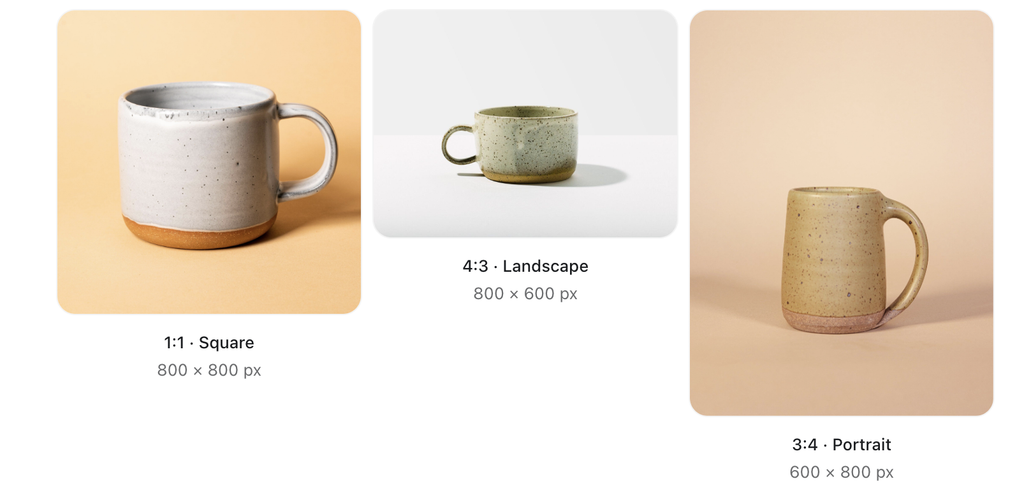
An aspect ratio describes the relationship between an image’s width and height. Different ratios work well for different purposes:
- 4:3 (800 × 600 px): A versatile choice for blog images, photo galleries, and content cards.
- 16:9 (1200 × 675 px): A wide format that’s great for banners, featured images, and video thumbnails.
- 1:1 (600 × 600 px): A square format that’s useful for profile pictures, product images, and grid layouts.
Tip: The dimensions can change without changing the aspect ratio. For example, 800 × 600 and 1200 × 900 are both 4:3. The important thing is keeping the proportions consistent!
Step 2: Add a Photo Frame
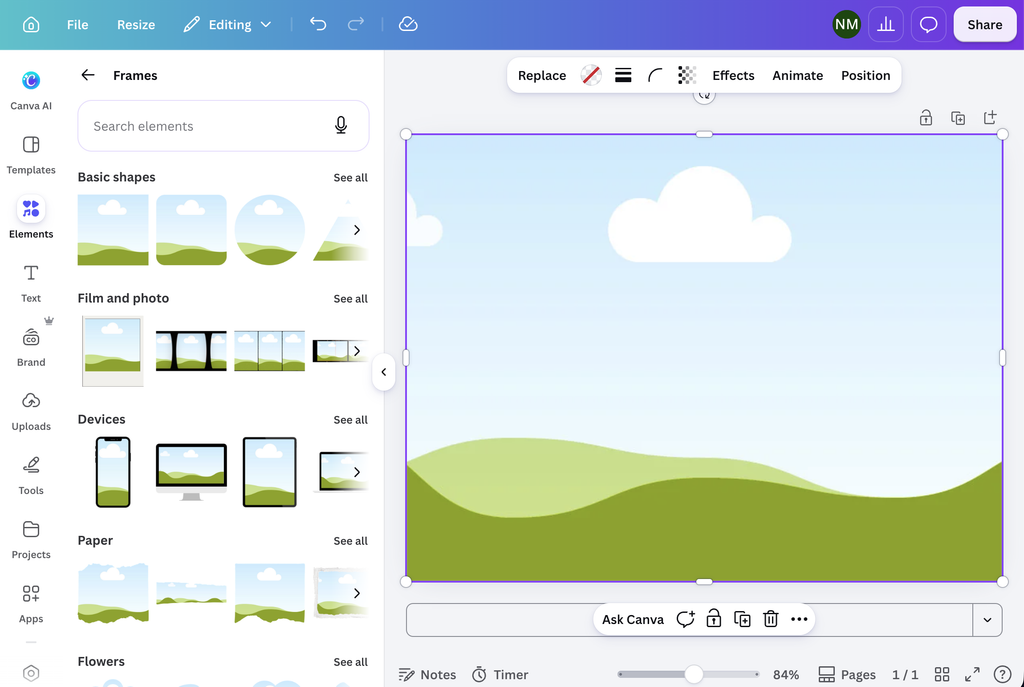
- In the left sidebar, click Elements.
- Search for Frames.
- Choose a plain rectangular frame.
- Resize the frame to fill the entire canvas, making sure there are no white margins.
Step 3: Add and Crop Your Image
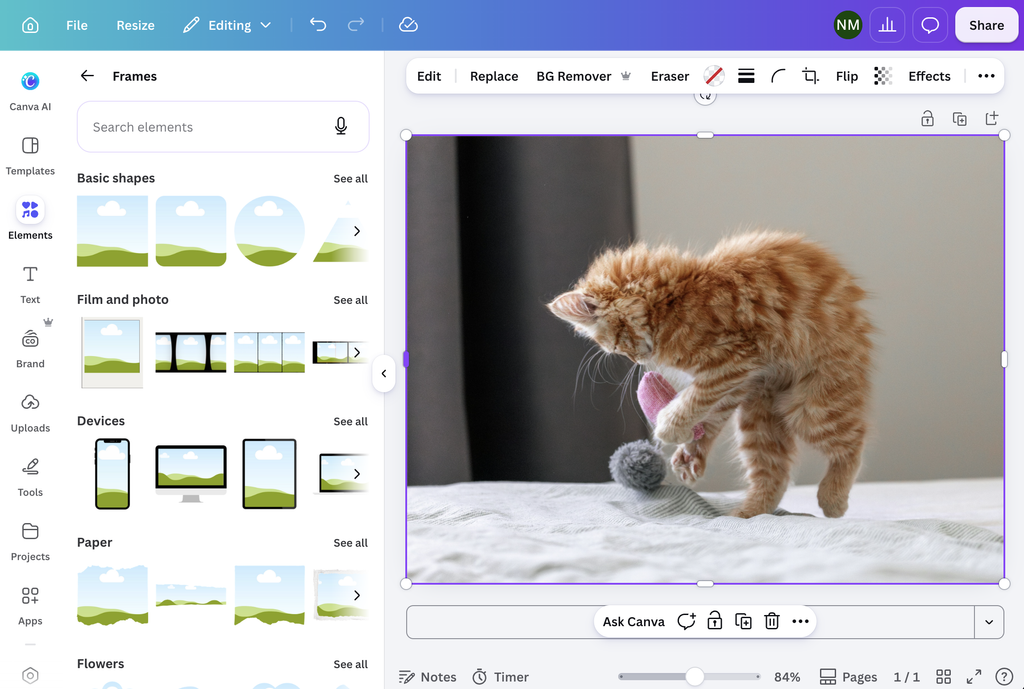
- Click Uploads → Upload files and select your photograph.
- Drag your image into the frame.
- Double-click the image to reposition or zoom until you’re happy with the crop.
- Click outside the frame when you’re finished.
Step 4: Repeat for Multiple Images
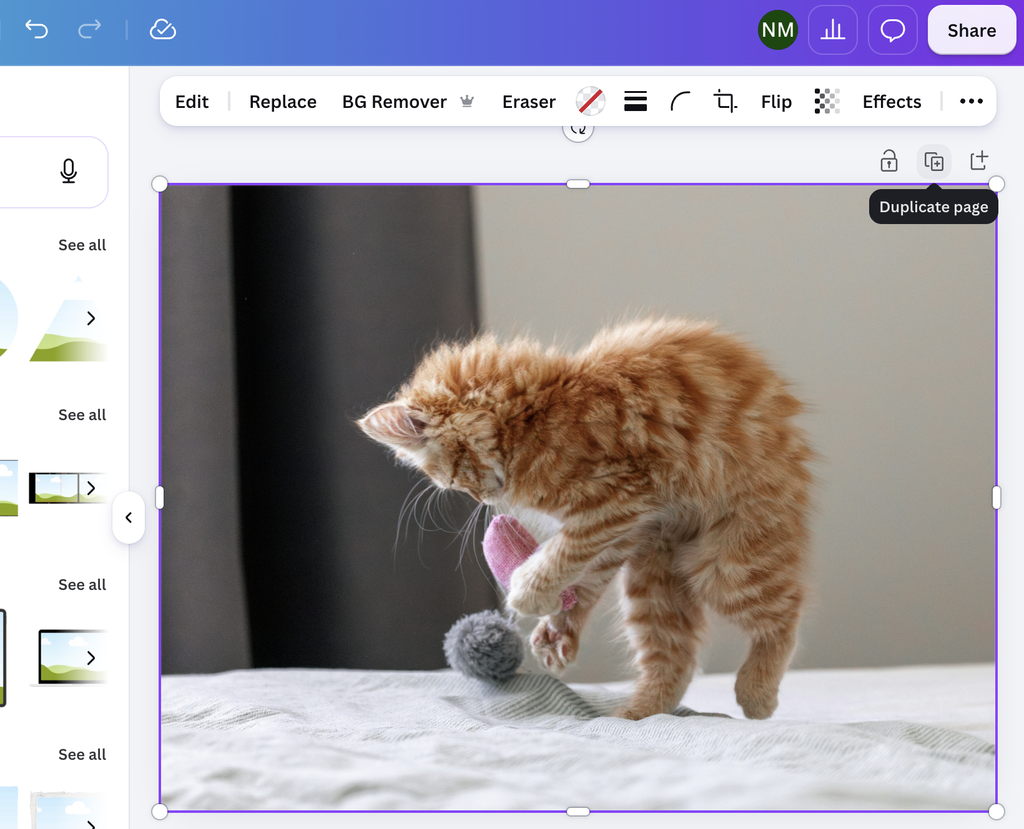
- Click Duplicate page.
- Drag a new photograph into the existing frame to replace the previous one.
- Double-click to adjust the crop.
- Repeat for as many photographs as you need!
Every page will have the same dimensions, but you can customize the crop of each photograph.
Step 5: Download Your Images
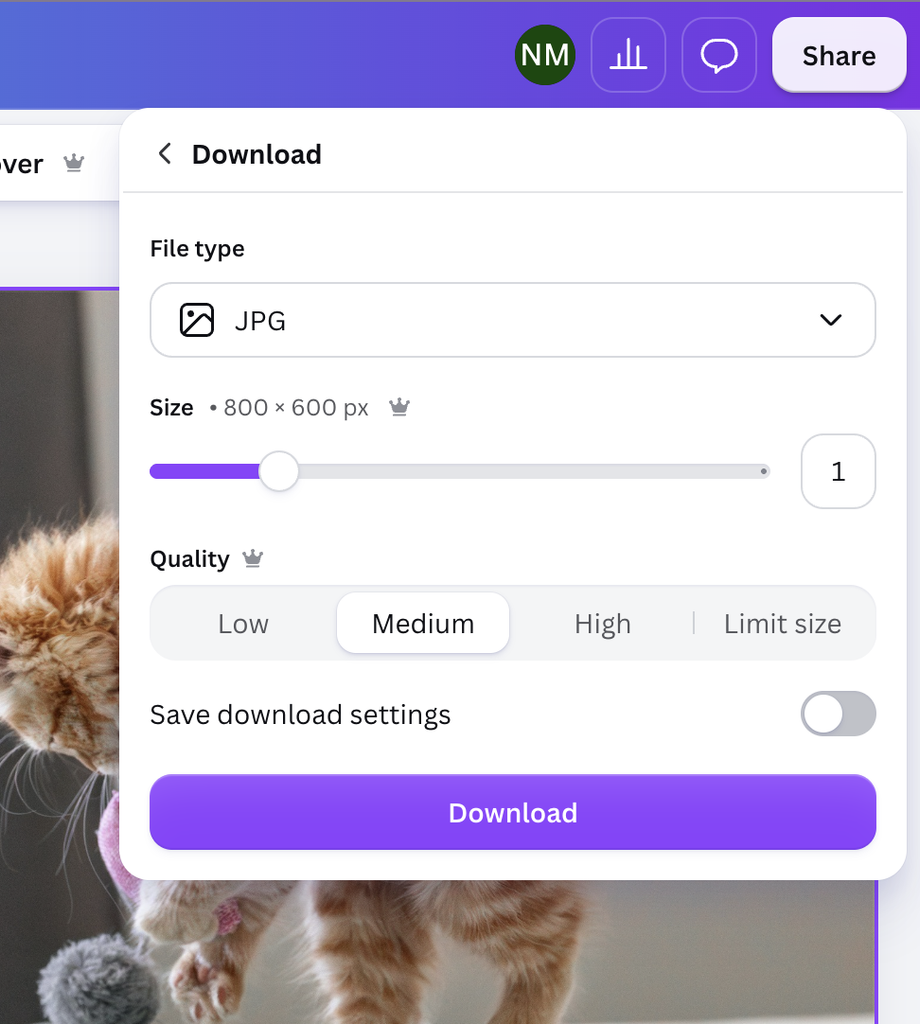
- Click Share → Download.
- Select JPG as the file type.
- Keep the size at 1× (800 × 600 px).
- Choose All pages → Download.
Canva will typically download a ZIP file containing your images.
One last tip: Consistent dimensions are great for creating a polished, cohesive design, but don’t forget about file size! Before uploading images to your website, make sure they’re appropriately compressed so they don’t slow down your pages.