Welcome to My Sites. This is your first post. Edit or delete it, then start writing!
Category: Uncategorized
Wireframes, MVPs, Google Slides, and More
At this point, you should be familiar with the five-stage design thinking module, created by researchers at the Hasso-Plattner Institute of Design at Stanford (d.school). We’re going to spend extra time on one of the stages: prototyping.
As Microsoft Excel is to Terry majors, as microscopes are to biology majors, prototyping is to UX! Prototyping is your new best friend, a foundational skill you must learn if you want to go into the field of UX.
Explore prototyping:
Final Project
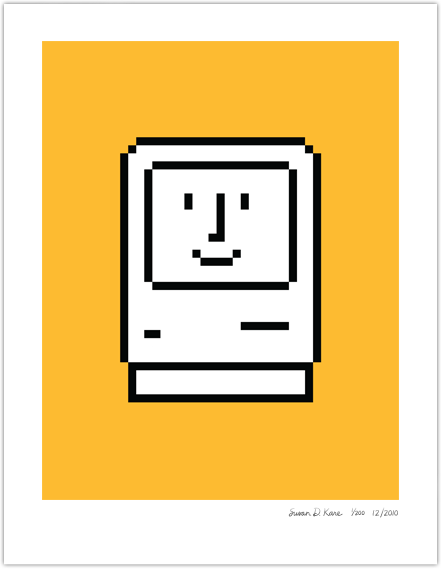
“Good design’s not about what medium you’re working in, it’s about thinking hard about what you want to do and what you have to work with before you start.”
— Susan Kare
Goals
Build something awesome that…
- Combines multiple skills we’ve learned this semester and follows best UX/UI practices (including accessibility)
- Test awesome thing on real people
- Analyze results from testing to make your prototype even more awesome
Overview
- Ideate a solution to a problem
- Design personas based on your target user
- Create a high-fidelity prototype of the solution
- Test said high-fidelity prototype on real people, using a prewritten script, consent form, task table, and other forms of usability testing discussed
- Analyze your results, including calculating success rates and confidence intervals
- Categorize your discovered usability issues into major and minor issues
- Draw insights and make design informed iterations based on testing
- Turn in a beautiful, polished, self-evident, intuitive, streamlined, prototype
- Present everything
- Have fun along the way
Bird’s Eye Breakdown
| Points | Deliverables | |
| Part 1 | 10 | Prototype 1.0 + Personas |
| Part 2 | 10 | Consent Form + Script with Task Table |
| Part 3 | 10 | Conduct User Testing |
| Part 4 | 20 | Analyze Testing Results, Create Prototype 2.0 |
| Part 5 | 10 | Present |
Details
You’re going to work with a team to design and develop all the materials above. Please take notes on deliverables and due dates outlined below. Note that only one person from your group has to submit. Groups are assigned via Slack. Before we go into due dates and further into nitty-gritty details, let’s talk about how to approach this project.
With complex, time-dependent group projects like this one, it can seem easiest to assign different people different parts. However, I do not recommend this approach for several reasons:
- Each part builds off the previous one, so a lack of understanding, miscommunication, or waiting for someone else to do something, can impact your ability to do your part. And there’s nothing more annoying than being 100% dependent on someone else! Am I right?
- Communication and collaboration between parts are (is?) required to complete this project successfully.

Test UI/UX on real devices for the most realistic experience.
To ensure your group operates as smoothly and effectively as possible, I recommend:
- Using Adobe XD’s share link feature to add comments on prototype and personas
- Create a channel in Slack (or GroupMe, group text, etc) just for your team. Communication is everything.
- If you’re working on a mobile app, preview it on the device.
- Try to be flexible with your schedule, and patient with other people’s time constraints. Schedule weekly Zoom meetings early. Don’t ghost your teammates, don’t show up late — be a good human. Remember, the longer you wait to get started, the more likely you’ll be juggling finals in your other classes!
- Dedicate one person to turn in deliverables on eLC.
- When conducting user testing, have one person ask questions, and another take notes and screenshots (if on Zoom) or pictures (if in-person).

Please note: If team members report someone is being unwilling/uncooperative in their team, one or more points will be deducted from that particular uncooperative person’s grade. Scrubs will not get any love from me.
⬅️ These vibes are not permitted.
Part 1: Begin Prototyping & Conducting Preliminary User Research (10 points)
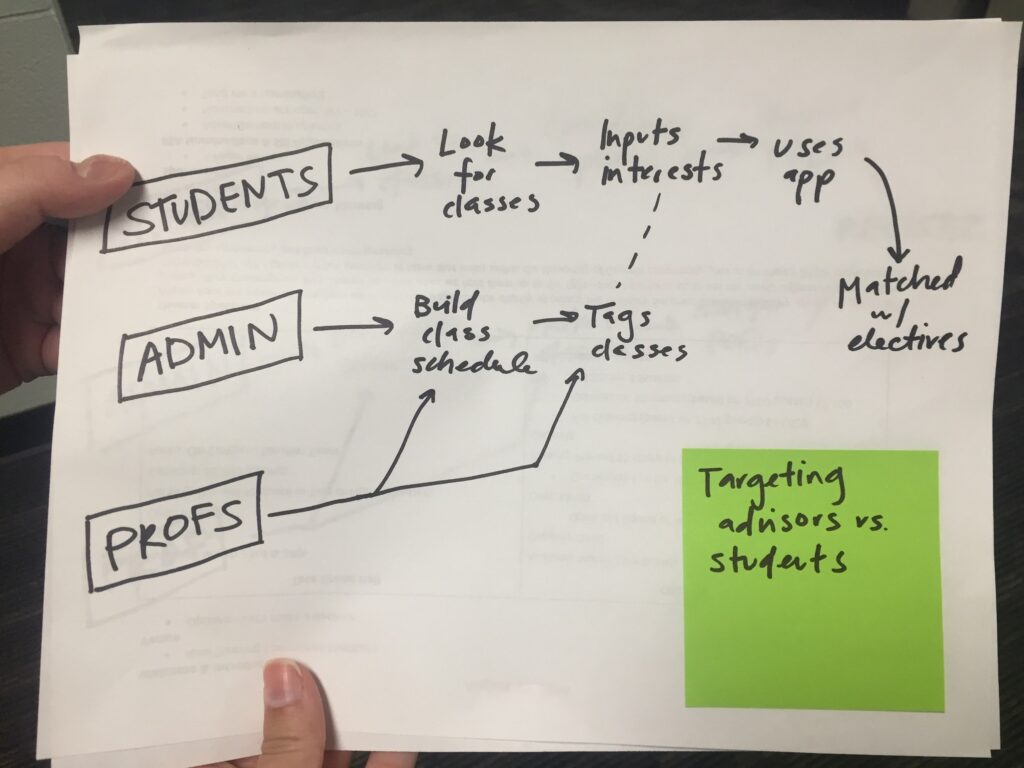
Using everything you’ve learned from the Design Thinking Process, begin brainstorming problems — and start considering innovative solutions to those problems! Your problem can be anything, as long as it’s professional enough to be included in a portfolio you’d be willing to show future employers. As usual, your solution should be digital and something you can create using Adobe XD — think digital products such as websites, mobile apps, etc.
You may draw upon a prototype you’ve already created for this class, from “Redesigning the Gift-Giving Experience” or past Design Drills, but expect to make ~major~ improvements.
Early example of me brainstorming an app idea; circa 1904
Before your first meeting, bring your best ideas and prototypes to present to your group. As a team, using democratic processes, select one prototype to further develop (or build from scratch) and start crafting it at this stage.
- If you’re building from scratch, I suggest wireframing first.
- If you’re choosing to adapt an existing prototype from this class, think of ways to improve the UI and the UX.
- There should be one prototype per team.
In addition, you should craft a minimum of 2 personas per team, based on who you imagine is most likely your target user. Depending on your audiences, you may have more than two segments of audiences, so you may want to include an extra persona.
For example, if you’re building an app that helps facilitate remote learning in elementary schools, your three main audiences may be students, teachers, and parents. That being said, it’s perfectly valid to just have two personas! In the words of the UX designers everywhere, “it depends,” on what you’re making. That’s the truth!
Personas should not only include relevant information but should be aesthetically designed as well, using Adobe Xd (sorry, no Google docs or Canva designs here *snaps fingers*).
DELIVERABLES (PER TEAM):
- A high-fidelity prototype (1.0) that starts from the homepage/landing page and contains all main functions and features. Minimum of 10 screens/artboards connected by interactions. ➡ Submit via Xd share link in eLC
- A minimum of two personas created in Xd. ➡ Submit via Xd share link in eLC
DUE: Sunday, april 11
Part 2: Prepare Usability Testing (10 points)
Now that you have an operational and testable prototype, it’s time to prepare for usability testing! Refer back to the Path to Usability Testing. Start reaching out to people for usability testing and scheduling meetings, because at the next checkpoint, you’ll actually start conducting testing. In the meantime, though, here’s what you need to turn in:
DELIVERABLES (PER TEAM):
- Consent form ➡ Submit as a PDF/document in eLC
- Usability testing script with a table of tasks included, prompts for administering a System Usability Scale, and Product Reaction Cards ➡ Submit as a PDF/document in eLC
DUE: sunday, april 18
Remember, only one person from each team needs to submit deliverables. If you encounter any troubles with eLC, feel free to Slack me a Google Drive link. I'm flexible, as long as I can see proof you put in the work! Part 3: Conduct Usability Testing (10 points)
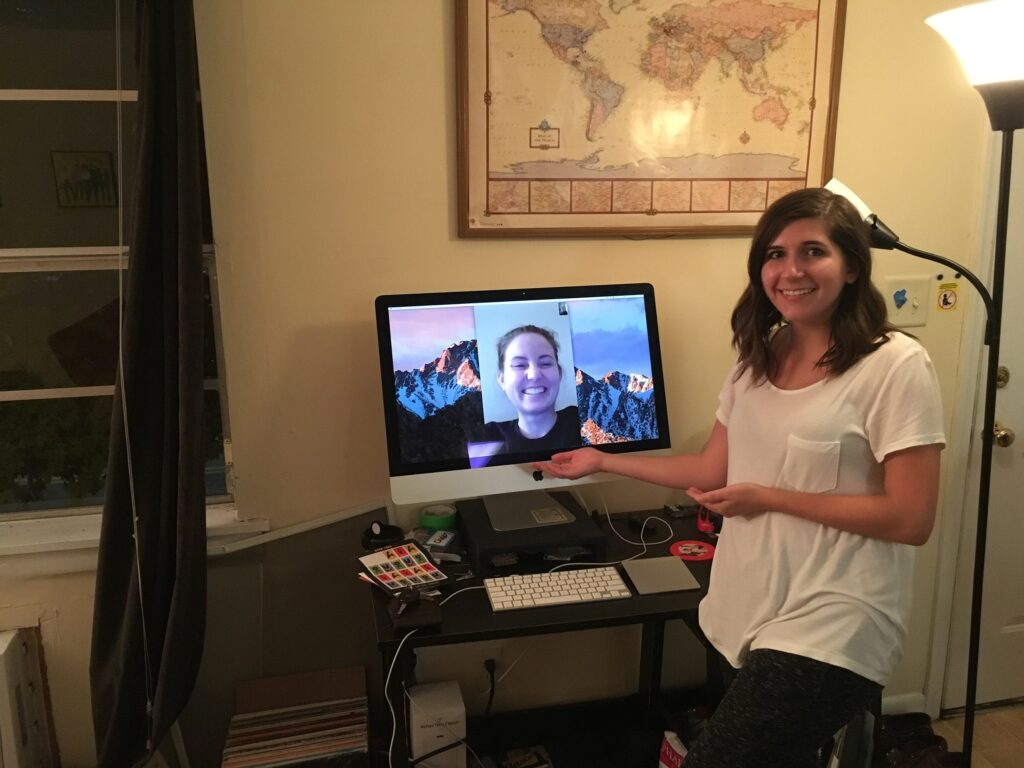
At this stage, it’s time to put your consent form, script, and table of tasks to the test, literally! You need to conduct testing on a minimum of 5 people. While I am comfortable with you testing your family, friends, roommates, etc, try to select people with characteristics as close to your target audience as reasonably can. Depending on what you’re making, I know that may easier said than done.
You’re welcome to test folks on Zoom or in-person, depending on your comfort levels — the only requirement here is that you actually need to see the tester’s reactions. This means no email, no phone calls.
As you test folks take pictures and/or screenshots. Take detailed notes. Record. Highlight key, telling quotes. Write down what you think are the top insights and telling usability issues — it’s much easier to remember all this while it’s fresh in your mind post-test, before any time passes.
DELIVERABLES (PER TEAM):
- Nothing this week, but you will need to include pictures and/or screenshots, as well as key quotes, in your presentation later. Hold onto everything!
One of my earliest documented usability tests, circa 600 B.C.
Part 4: Analyze and Iterate Based on Feedback (20 points)
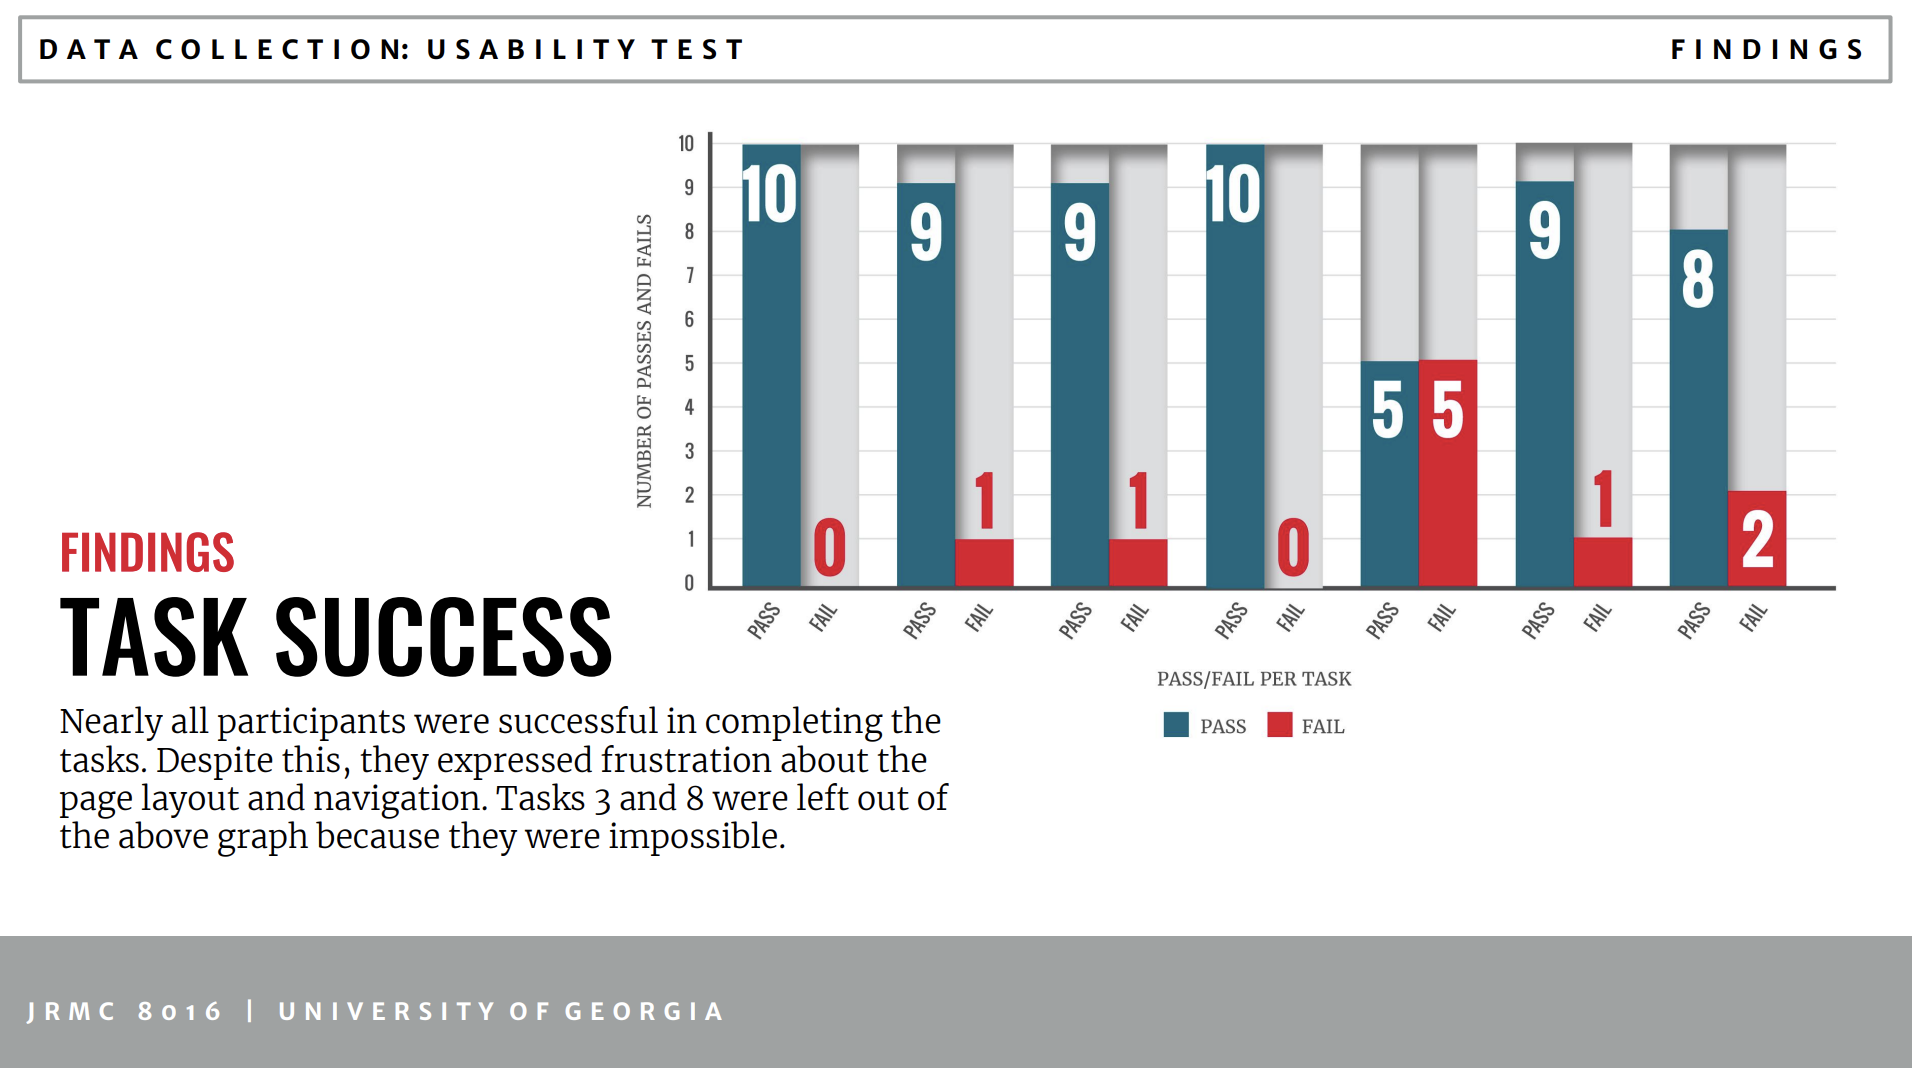
Based on all that rich, in-depth high-quality feedback you just received, sift through everyone’s notes together as a team. What similarities do you see across testing sessions? What issues are most severe? What quotes illustrate major drawbacks or major areas of success? What did everyone discover? What was the average System Usability Scale? Which Product Reaction Cards were chosen most often?
Once everyone has gathered their thoughts and come to a consensus on what worked and what didn’t work, it’s time to apply some stats. Refer back to performance metrics.
DELIVERABLES (PEr TEAM):
Nothing this week, but you will need to include the following items in your presentation.
- Includes task success rate and confidence intervals (at the 95% confidence level)
- Includes geometric mean and confidence intervals for time on task (at the 95% confidence level)
- Include System Usability Scale average
- Include findings from Product Reaction Cards
- Include charts/tables (see below)
- Categorize issues into major (include at least 2 minimum) and minor (include at least 2 minimum).
- As a team, draw insights & start making iterations to your prototype. Document the before and after.
Example gallery from a previous presentation for the graduate-version of this class:
Part 5: Present & Submit Polished Prototypes (10 points)
During the University-mandated final exam period, you’ll deliver a presentation that outlines your entire final project journey from start to finish. Presentations will be delivered live via Zoom.
Please confirm your computer has screen sharing allowed under Security & Preferences beforehand. Try to find a quiet area with reliable Wifi. Pets are encouraged to make an appearance.
Note: Not everyone in your group has to present, and there is no enforced time limit. That being said, aim to not take more than 20-ish minutes to ensure every group in the class can present. Allow a minute or two for questions and answers at the end.
PRESENTATION OUTLINE:
- Create slides (I recommend Google slides for easy collaboration and link sharing)
- Start with your design process: How did you pick a problem and solution? Why did you pick that particular solution?
- Walkthrough features from your original prototype
- Present personas
- Outline usability testing, including pictures/screenshots, key quotes, how many people you tested, any challenges you faced; limitations
- Present analysis from testing, such as task success rate and confidence intervals; geometric mean and confidence intervals for time on task; System Usability Scale; product reaction cards, charts and tables illustrating data
- Present insights, as well as major and minor issues you discovered
- Walkthrough your entire improved prototype based on results from testing
- Tie everything together will a brief reflection highlighting your team’s testing experience, and thoughts on this class overall.
‼️ Presentation slides and prototype 2.0 ➡ Submit share links IN eLC
Personas
Personas help to prevent self-referential thinking, whereby a designer designs as if they are making the software only for themselves, when in fact the audience is quite unlike them.
Shlomo “Mo” Goltz
Empathy is the cornerstone characteristic of user research. If we don’t understand our users, we can’t meet their needs using design. Understanding users is essential for crafting enjoyable and delightful experiences.
Personas are a widely used tool to transform dry, arbitrary statistics into meaningful and memorable characters. By representing your users, these characters serve as an easy reference point to bring your user to the forefront of your design process. In a way, personas are like a grocery list — the grocery list, scannable version of your users’ defining characteristics.
Your mission is to dive deep into the world of personas. Understand why they’re valuable, when to use them, and how to make them. Below are the required readings and videos to guide you. Don’t forget to watch the video at the top of this page if you haven’t!
Hello world!
Welcome to WordPress. This is your first post. Edit or delete it, then start writing!