What is Git and GitHub?
Git is a version control system — it tracks every change you make to your files over time, so you can go back to any previous version, see who changed what, and collaborate with others without overwriting each other’s work. GitHub is a cloud-based platform built on top of Git that hosts your repositories online, making it easy to back up your work, share it, and submit assignments.
GitHub is used across virtually every professional software development team. It’s also used in many fields besides software development, too— journalists, project managers, designers, and product teams all also use GitHub, just to name a few. Learning to work with it now puts you ahead of the curve — and is a skill future employers will look for.
Key Terms
- Repository (repo) — A project folder tracked by Git. It holds all your files and their full history.
- Local — The copy of the repo on your own computer.
- Remote — The copy of the repo stored online (on GitHub’s servers).
- Origin — The default name for the remote repo your local repo is linked to.
- Commit — A saved snapshot of your changes, along with a message describing what you did.
- Push — Sending your local commits up to the remote repo on GitHub.
- Pull — Downloading changes from the remote repo to your local copy.
- Clone — Making a local copy of a remote repo on your computer.
- Branch — An independent line of development.
mainis the default branch in new repos.
Why GitHub Desktop + Xcode on macOS?
There are several ways to use Git — terminal commands, various desktop apps, and built-in IDE integrations. For this course we’re using GitHub Desktop alongside Xcode for a few reasons:
- Visual clarity — GitHub Desktop shows exactly what files changed and provides a clear commit/push workflow without memorizing terminal commands.
- macOS-native workflow — It integrates smoothly with Finder and Xcode on the Macs we use in class.
- Lower barrier to entry — You can focus on learning the concepts of version control without getting tripped up by command-line syntax.
Creating a GitHub Account
If you don’t already have a GitHub account, go to github.com and sign up. Use a personal email address you’ll have long-term — not your UGA address, since you’ll lose access after graduation.
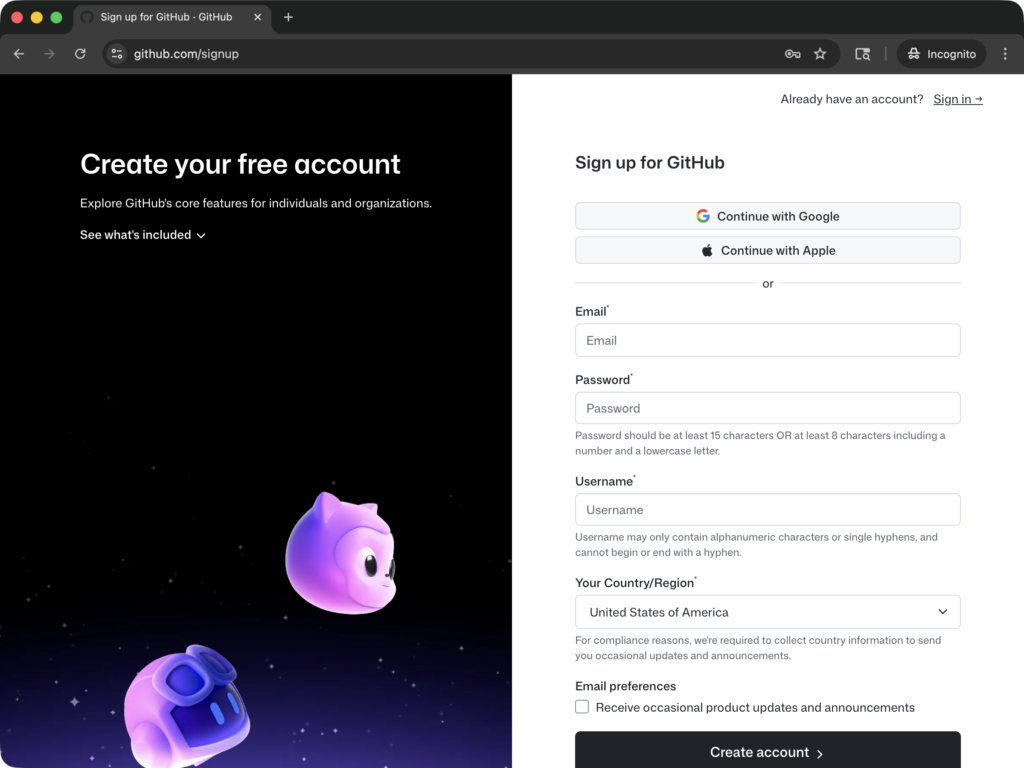
Choose a professional username. This is how instructors and future employers will find you on GitHub. A simple variation of your name works well — avoid numbers, underscores, or jokes.
Setting Up Two-Factor Authentication (2FA)
GitHub requires two-factor authentication. After creating your account, go to Settings → Password and authentication and enable an authenticator app.
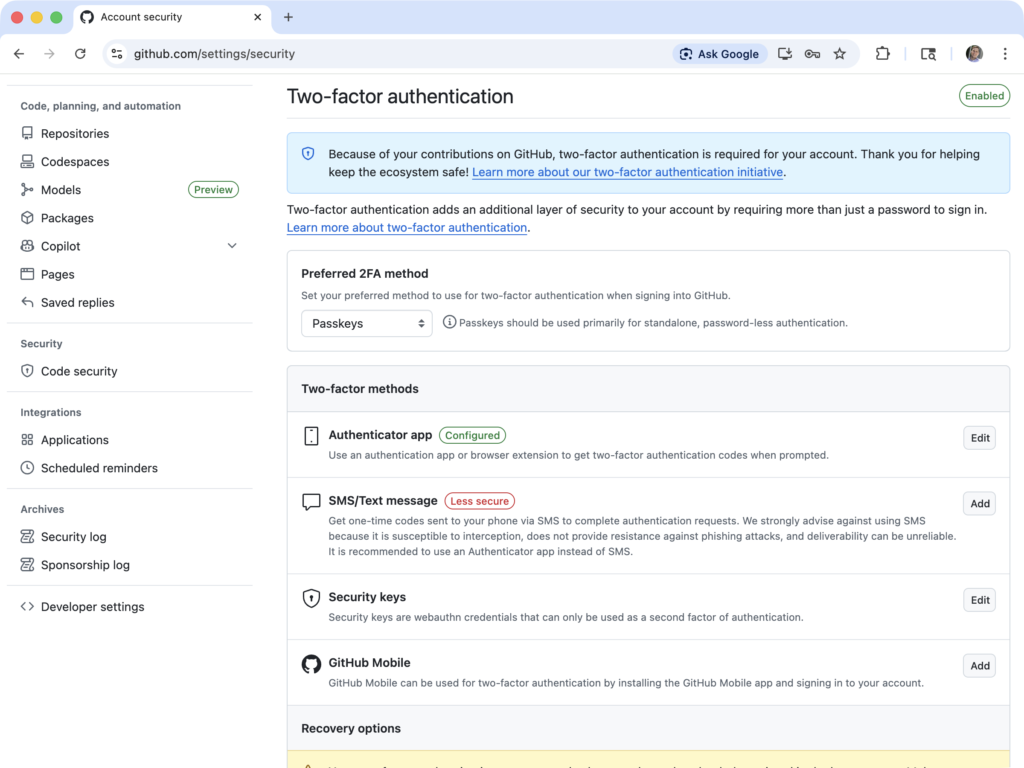
- iOS: Use the built-in Apple Passwords app — go to Settings → Passwords, tap the key icon, and choose Set Up Verification Code
- Android: Use Google Authenticator or your authenticator app of choice
Scan the QR code shown on screen with your authenticator app. After setup, you’ll be prompted for a 6-digit code from the app each time you sign in from a new device.
Installing and Signing into GitHub Desktop
Download GitHub Desktop at desktop.github.com. It’s free and runs on macOS and Windows.
After installing, open GitHub Desktop and sign in with your GitHub account:
- Open GitHub Desktop and go to GitHub Desktop → Settings
- Click Accounts in the left sidebar
- Click Sign Into GitHub.com
- Complete authorization in the browser window that opens

Getting Access to Your Assignments
Give your instructor your GitHub username early (they’ll ask for it via a short form near the start of the semester) — this is how they connect your account to the class roster. Without it, they can’t give you access to anything.
For each assignment, your instructor sets up your personal copy of the project for you — there’s no invite link to click and nothing to set up on your end beyond having a GitHub account. When an assignment is ready, you’ll get:
- An email from GitHub with a subject like “You’ve been invited to a repository”
- A notification — the bell icon in the top-right corner of github.com
Open either one and click Accept invitation. That’s the entire “joining” step.
If you don’t see an invitation and think you should have one, check github.com → your profile icon → Your repositories — anything you’ve been given access to shows up there too, invitation or not.
Once you’ve accepted, head to Working with GitHub to clone it with GitHub Desktop and get to work.