Many exercises in this course are sourced from various other resources, but this one is homemade with love to get us started with a simple activity that showcases how easy it can be to get an app (albeit a basic one) up and running. In this exercise you will create this basic app which will contain a series of links that lead to screens of different colors. We won’t really get into detailed explanations of what is actually going on in this lesson (that will come with time young Jedi). Rather, its core purpose is to get you loosely aquatinted with Xcode and the general dev process. But don’t worry. The other lessons that come after this one will cover all of these topics and much, much more. So get hype, your journey to becoming an App Dev wizard begins here.?
Set Up Your Project
- Open Xcode (Finder > Applications). If you’re working on your own computer, make sure that you have the most up-to-date version. If you have an earlier version, please update. If you are having a bad day, you may also need to upgrade your operating system before you can use the latest version of Xcode. Note: You’re not required to have any Beta version of Xcode at this point.
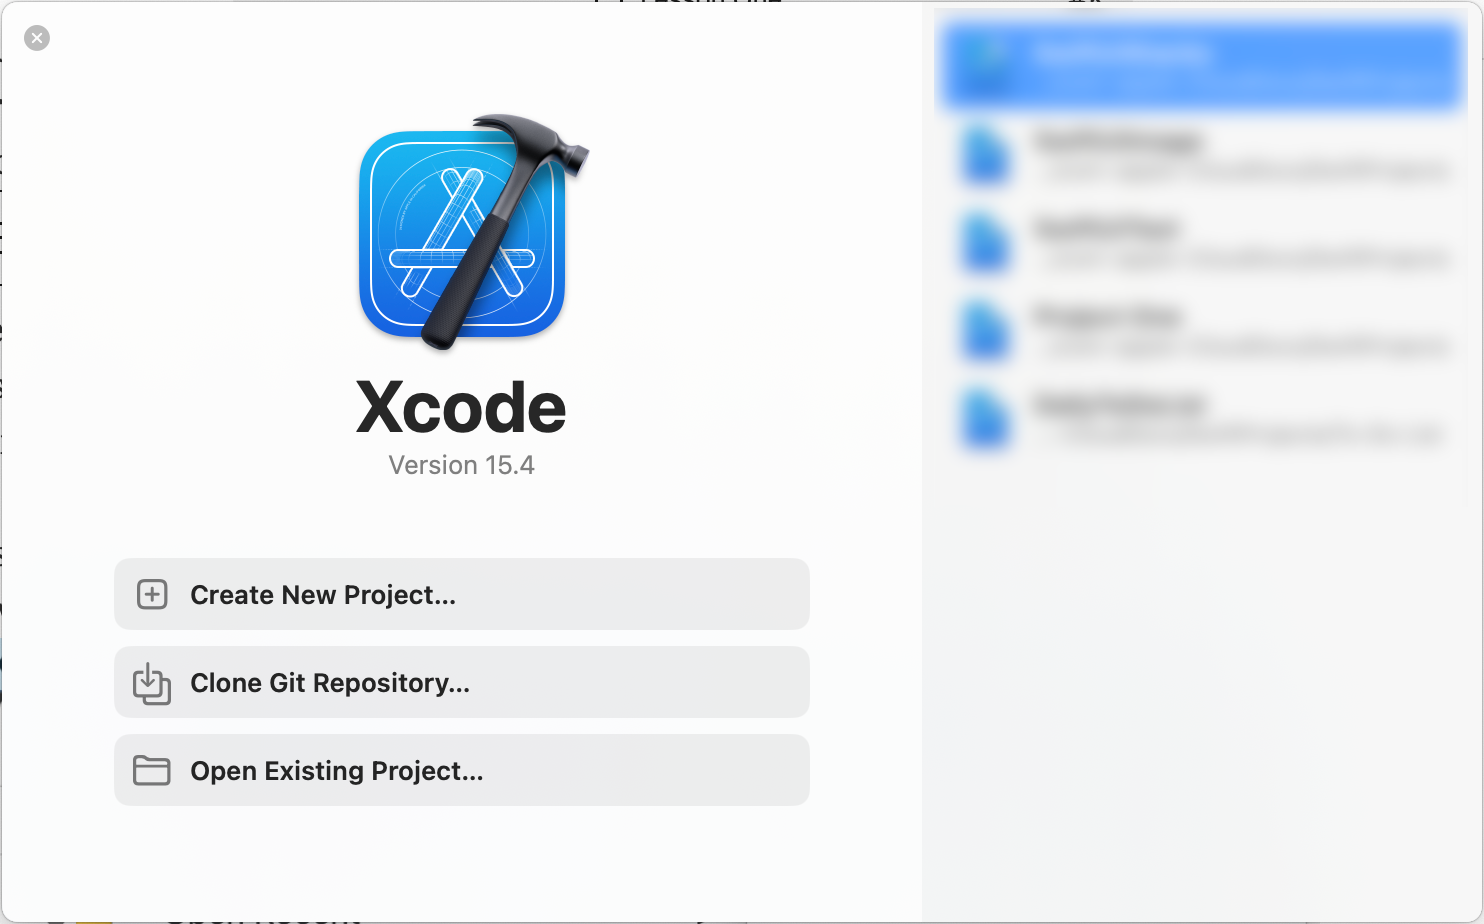
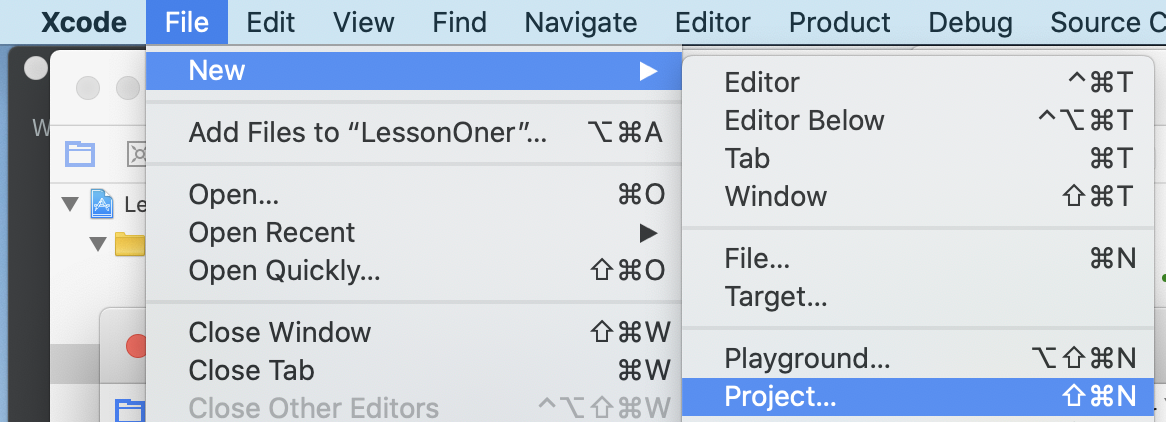
- Now create a new project by clicking on “Create New File” in the popup or by navigating to File > New > Project.
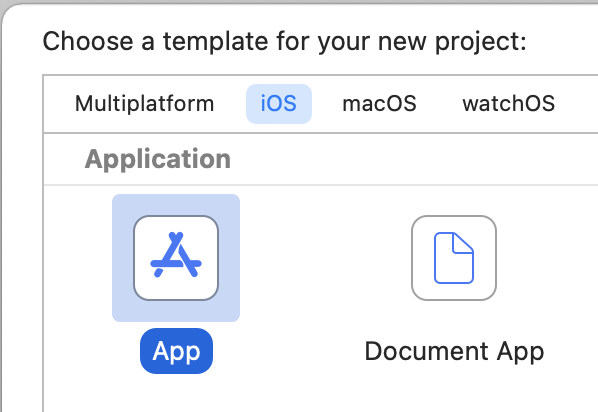
- Make sure iOS is selected, select App, and click the Next button.
- As shown below, name your project (Lesson One suffices). Then provide the following:
- An Organization Identifier. If you have a website, you can base the identifier on your domain name. If not, choose anything you wish (like your name). However, you do need to follow a certain naming convention. I know it feels odd, but your Identifier should start with the suffix first, as in com.google (rather than google.com).
- To create a team, you will login to your Apple account and select the Team with your name. Note: You don’t have to assign a Team unless you’re putting the app on an iPhone. So, the Team is optional at this point.
- Make sure the Interface is SwiftUI and the language is Swift. You can leave storage as None.
- Click Next and save it in the desired location. File created!

Get Familiar with Xcode
- At this point you should be looking at the ContentView file on the left and a preview pane on the right. If for some reason you are not seeing the Project Navigator (side panel containing your project files including ContentView), you can reveal it by clicking View > Navigators > Project as shown in the screenshot below.

When everything is set up properly, your Xcode display should look similar to the one below.
- The preview of your place filler app should appear on the right second after a few seconds. If you don’t see anything in the preview on the right, click the Resume button at the top of the content pane. The words “Hello World” should display in a background that looks like a phone.
Create Your Color Views
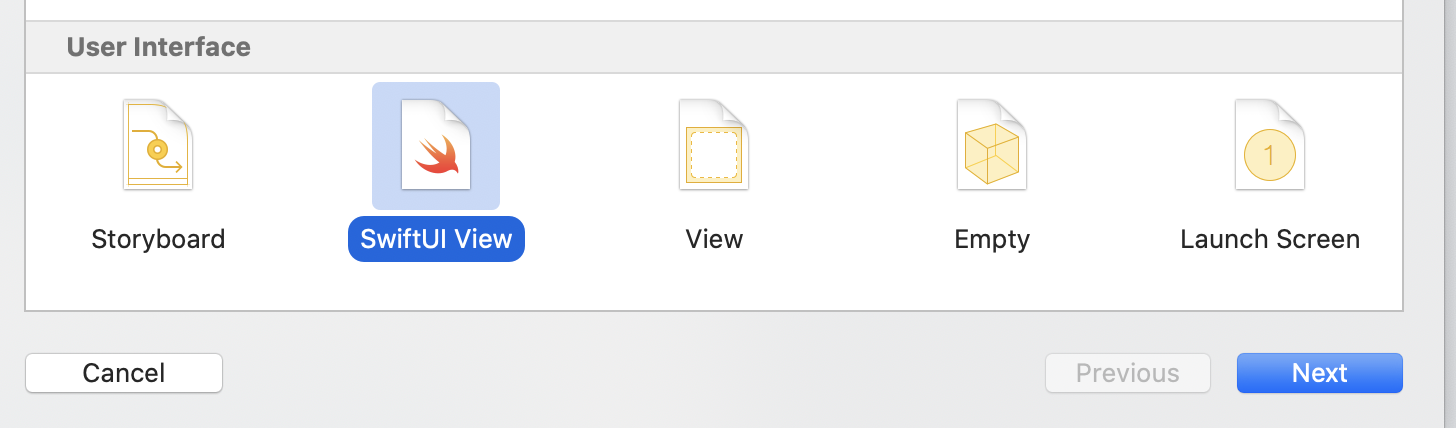
- Now, it’s time to create some new views that we can link to from the first view. Select File, New, File from Template (or use the keyboard shortcut Command + N), make sure that SwiftUI View is highlighted and click Next.
- Name the file “one”, save it, and create three more named two, three, and four. Fun fact: If you look at the file inside your project folder, it will be titled one.swift, two.swift, etc, as it appends “.swift” on the file automatically.
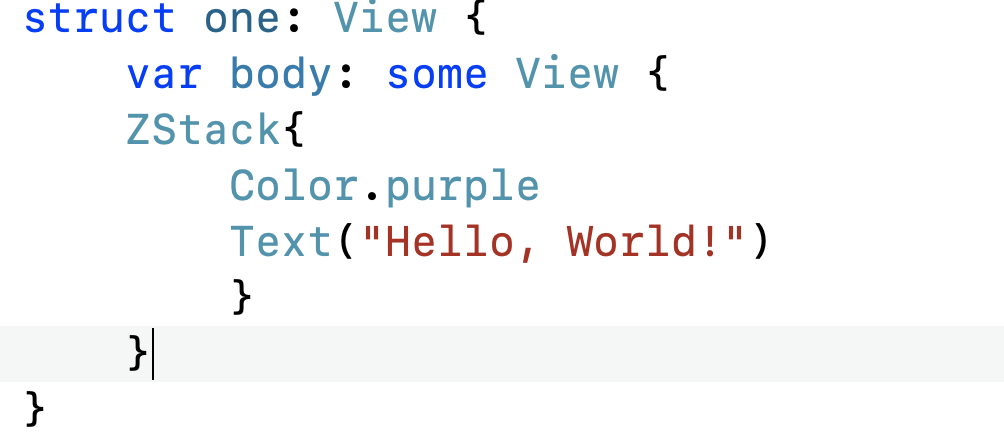
- Open one.swift (click “one” in the project nav if it’s not already selected) and add a ZStack around the Hello World text with its background color set to purple. Later on, you will learn a LOT about ZStacks; for now, just put one to work by modifying the code to look like the following:
- Change the text from Hello World to Purple.

- Repeat the process for views two, three, and four, using a different color for each one.
Add Navigation Links
- Return to ContentView.swift and, using the screen capture as a guide, create a link to one.swift (the one with the purple background). To do this, replace everything in the VStack brackets (Image + Text) with the NavigationLink as seen below. Notice that the destination is set to one.swift (without “.swift” written out) and the link text is “Purple,” as that is the page we are linking to.

- One more thing. Before your link will actually work, you have to wrap a Navigation View around it. Like this:

Test and Polish
- If you don’t see the live preview already, click the live preview
 button at bottom left of your preview pane. As soon as you are able to (live preview takes a few moments to crank up), test your link. Hopefully the purple screen appears! Make sure your simulator is set for an iOS device via the dropdown below the preview (see pic below).
- Did it work? Great! Now, it’s time to add a new link. Before we add anything new, however, we have to add another ‘container’ or in SwiftUI terms, ‘stack.’
There are three types of stacks: Vertical Stacks (VStack), Horizontal Stacks (HStack), and the ZStack that you recently used. In this case we are going with the VStack. You could ‘hand code’ the VStack, but we are going to create it the easy way.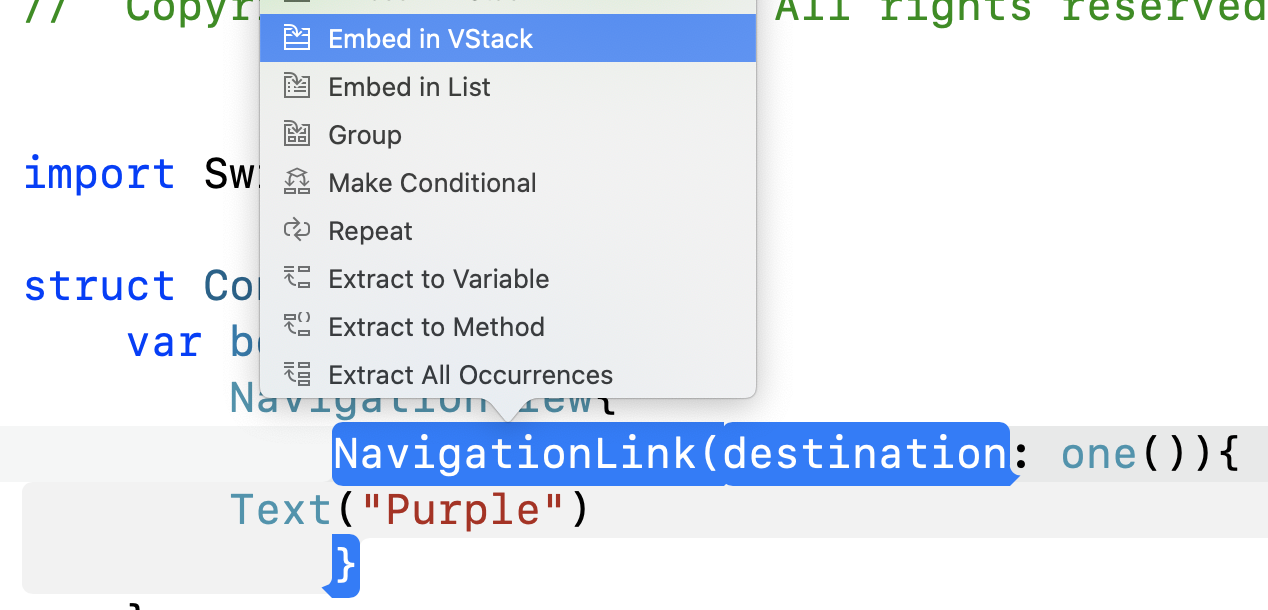
Control + click (or right click if available) on the word NavigationLink and select Embed in VStack. - That’s it! Your new VStack should contain the NavigationLink as shown below.

- Add a new NavigationLink to two.swift below the first one. I suggest that you copy, paste and modify the first one. When you are done, your code should look like this (although you may have a color other than yellow).

- Once that works, add the additional links to th
 ree and four.
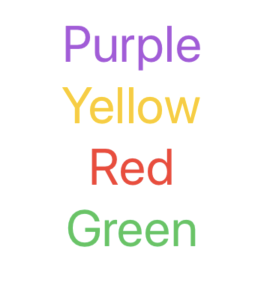
Congrats! At this point you should have a functional, and funky, app that connects all five views and is easily navigable. But wouldn’t it be cool if your links were larger and matched the color of the view they link to like the image at right? Fortunately that goal is easily attainable! Simply click on the word Text, as in Text(“Purple”) and use the Attribute Inspector (Don’t see it? View > Inspectors > Attributes) to set the size to Large Title (see screenshot below). Then set the font color to whatever you choose. Repeat the process three more times and you are done!
- But wait! Wouldn’t it be nice if those links were aligned to the left? Easy. Simply click on VStack and use the attribute inspector at right to re-align everything that is inside of the VStack.

- Still confused? Your final NavigationView code should look like this:
VStack {
    NavigationView{
        VStack(alignment: .leading) {
            NavigationLink(destination: one()){
                Text("Purple")
                    .font(.largeTitle)
                    .foregroundColor(Color.purple)
            }
            NavigationLink(destination: two()){
                Text("Yellow")
                    .font(.largeTitle)
                    .foregroundStyle(.yellow)
            }
            NavigationLink(destination: three()){
                Text("Red")
                    .font(.largeTitle)
                    .foregroundStyle(.red)
            }
            NavigationLink(destination: four()){
                Text("Green")
                    .font(.largeTitle)
                    .foregroundStyle(.green)
            }
        }
    }
}
Going Further (Optional)
- Have a little extra time? Let’s insert your face in this app! Find an image of you.
- make sure it is jpg format
- size it to approximately 800px width and name it me.jpg
- via Project Navigator, click on Assets, then drag and drop your photo into Xcode.

- Create yet one more SwiftUI file named five and add the image to it like this: Image(“me”)
struct five: View { var body: some View { Image("me") } } - Link that one up as well.
- Still have time? Let’s connect your phone to your computer via lightning or USBC cable (depending on iPhone model).
- Follow these instructions to put the app on your iPhone. If you don’t have an iPhone, just use a simulator.