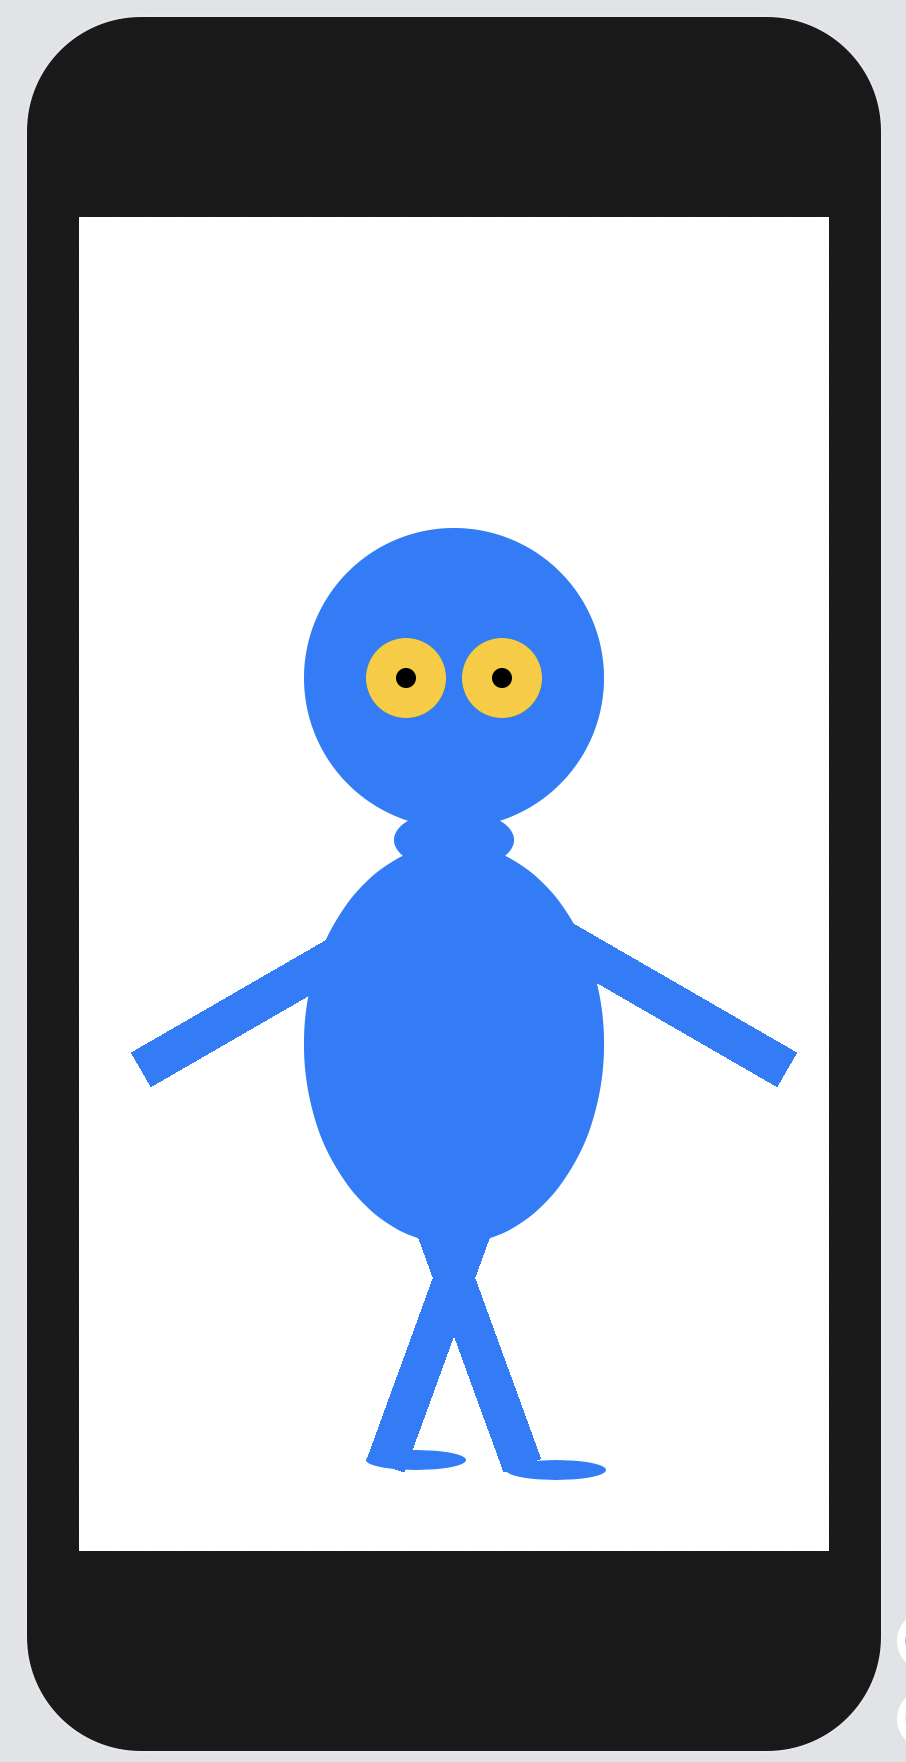
In this exercise, you’ll use SwiftUI shapes — Circle, Ellipse, and Rectangle — along with ZStack, HStack, VStack, offsets, colors, and other modifiers to build a figure like the one below. The goal is to go beyond the example and create something that’s distinctly yours.
Your Task
Top the Miracle Man. Build your own SwiftUI figure (or scene) using only shapes and layout containers — no images. Spend at least 20–30 minutes on it. You’re encouraged to compare ideas and share code with classmates.
Tips to Get Started
- Sketch it out first. Draw a rough stick figure or shape on paper before coding. This makes it much easier to translate into stacks and offsets.
- Start with the body structure. Build a vertical column of shapes first (
VStackwith circles and rectangles), then add arms and details usingHStackand offsets. - Use
.offset(x:y:)to nudge things. Elements don’t always need to be in a straight stack — you can shift them to one side to create arms, tilted features, or asymmetric designs. - Layer with
ZStackfor depth. UseZStackwhenever you need shapes to overlap — for eyes on a face, buttons on a shirt, etc. - Try
.rotationEffect()for diagonals. You can tilt a rectangle to make diagonal arms or legs. - Use
.frame(width:height:)to control size. Precise control of each shape’s dimensions is key to making proportions look right.
Minimum Requirements
- Uses at least two different shape types (e.g., Circle and Rectangle).
- Uses at least one ZStack to layer shapes.
- Uses multiple colors.
- Is clearly more elaborate than the Miracle Man example above.