The following tutorial will walk you through the process of installing WooCommerce on your WordPress site. Before you get started, make sure that you’ve completed a few preliminary steps.
- You should have read the very helpful Intro to WordPress lesson.
- You should have WordPress installed on your server.
- At this point, you should have already explored WordPress with the WordPress Playground exercise.
- The Block Editor and Site Editor should not be new to you!
- And last, but certainly not least, you should have read the WooCommerce introductory lesson.
All set and ready to go? Let’s install WooCommerce!
Installing WooCommerce
First off, you’ll want to log in to your WordPress site and navigate to the plugins section of your dashboard.
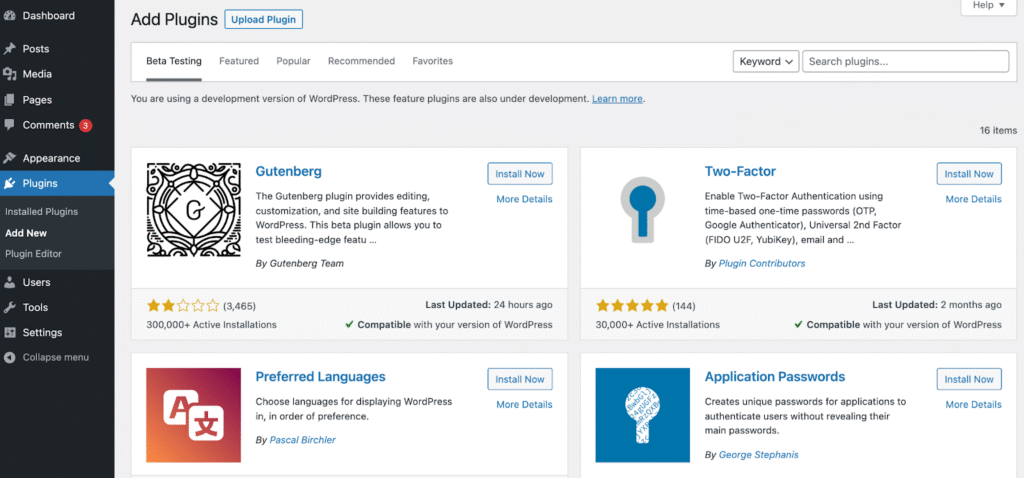
Click “Add New” either at the top of the page or from the menu items on the dashboard.
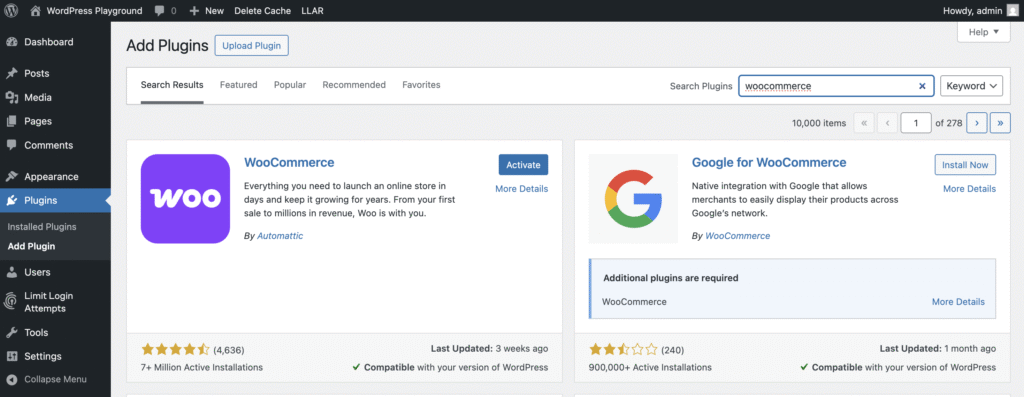
Next, you’ll do a quick search for WooCommerce. You’ll be looking for the plugin by Automattic (with two t’s!).1 Once you’ve found it, click “Install Now.” Then, click “Activate.”
As you will have noticed, there are LOTS of different plugins that enhance WooCommerce and you might want to explore some of them later— but let’s work on getting WooCommerce up and running first!
Setup Wizard
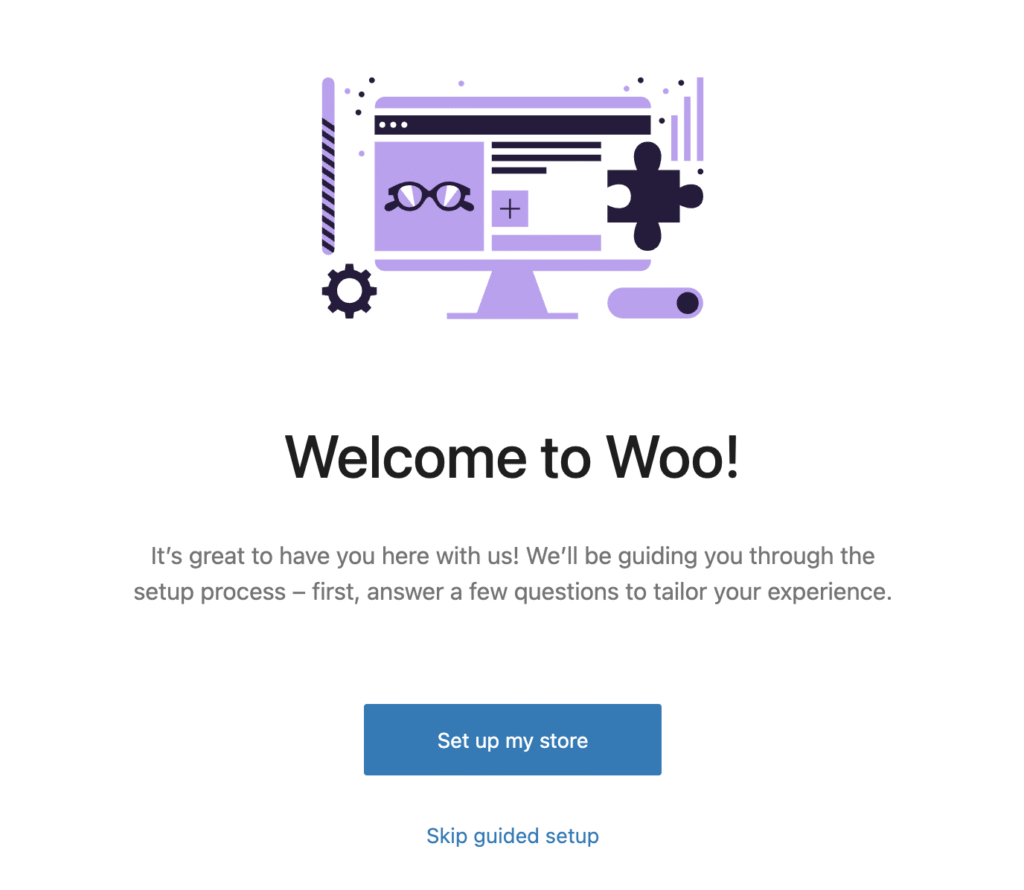
To get started, we’re going to provide some information about our store. First, we need to provide an address. This will be a fictional store, so feel free to use the same information included in the example below! Click “Set up my store” to move forward.
This Set Up Wizard will take you through some initial start up steps and gather basic information about your store. You’ll want to make the following selections and/or provide information:
- “I’m just starting my business.” But, notice that there’s also an option for setting up a store for a client. That could be handy to explore if you ever decide to dabble in freelance web development.

- Give your store a name and a location – it doesn’t have to be a real one!
- Uncheck the box in the bottom corner to opt out of receiving tips from WooCommerce in your inbox.
Next, you’ll see a page prompting you to add free features. We are going to skip this step. So, click on “Skip this step” in the top right corner.
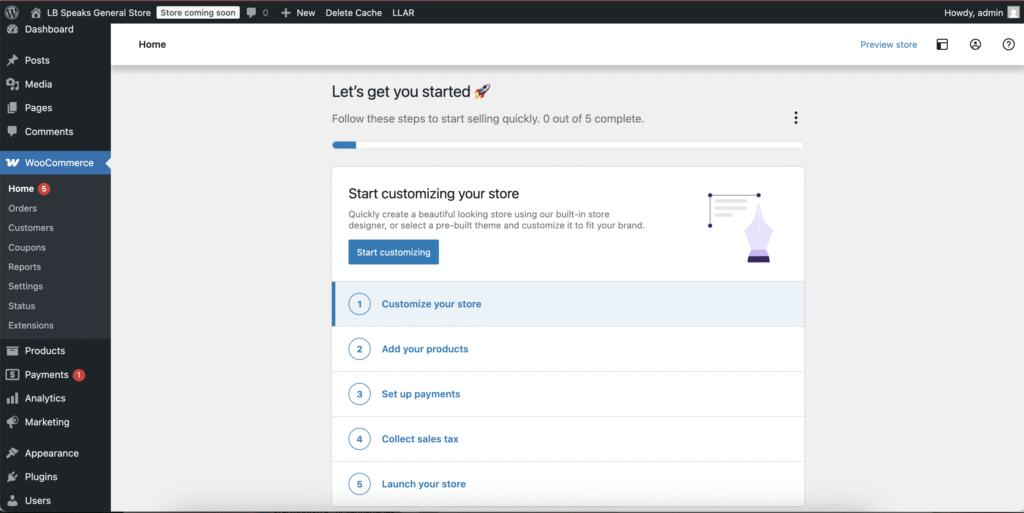
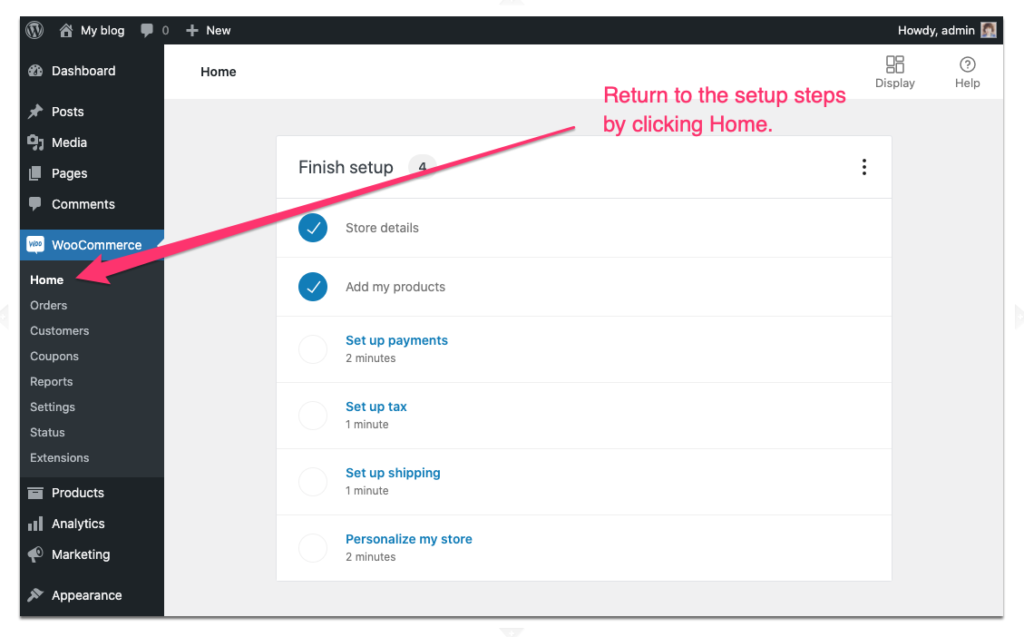
Set up continues in your WordPress dashboard. Notice that a WooCommerce section is now including in your dashboard menu. In front of you is a 5-step checklist for setting up the main features of your store. We are going to focus, first, on Steps 2, 3, and 4. If you navigate away from this checklist, no problem! It will stay in your WooCommerce plugin Home until you launch your store.
Set up payments
Let’s do the easy steps first. Click on Step 3, “Set up Payments.”
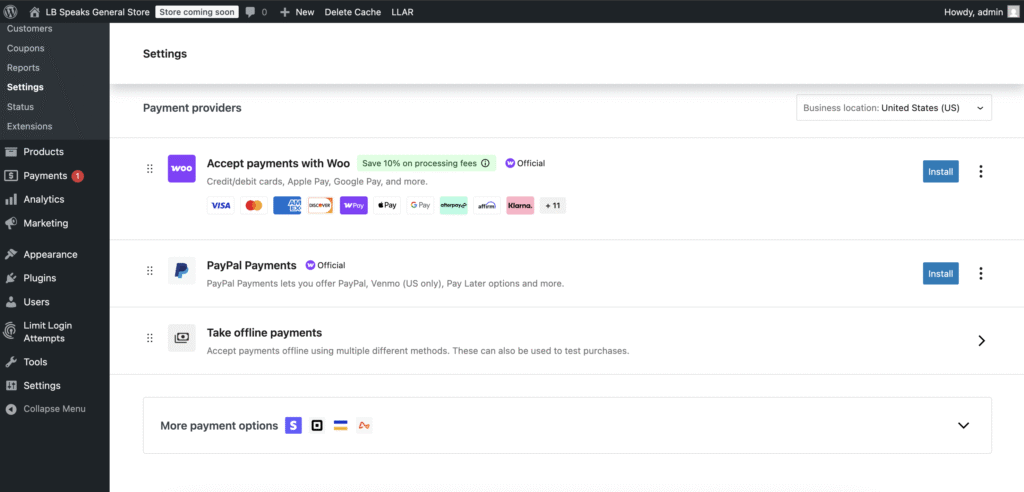
We are not connecting our bank accounts or credit cards to WooCommerce, but we need to set up a payment method to launch our store, so we will select “Take offline payments” and on the next page, select “Cash on delivery.”
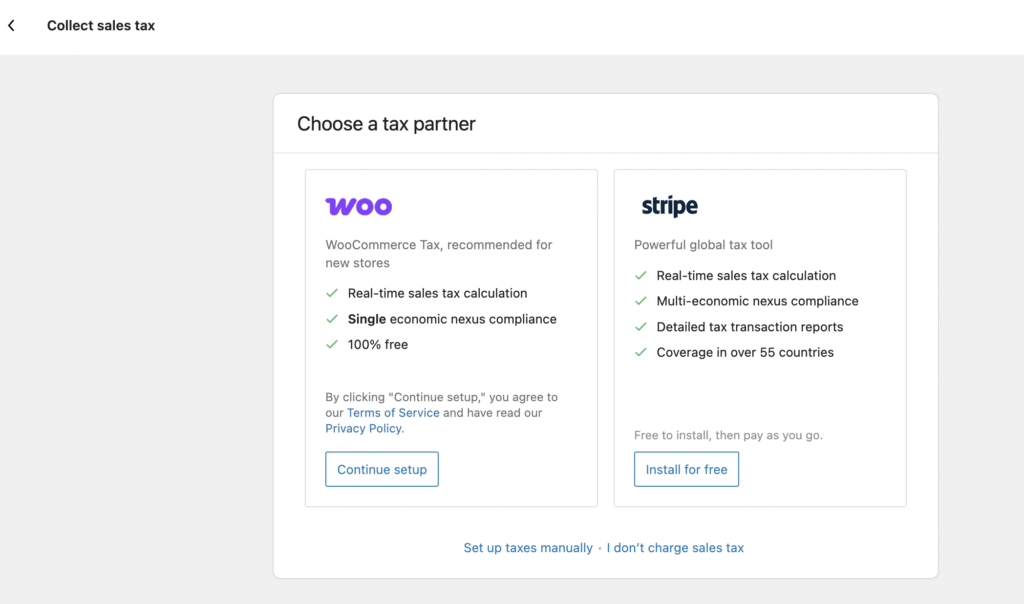
Set up tax
Next up, Step 4. Click “Collect sales tax.” At the bottom of the next page, select “I don’t charge sales tax.”
Setting up your store
Okay, now we’re ready to start setting up the products in our store. But before we select “Add your products,” you’ll need to figure out what you want to sell in your store. It can be any physical product: flowers, coffee, fancy jam, t-shirts— the sky is the limit!
A little later on we’re going to be asked for a product image. If you’re using images you already have, that’s great, but if you need to download some images you can turn to Unsplash or even do a Google image search (You can search for images that are labeled for reuse by clicking “Tools” and “Usage Rights.” This isn’t required for an academic projects, but it is a good habit to be in for when you’re making your own projects for the web.) AI Generators can also come in handy to help you create the fake products of your dreams. For practice, though, we recommend Unsplash.
TIP:
Once you have your images, we recommend editing them so that they are sized and oriented to look like a complete and consistent group of product images. When your images are ready, move on to the next step.
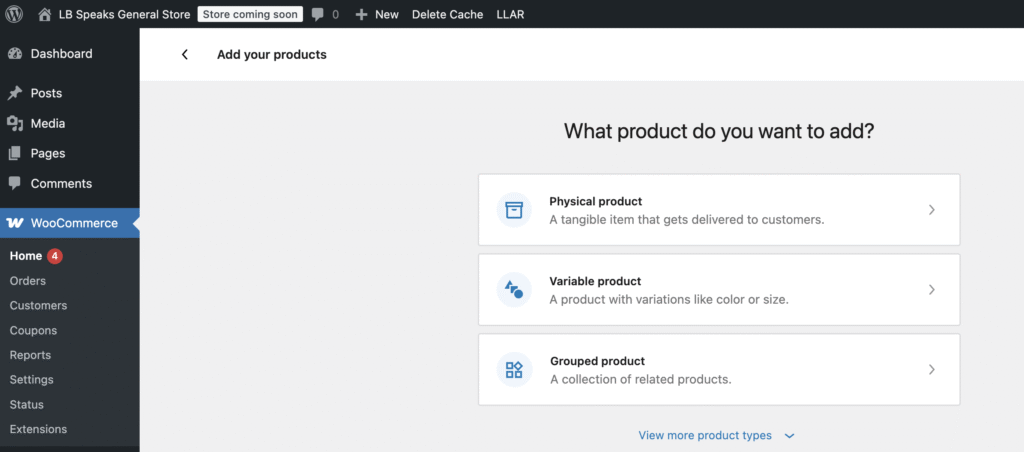
Adding your first product
First, we need to define our project type – Physical product.
On the next screen, we are brought to the “Edit product” page. Let WooCommerce walk you through setting up your first product. Take your time with this and read the prompts carefully.
You’ll need to:
- Enter a product name
- Product description
- Price
- Short description
- Product image (upload the image you want to be the main image displayed on your Shop page.)
- Add product tags
- Add product categories
Once you’re happy with your first product, click “Publish.” At this point you will see a white bar appear at the top of the editor window with a link to “View Product.” If you take a peek, you should have something that looks like this:
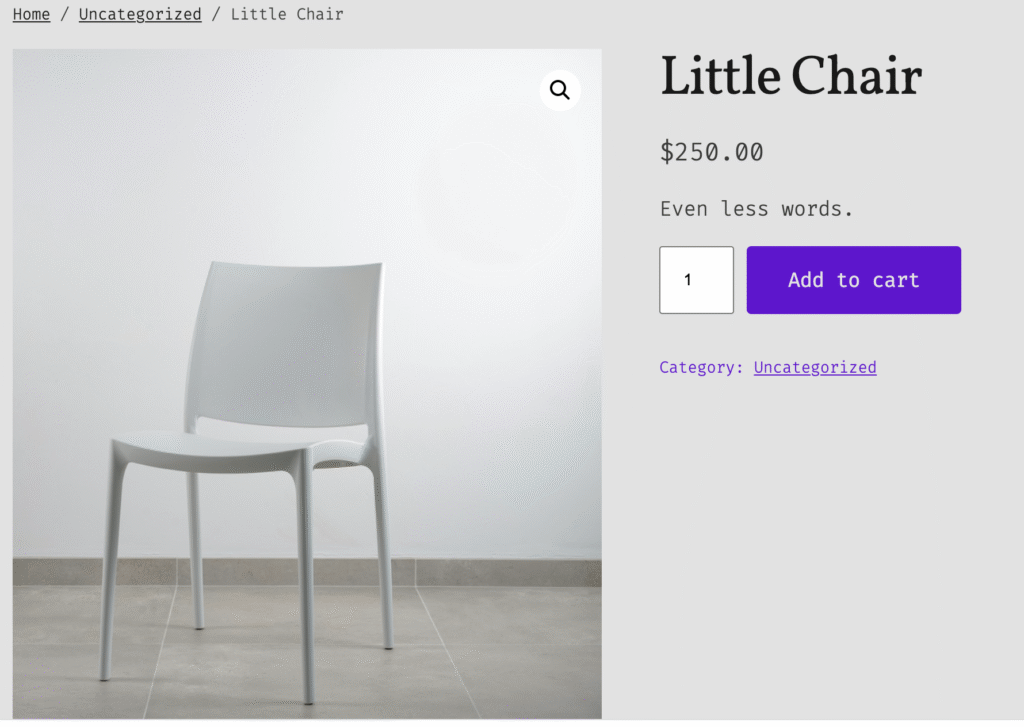
If your page doesn’t look exactly like this, no worries. I’ve done some styling on this page already. We’ll get there. Keep going until you’ve added all of your Products.
Navigate back to WooCommerce Home— see below for a screen shot.
Customize your store
Ok, now it’s time to tackle Step 1: Customize our store.

There are three options for customizing your theme. Remember that any WordPress Installation has an active theme. The first option you have is to edit your current theme, which is likely WordPress’s Twenty Twenty Five theme (unless you’ve already explored switching up themes in your Playground site.)
WooCommerce also offers a number of Templates and Patterns that let you build a store using the Block Editor If this feels like a good option for you, click on “Use the store designer.”
Finally, you can activate a theme that works well with the WooCommerce plugin. We recommend Storefront. It’s a well-rated and vetted theme that can be easily adapted to lots of different product types.
You can feel free to explore these options now, or come back to them a little later. We have a couple more things to look at together, so feel free to skip these for now!
Exploring Pages
When you added WooCommerce to your WordPress site, a few pages were automatically created for you. Let’s check them out.
Start by clicking the “Pages” link on your main dashboard.
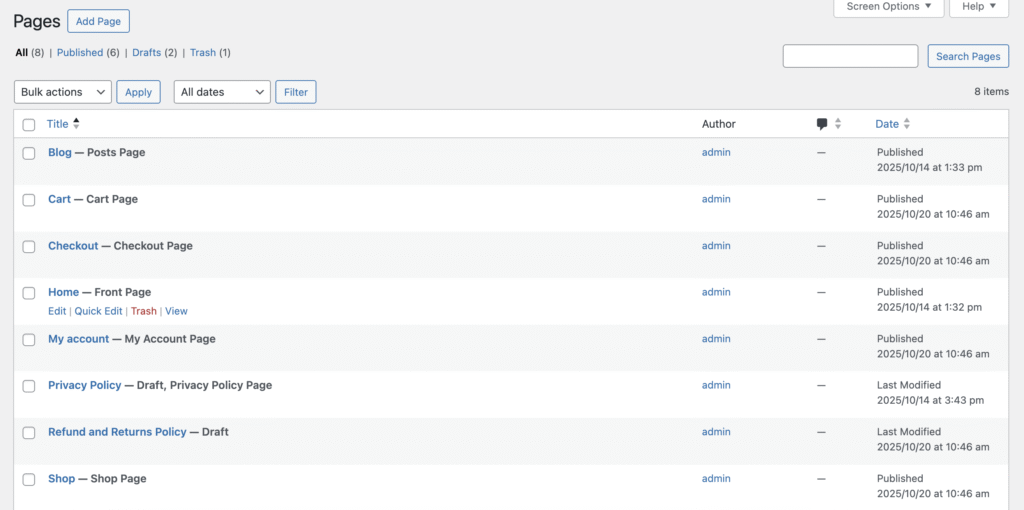
You’ll notice that Storefront has already created a number of e-commerce related pages for you, including a Shop page, Cart page, and Checkout page. Feel free to browse the other pages, but these are the main three pages I’ll be looking for in your Project 3 commerce site.
One final note – Your store will not go live until you launch it, Step 5. Don’t forget this important last step!
Happy WooCommercing!
Make extra sure that you’re picking the right WooCommerce plugin! Watch out for WooCommerce Blocks, or plugins with a similar name↩