
WordPress navigation
You’ve installed a WordPress site. You’ve added and styled a few pages, and now you decide to visit your site and admire your beautiful work for the first time. But, your beautiful pages, where are they? Don’t those links just automatically appear on your site?
Well, no. There’s still more work to do! WordPress utilizes a combination of Templates and the Site Editor to help you organize and style your Navigation Menu. Like many WordPress features, the interface takes a little bit of time to get familiar with.
The first step is to add the appropriate Pages to your Navigation Menu.
To get started, visit your WordPress site’s dashboard, click “Appearance,” and then “Editor.” You’ll land on the Site Editor’s main menu. Editing your navigation menu starts here.

Click on Navigation. This brings you to a page that displays your Navigation Menus. The Pages currently in your Navigation Menu will be listed below.
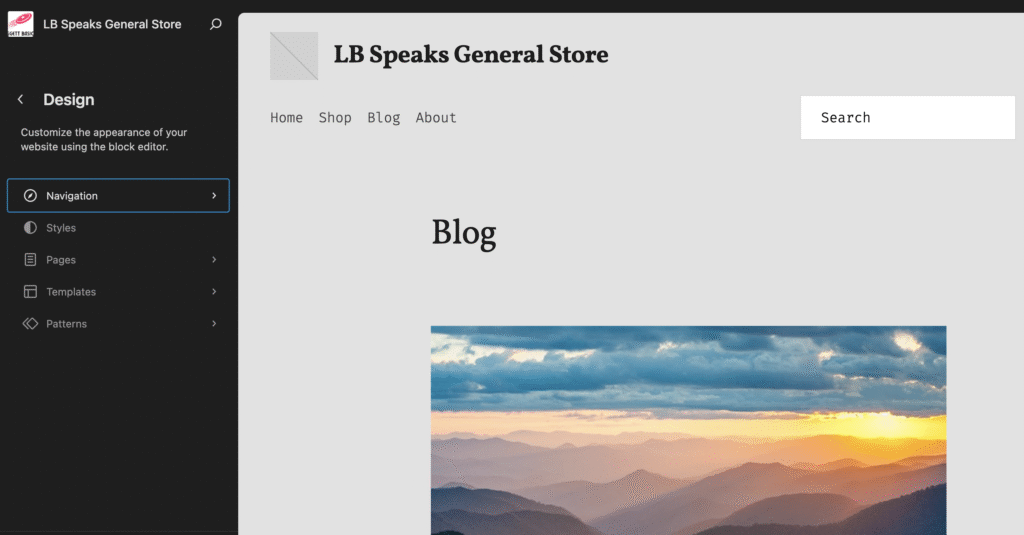
In this section of the Editor, you can change the order of the pages, but to add or remove a page from the menu, you’ll need to click on the three vertical dots next to the Navigation heading and select Edit.
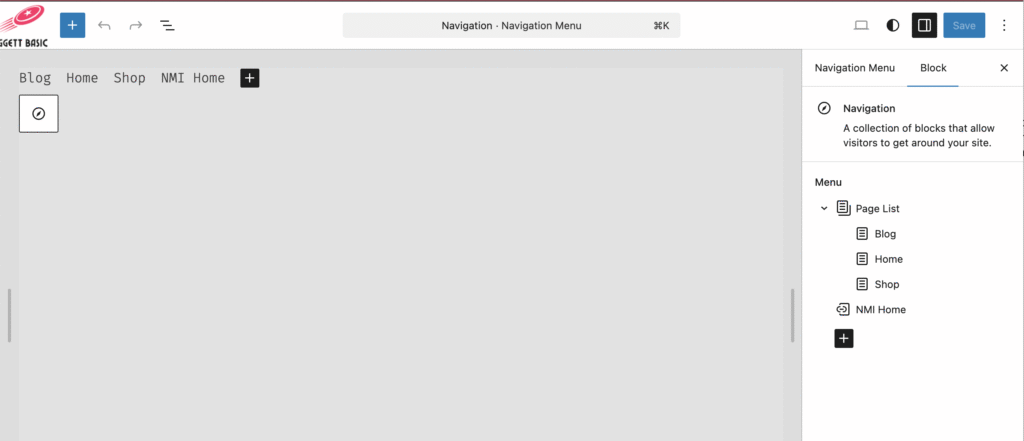
From here, you can add pages to your menu by clicking on the plus sign, or use the Block Editor in the Settings Panel to add or remove pages, as well as change the order.
Styling Navigation
This is a little trickier. Styling how a navigation menu – alignment, positioning, text display, the works – requires targeting and editing the Header block. Depending on your theme, you can access the Header by editing a Template that contains the Navigation Menu.
Target the Header block by using the Document Overview feature (The icon looks like a stair step) to view the Page blocks as a List.

In List View, you can see how blocks are grouped together to create the content display you see on your site. Click on arrows to expand the collapsed blocks to find any block you want to edit.
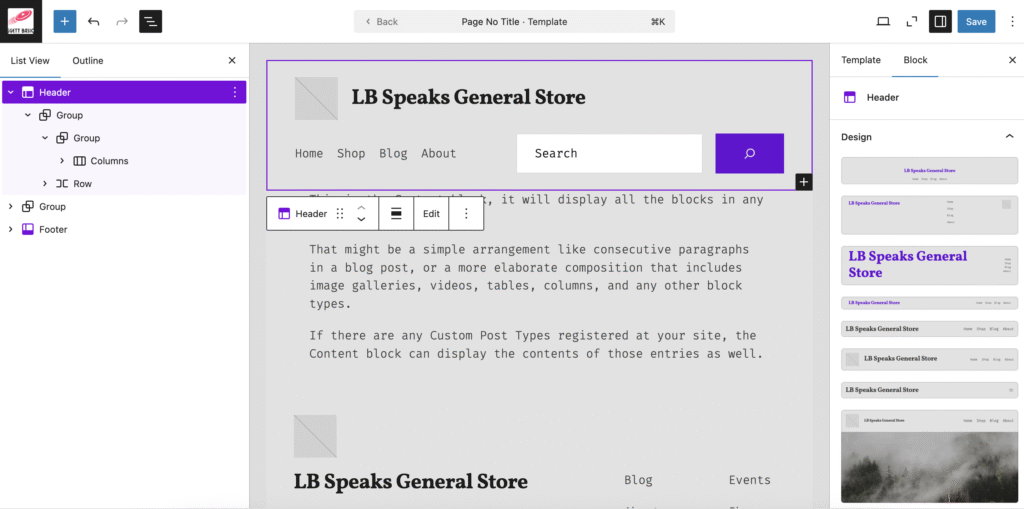
Click on Header. In the Block Editor, you’ll see several design options available in your Theme that display a combination of your Site Icon, Site Name, and Navigation. Select one that most closely resembles how you want your Navigation to look.
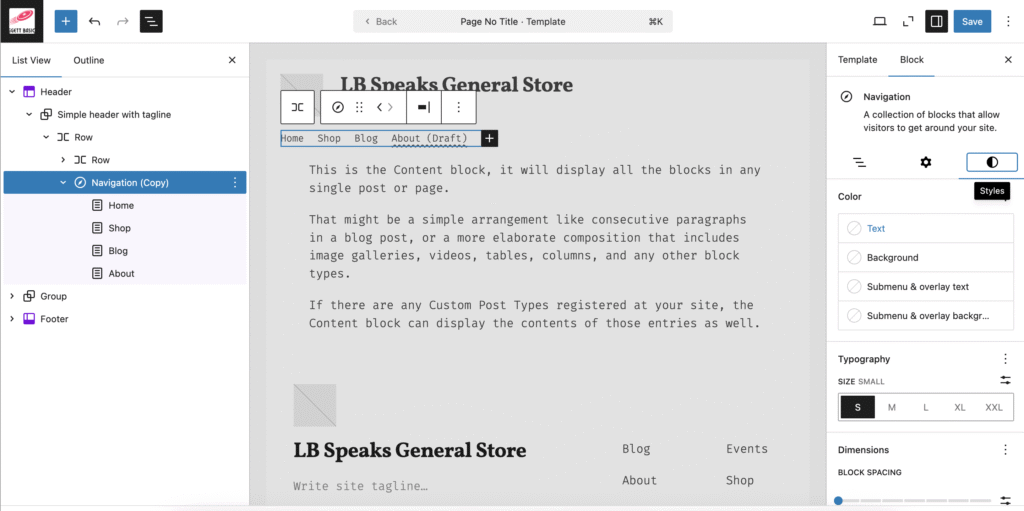
From there, use List View to target specific blocks that you want to customize using the Block and Style Editors in the Settings Panel. For example, if you want to change your Menu’s font type or font color, click on Navigation and select the Style icon (the duo-toned circle!) to access the Style Editor.
Once you’re done editing, hit Save. Ta da! You’ve customized your Navigation Menu.
A word about navigation
While this isn’t your first navigation rodeo, it’s worth reiterating the importance of navigation. Arguably, navigation is one of the most important features of your site. It orients users. It’s a map telling users what to expect and how to get there. It tells users where they are on the site at any given time.
WordPress offers a lot of help using the Site Editor to change Navigation Menus. Check it out for yourself: