In this assignment, you’ll put together a polished multi-view SwiftUI app that showcases the skills you’ve built so far. The app has a styled ContentView with navigation links to three distinct views, each demonstrating a different technique.
View 1: Cards About You
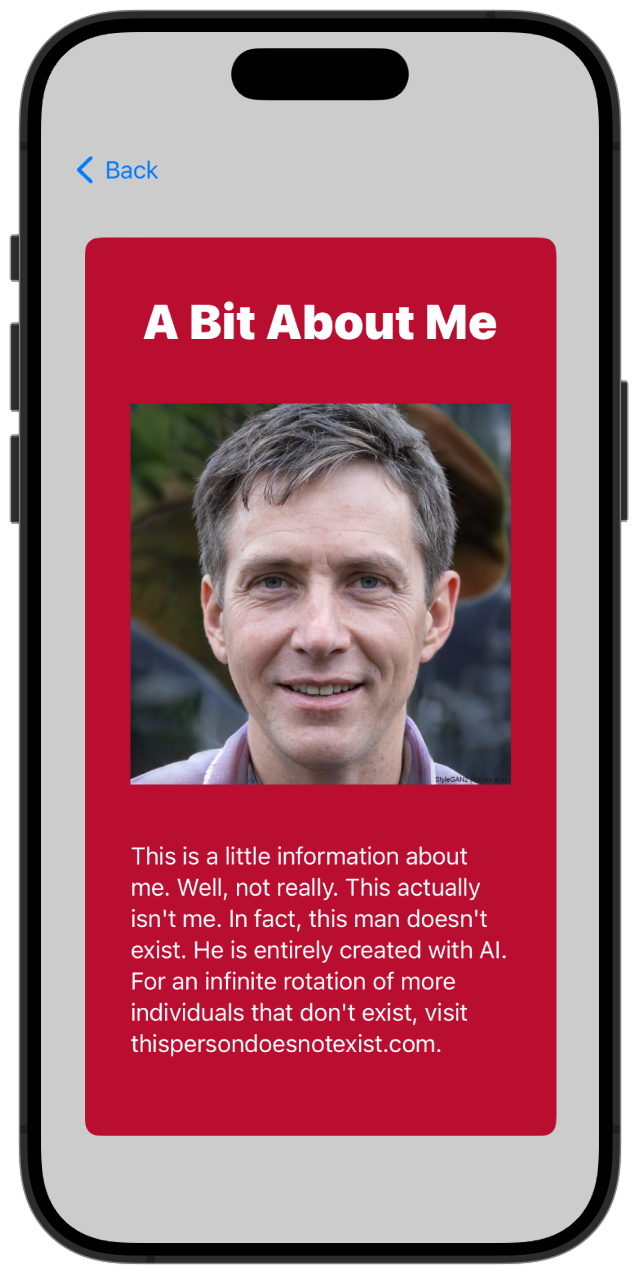
Create a horizontal ScrollView with at least 4 scrollable cards about yourself. Each card must include:
- An image that relates to you or your life.
- A header and a one-sentence description about some aspect of who you are.
- Consistent formatting across all cards. Ideally, define a struct with variables to style each card rather than copying and pasting.
View 2: Large SF Symbol
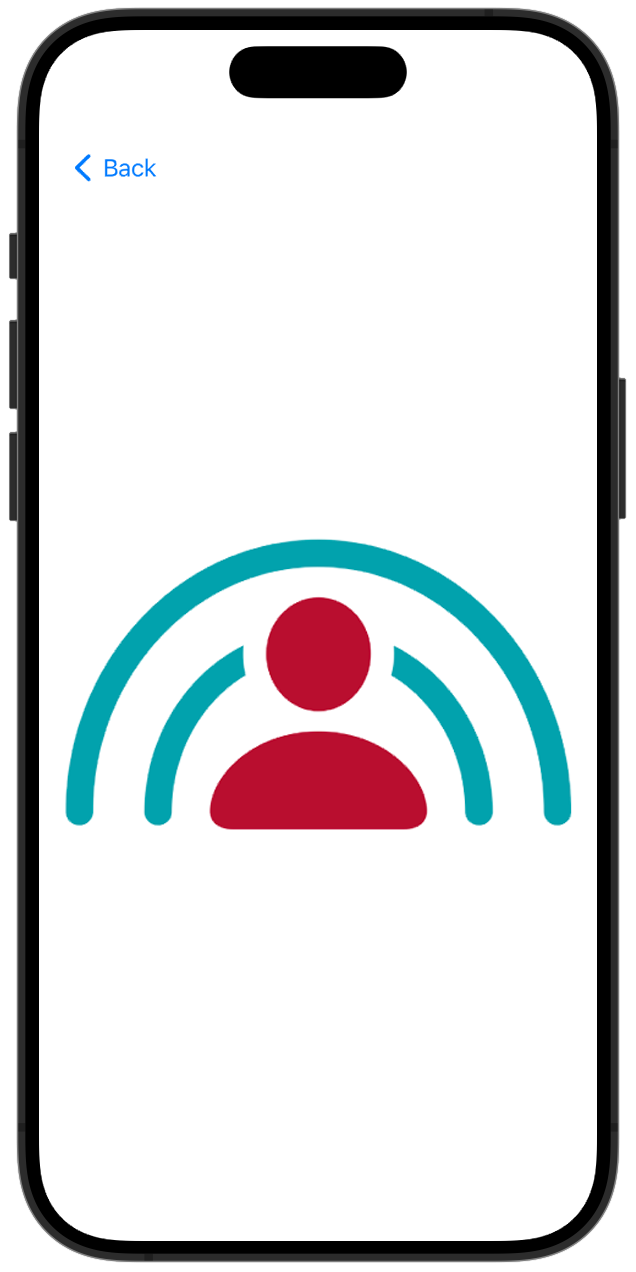
Display a large multicolor SF Symbol that fills the screen in at least one dimension. Pick something that fits your personality — have fun with it.
View 3: Shape Art
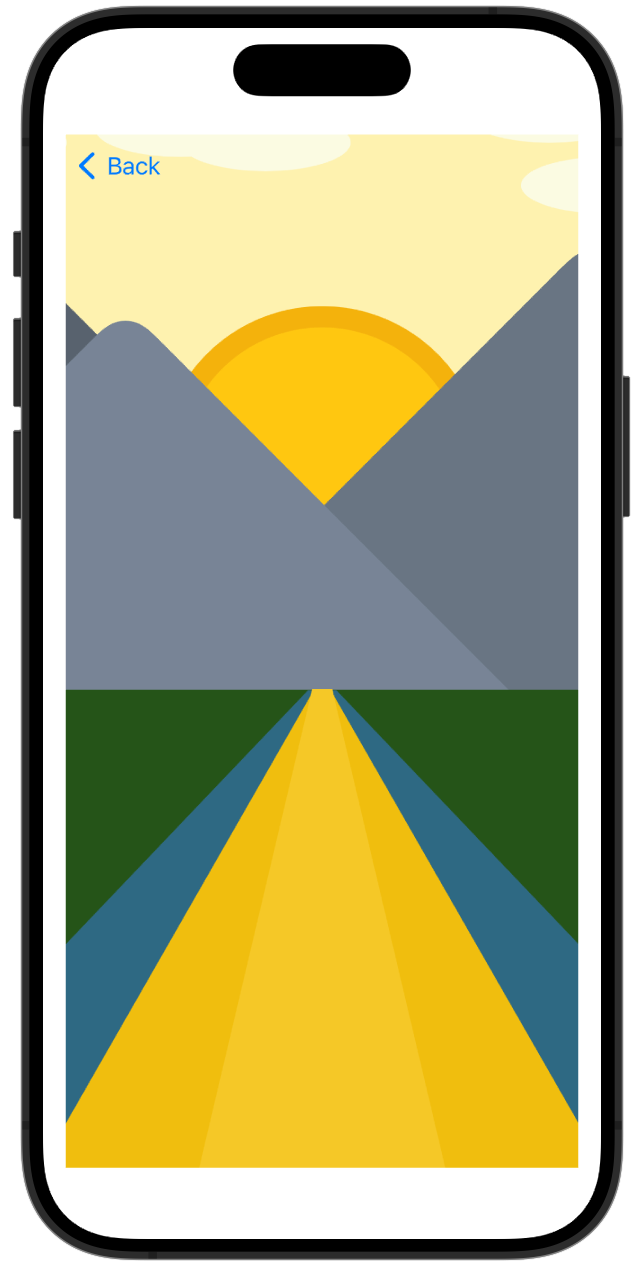
Create a work of art using only SwiftUI shapes — no imported images. Use a combination of Circle, Ellipse, and Rectangle arranged with ZStack, HStack, and VStack. Apply colors, frames, and offsets to build something original. The goal is to go beyond the example shown in class. You’re encouraged to compare ideas and share code with classmates.
ContentView: Navigation Links
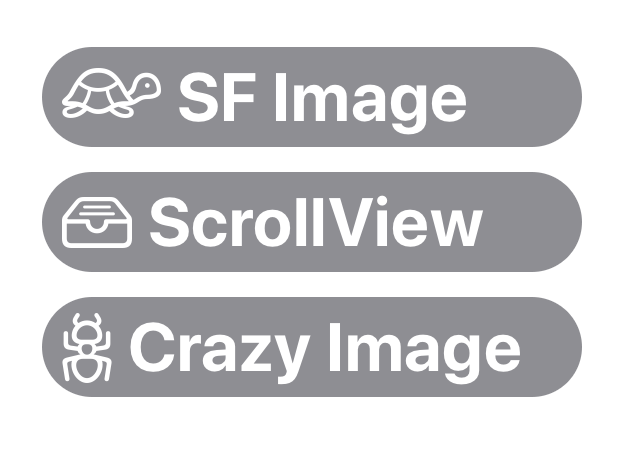
Your three navigation links should all be styled consistently. Each one should have:
- Rounded corners
- A background color
- Matching width and height
- An SF Symbol and a text label
Reflection
Along with your project, push a reflection.md file (150–300 words) reflecting on your process — what you learned, what was challenging, choices you made, or anything else worth noting about how the project came together. There’s no fixed set of questions to answer; write in your own words.
Submitting Project 1
Project 1 will be submitted through GitHub. Your submission should include both your completed Xcode project and a README.md file containing the required project reflection/information.
Adding Your README.md File
- Locate your cloned Project 1 repository folder on your computer. You can easily find it by opening the repository in GitHub Desktop and selecting Repository → Show in Finder.
- Inside this folder, you should see the folder containing your Xcode project.
- Create a new plain-text file and name it
README.md. - Place
README.mddirectly inside the cloned repository folder, not inside your Xcode project folder. - Add the required Project 1 reflection/information to the Markdown file and save it.
Your repository should be organized like this:
📁 Project 1 Repository
├── 📁 Your Xcode Project
└── 📄 README.md
Push Your Submission
Once your Xcode project and README.md are ready:
- Open the repository in GitHub Desktop.
- Review the changed files and make sure your Xcode project and
README.mdare included. - Enter a commit message and Commit your changes.
- Click Push origin to push your completed work to GitHub.
Your work is not submitted until it has been pushed to GitHub. Before the deadline, check your repository on GitHub to make sure your latest files and README.md are visible.
Rubric
A-Level Work
- Exceptional quality, originality, and/or insight
- Fully meets all criteria with no significant errors
- Polished, organized, and professional
B-Level Work
- Meets all criteria with only minor issues
- Solid understanding and effort throughout
- Good organization and presentation
C-Level Work
- Meets most criteria with some notable gaps
- Basic or inconsistent understanding
- Organization or clarity needs improvement
Below C (Not Passing)
- Disorganized, incomplete, or poor quality
- Meets few or no criteria; major errors or omissions
- Limited or no evidence of understanding and effort