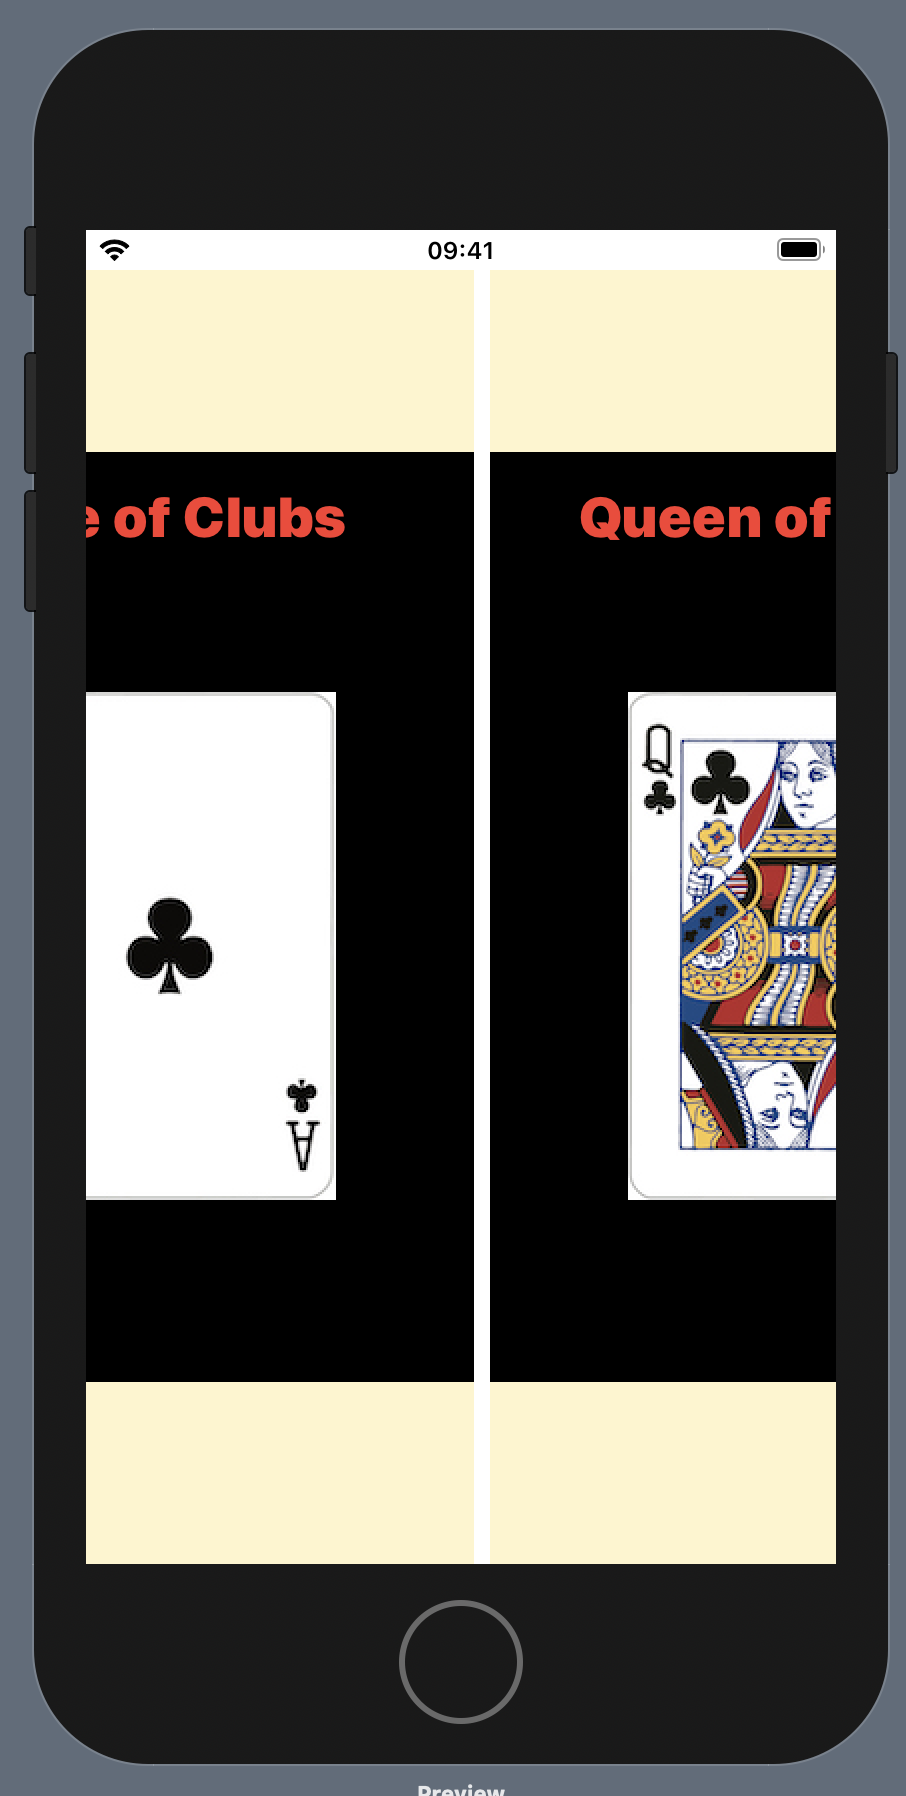
In this exercise we are going to build off of what we learned in the cardview lesson to create a REAL card view with actual cards. Before you get started however, I want to stress that you only will be able to use 10 cards because VStacks and HStacks seem to have a 10 item limit.
- To begin, create a new Xcode project and name it as ScrollViewAssignment. Next, click here to download a deck of digital cards.
- Unzip cards.zip and drag all of the face cards (the cards whose name begins with letters such as AD instead of numbers) into Assets.xcassets.
- Create a new SwiftUI view and name it Cards or something of the sort.
- Inside of Cards create a card that looks as much like this one as possible.

- As you did in the ScrollView lesson, create variables that you will use instead of literal values for your image and title. Here are the ones that I used, but you can name your variables whatever you want to.

Take note that, unlike the lesson in our textbook, I set actual values for the variables before I used the variables. Image(theimage) for example. The reason that I diverged from the textbook was, quite frankly, laziness, because I didn’t want to have to modify the previews struct as they did. Their approach would have been var thetitle: String, but then we would have had to do more work! - The formatting in this exercise should be much simpler than the formatting in the book. Here are a couple of hints to make your life easier.
- I added padding with a number included to the image.
- I used both plain padding ( .padding() ) with the Vstack that contains the title and image, and simultaneously used bottom padding with a number included. Turns out you can have multiple padding statements with the same view.
- Once the card and title look as you want them to, return to ContentView and set up ten cards inside of a ScrollView. BTW, you can go higher than 10 but you will have to use stacks if you do.
- Make the thing scroll!! Here is what mine looks like. BTW, this part is EASY because all you need is an Hstack within a Scrollview that is set to .horizontal. You can do this! Also, I don’t expect you to create a colored background for the entire view, but if you want to, scroll down to step 9.

- Want a colored background? Piece of cake. Visit cards.swift and wrap a Zstack around the Vstack that contains everything else. Here is the code that I added to my Zstack.
ZStack{
Color.yellow
.opacity(0.2)
.edgesIgnoringSafeArea(.all)Just be sure to add the closing bracket around the Vstack and, of course, pick any color and opacity that works for you.