LESSON 02 / 15 MINUTES
A little setup now will save you a lot of “where did that file go?” later. Keep this page open next to the app as you work.
1. Check your access
This lesson uses Codex in the desktop app. Sign in with your ChatGPT account. Your instructor may encourage or require ChatGPT Plus; follow the requirements for your course. Claude Pro is a separate subscription and does not provide Codex access. You do not need to buy both for this lesson.
Plans and usage allowances can change. Check OpenAI’s current access information if you’re unsure what your account includes. You do not need an API key for the sign-in route we’re using.
2. Install and open the app
Use the download links in OpenAI’s official desktop app guide. Choose the version for your computer and follow the installer. Open the app and sign in.
MAC + WINDOWS
Mac: Choose the Mac download and check its hardware requirements. You can see your Mac’s chip or processor under Apple menu → About This Mac.
Windows: Use the official Windows download instructions. Use the native desktop app; this activity does not ask you to set up a separate Linux environment.
On a school-managed computer, contact your instructor or IT if installation is blocked. Don’t spend the whole lesson fighting the installer.
A note about names: OpenAI’s current documentation calls the download the ChatGPT desktop app. Choose Codex from the product selector if your app opens in ChatGPT. If your installed app is already labeled Codex, start there. The download page and labels may change; the task is the same: open Codex with a local project folder.
3. Create a Project in Codex
A Project is a specific feature in Codex: a place to keep the chats for one piece of work together. Think of it as your planner’s home inside the app. When you come back tomorrow, you can open that Project and pick up where you left off.
For this activity, you’ll connect the Project to a folder on your computer. That folder holds the actual files Codex creates, including the website you’ll open in your browser. The Project keeps the work organized in Codex; the folder is where the files live.
First, make the folder
Open Finder on a Mac or File Explorer on Windows. Inside Documents, create a new folder named nmi-codex-lab. Leave it empty for now. You’ll give Codex this folder to work in.
Next, create the Project
- Return to the desktop app and find Projects in the sidebar. Use the option to create a project. For this exercise, choose a local project—“local” means it works with files on this computer.
- Name it My Week, Unstuck if you’re asked for a name.
- Connect the folder you just made. If the setup asks you to choose a folder, select Documents → nmi-codex-lab. If the Project is already created, open its menu, choose Edit project, then Add folder, and select that same folder.
- Check that the attached folder is nmi-codex-lab. Select that folder itself, rather than all of Documents.
Then, start a chat inside it
Open your new Project and start a new Codex chat there. A chat is the back-and-forth conversation where you give instructions and read Codex’s replies. We’ll stay in this chat while we plan, build, and improve the planner.
If asked where the work should run, choose the local folder on this computer. In the next steps, you’ll check permissions and ask Codex to confirm which folder it’s using.
Before you continue: you should be able to find My Week, Unstuck in Codex and nmi-codex-lab in Finder or File Explorer. It’s okay that the folder is still empty.
Labels can vary by app version. OpenAI’s Projects guide covers the current folder controls. You don’t need GitHub, Xcode, or a published website for this activity.
4. Check permissions
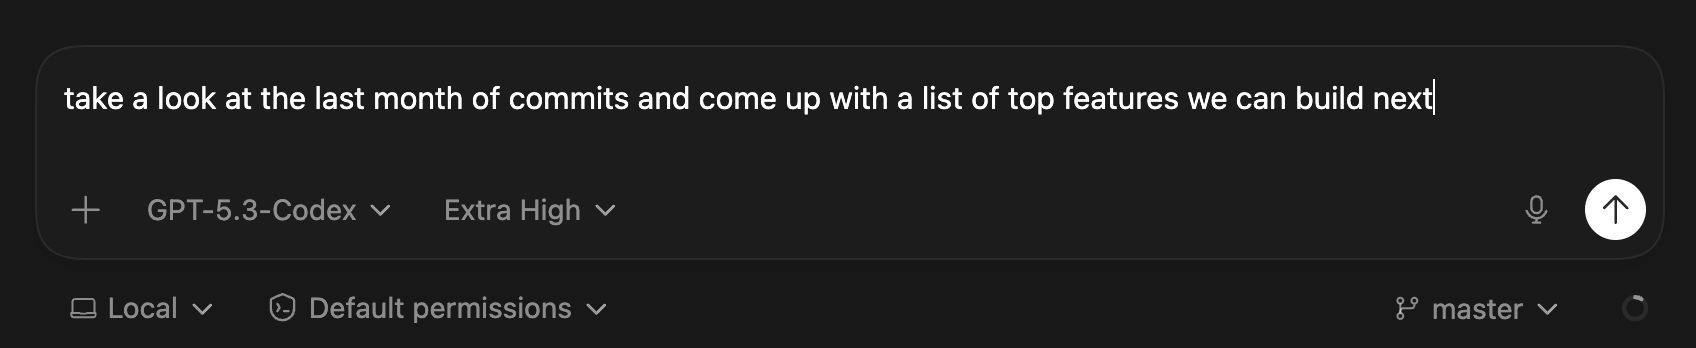
Use Ask for approval in the permissions control beneath the message box when available. Keep your course or organization’s required settings. This lets Codex work in its workspace while asking for actions that need additional access. Leave Full access off for this exercise.
An approval request deserves a quick read: what will happen, and is it necessary for your project? If you’re unsure, ask Codex to explain before approving. More about permissions.
5. Say hello to your folder
TRY THIS PROMPT
I’m new to Codex. Before we build anything, tell me which project folder you’re working in and list the files in it. Don’t change any files yet. Explain your answer in plain language.
An empty folder is fine. The point is to confirm that you and Codex are looking at the same place. If it names a different folder, fix the project selection before moving on.
BEFORE YOU MOVE ON
You’re signed in, using Codex, and working in nmi-codex-lab. You can find that same folder in Finder or File Explorer. If setup is blocking you, use Help + resources or ask your instructor before the build.